Farming the neighborhood
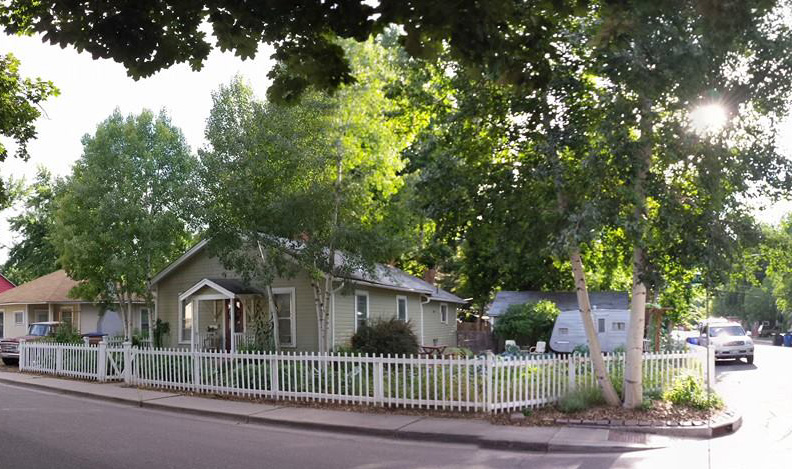
We ripped out our front lawn 3.5 years ago and put in vegetable beds. Watching those first seeds emerge through the soil and grow into large food-bearing plants was a magical experience.

In the years since, we've kept adding veggie beds to our 1/5 acre lot - even taking out the driveway and replacing it with more growing space.
I've COMPLETELY fallen in love with organic gardening.


Part connection to my Italian heritage, part nutritionally motivated...setting a meal on the table crafted from fresh, beautiful, just-picked ingredients (with full confidence of their incredible nutrient value) fills me to the BRIM with joy.

Choosing from my garden-fresh bounty (instead of driving to the grocery store) is an irresistable delight. I began to dream of what it would feel like to be completely self-sufficient. Could I grow enough food to avoid the grocery store altogether?
Although we grow plentiful produce all summer, raise meat rabbits and keep chickens - reality soon set in. Our potato bed was MUCH too small, I hadn't planted enough tomatoes to can, and the carrots and onions would be gone before we'd have a chance to save any in the cellar. It became clear that it would require QUITE a bit more space to feed our family of six completely.
Driving up to Fort Collins once a week to pick up our raw milk, my eyes drift across the open landscape. Old farmhouses with their sprawling fields and fences cause me to dream of just HOW MUCH food I could grow on that land! I think of owning a cow for the rich cream to make butter and home made cheese. Keeping a few pigs to consume the excess milk, which would fill our freezer with sausage and chops....
But WAIT.
I LOVE our little old house in our historic neighborhood. It is our first and only home and our youngest daughter was born here. I love that we can bike downtown for a date. Our neighborhood is full of wonderful people who stop and chat over the fence, admiring our garden and sharing stories. If we ever left, we'd miss the annual block parties and the challenge of doing a lot with our small space.
So, with the thought of farmland set aside ... and dreams self-sufficiency VERY much alive...
We've resolved to FARM THE NEIGHBORHOOD.
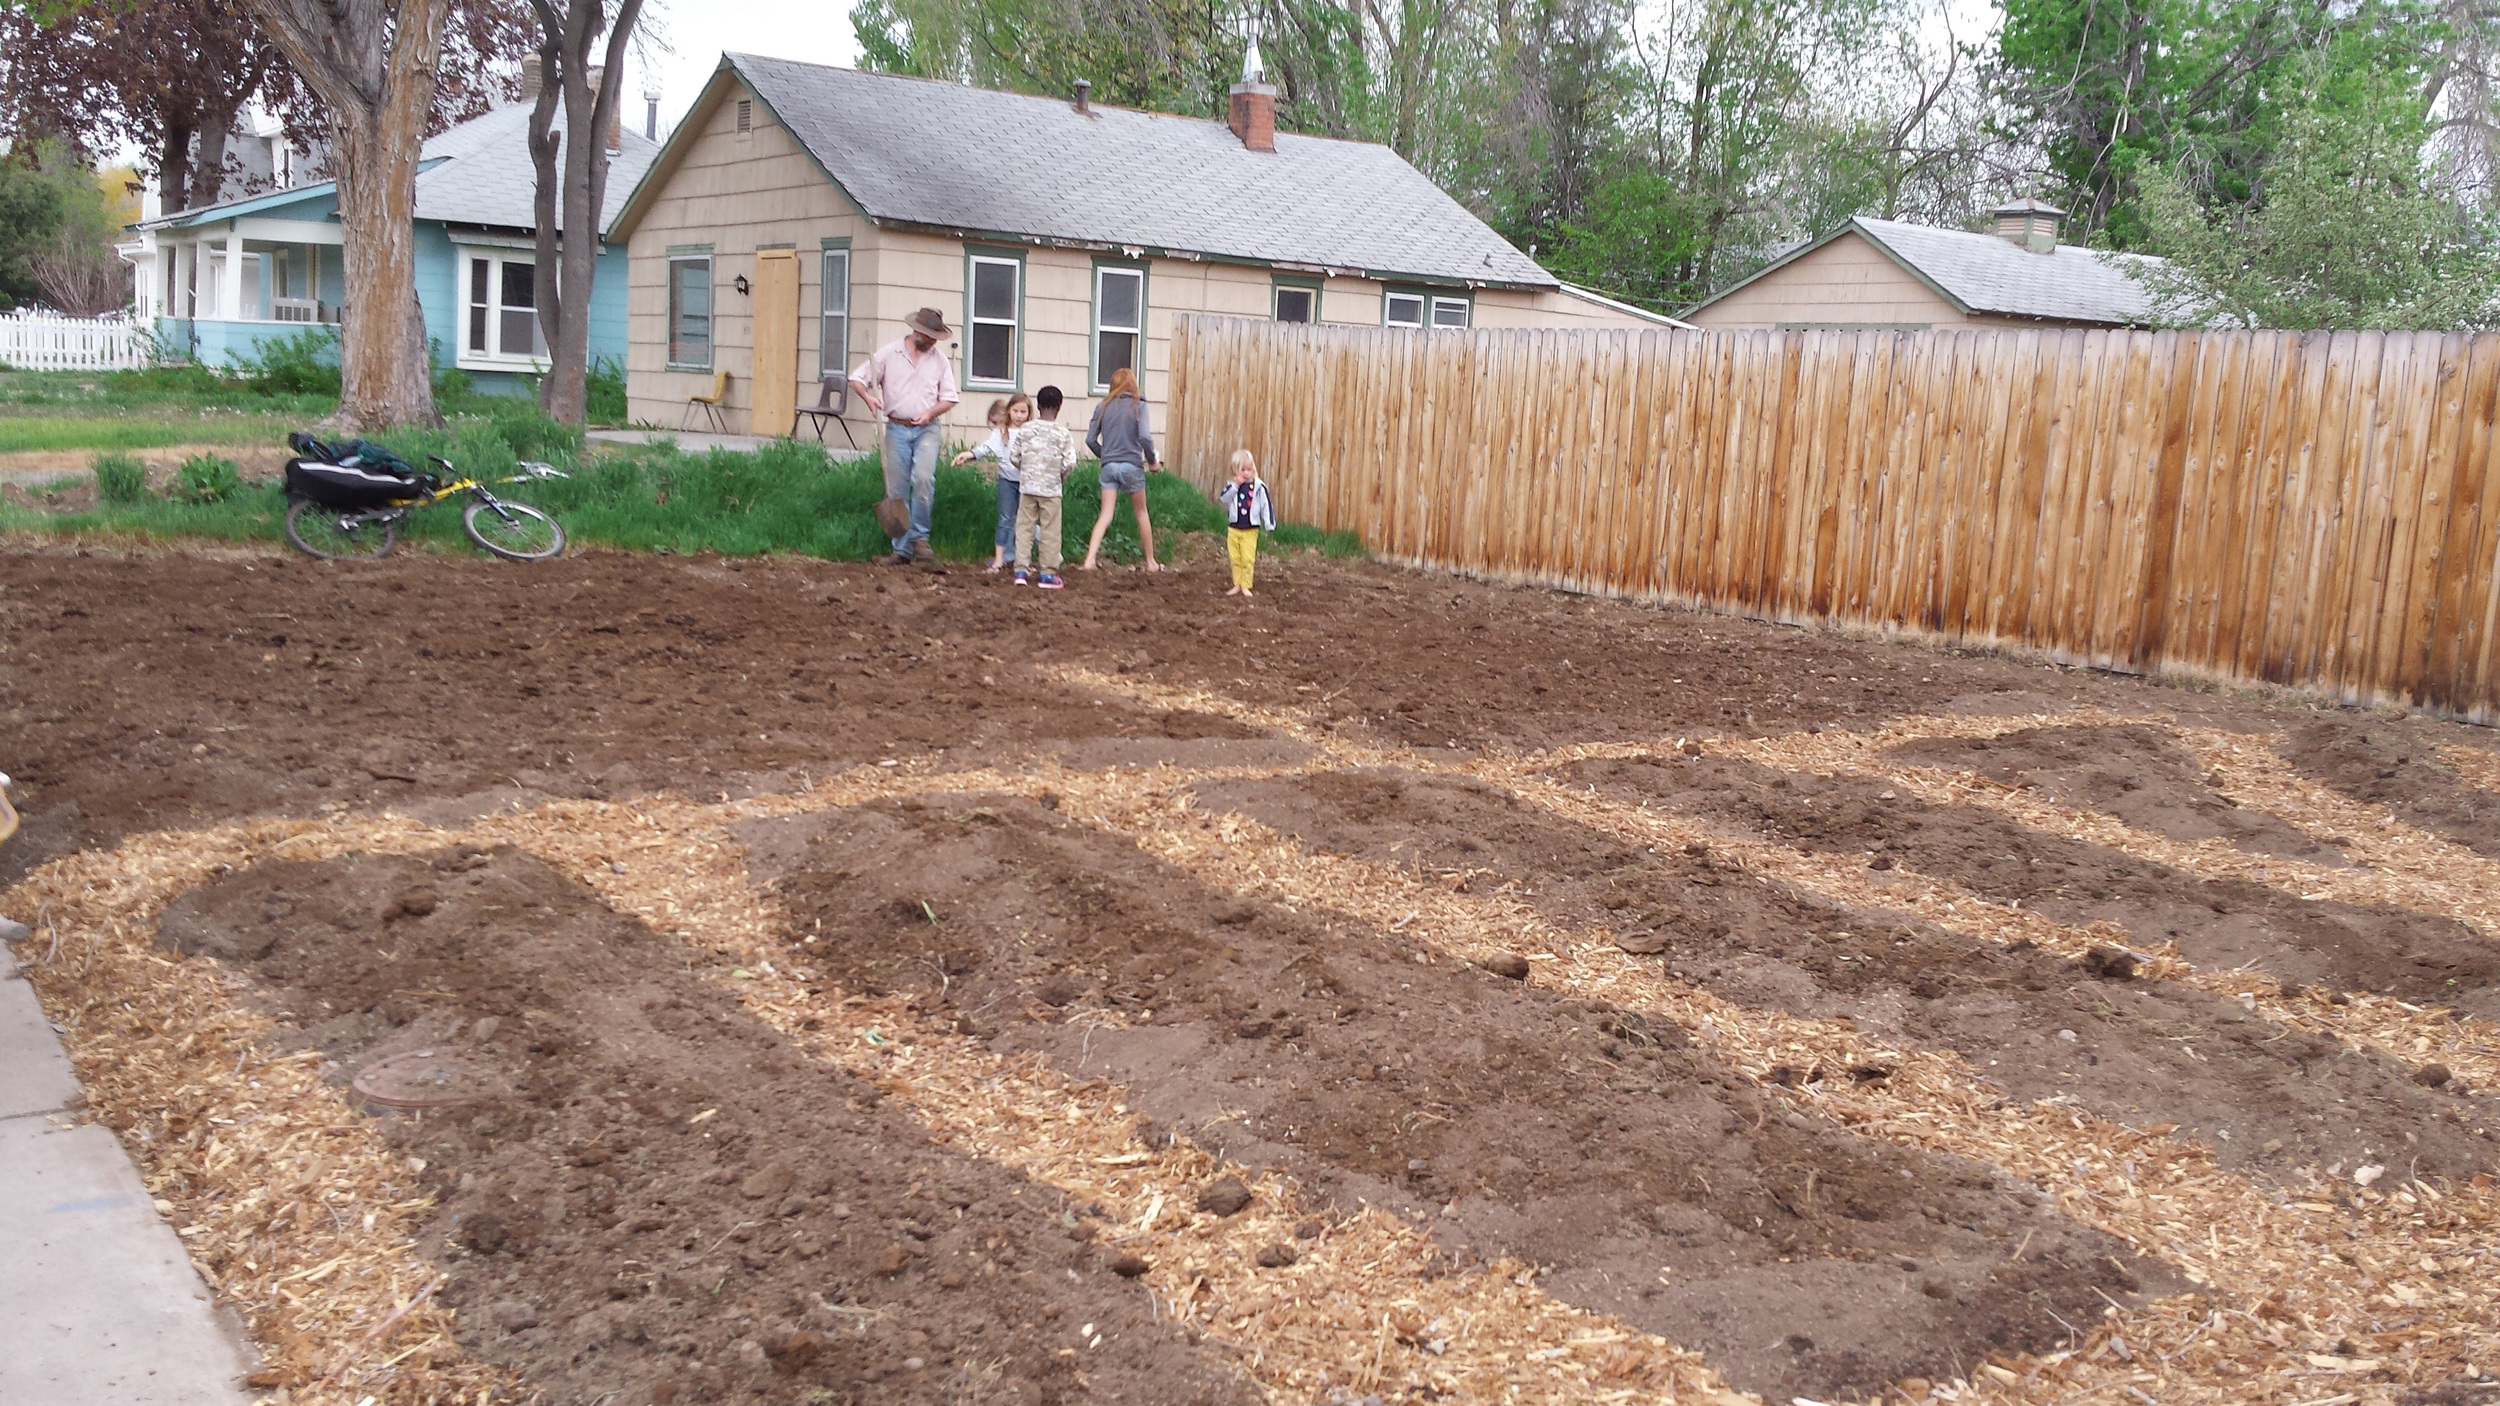
After mentioning the idea to neighbors, this Spring I had THREE takers. Two modest sized backyard lots, and one family who gave me their ENTIRE FRONT YARD. All three of these plots are within 2 blocks of our home.

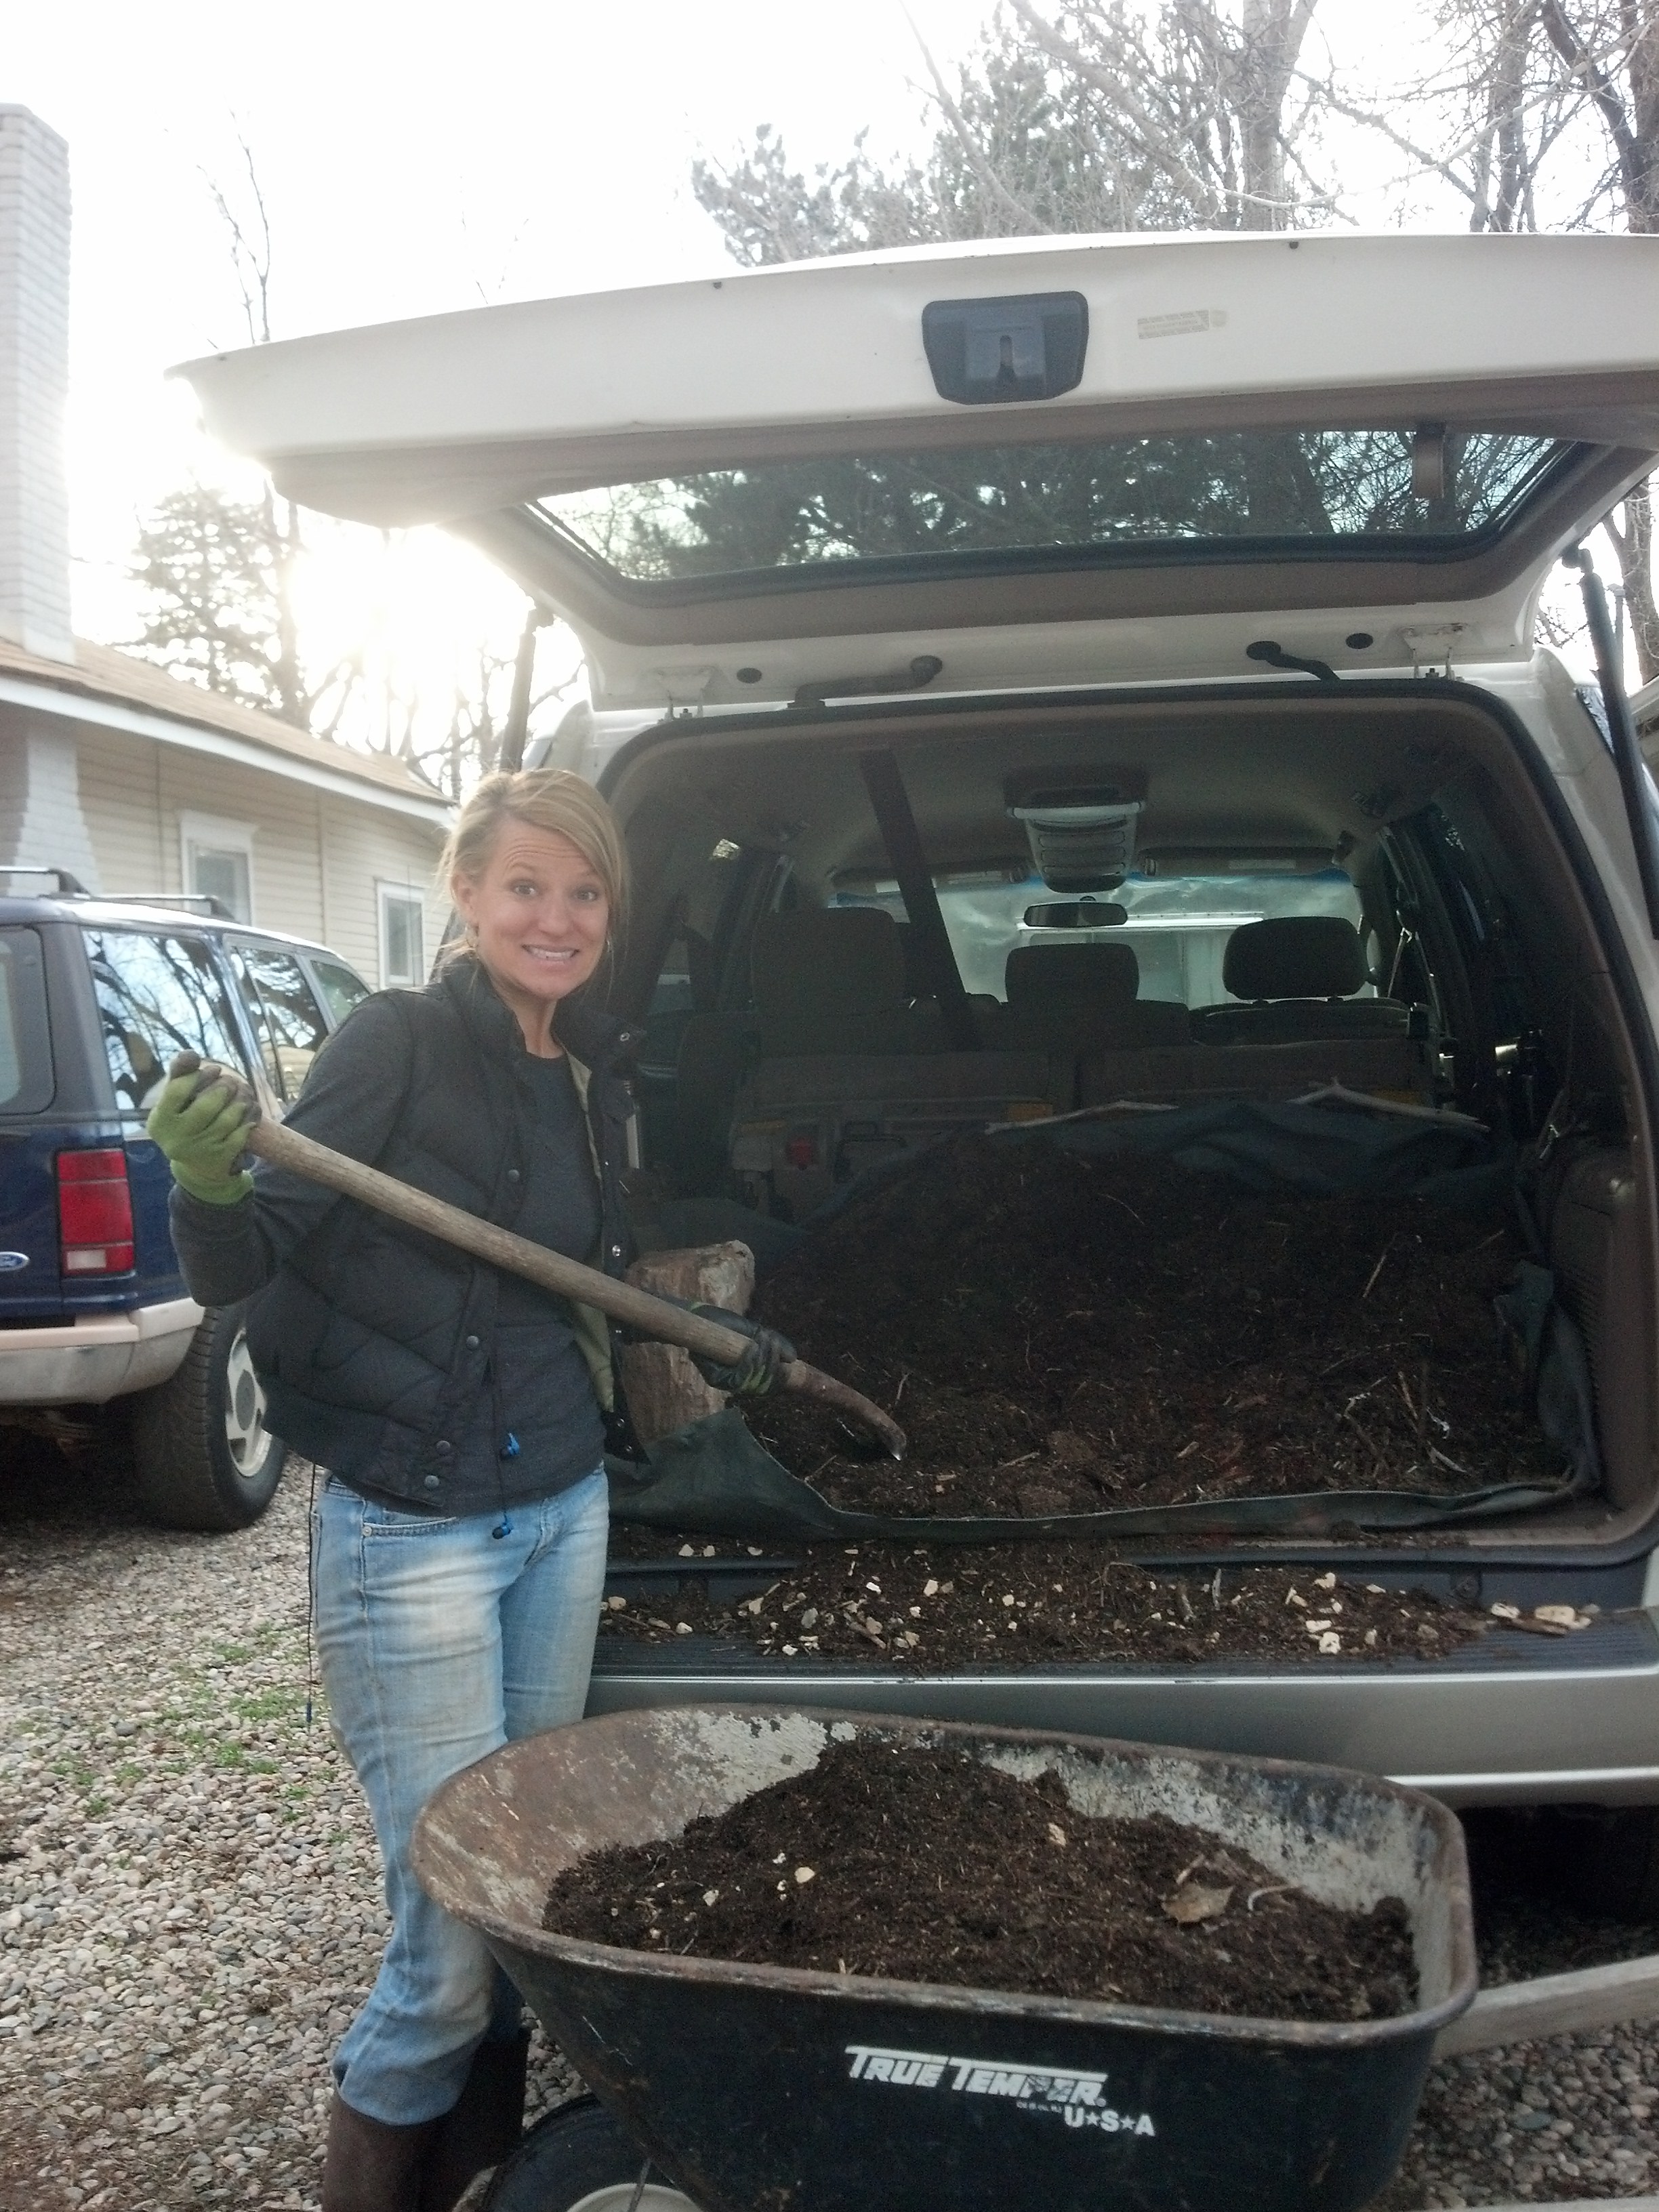
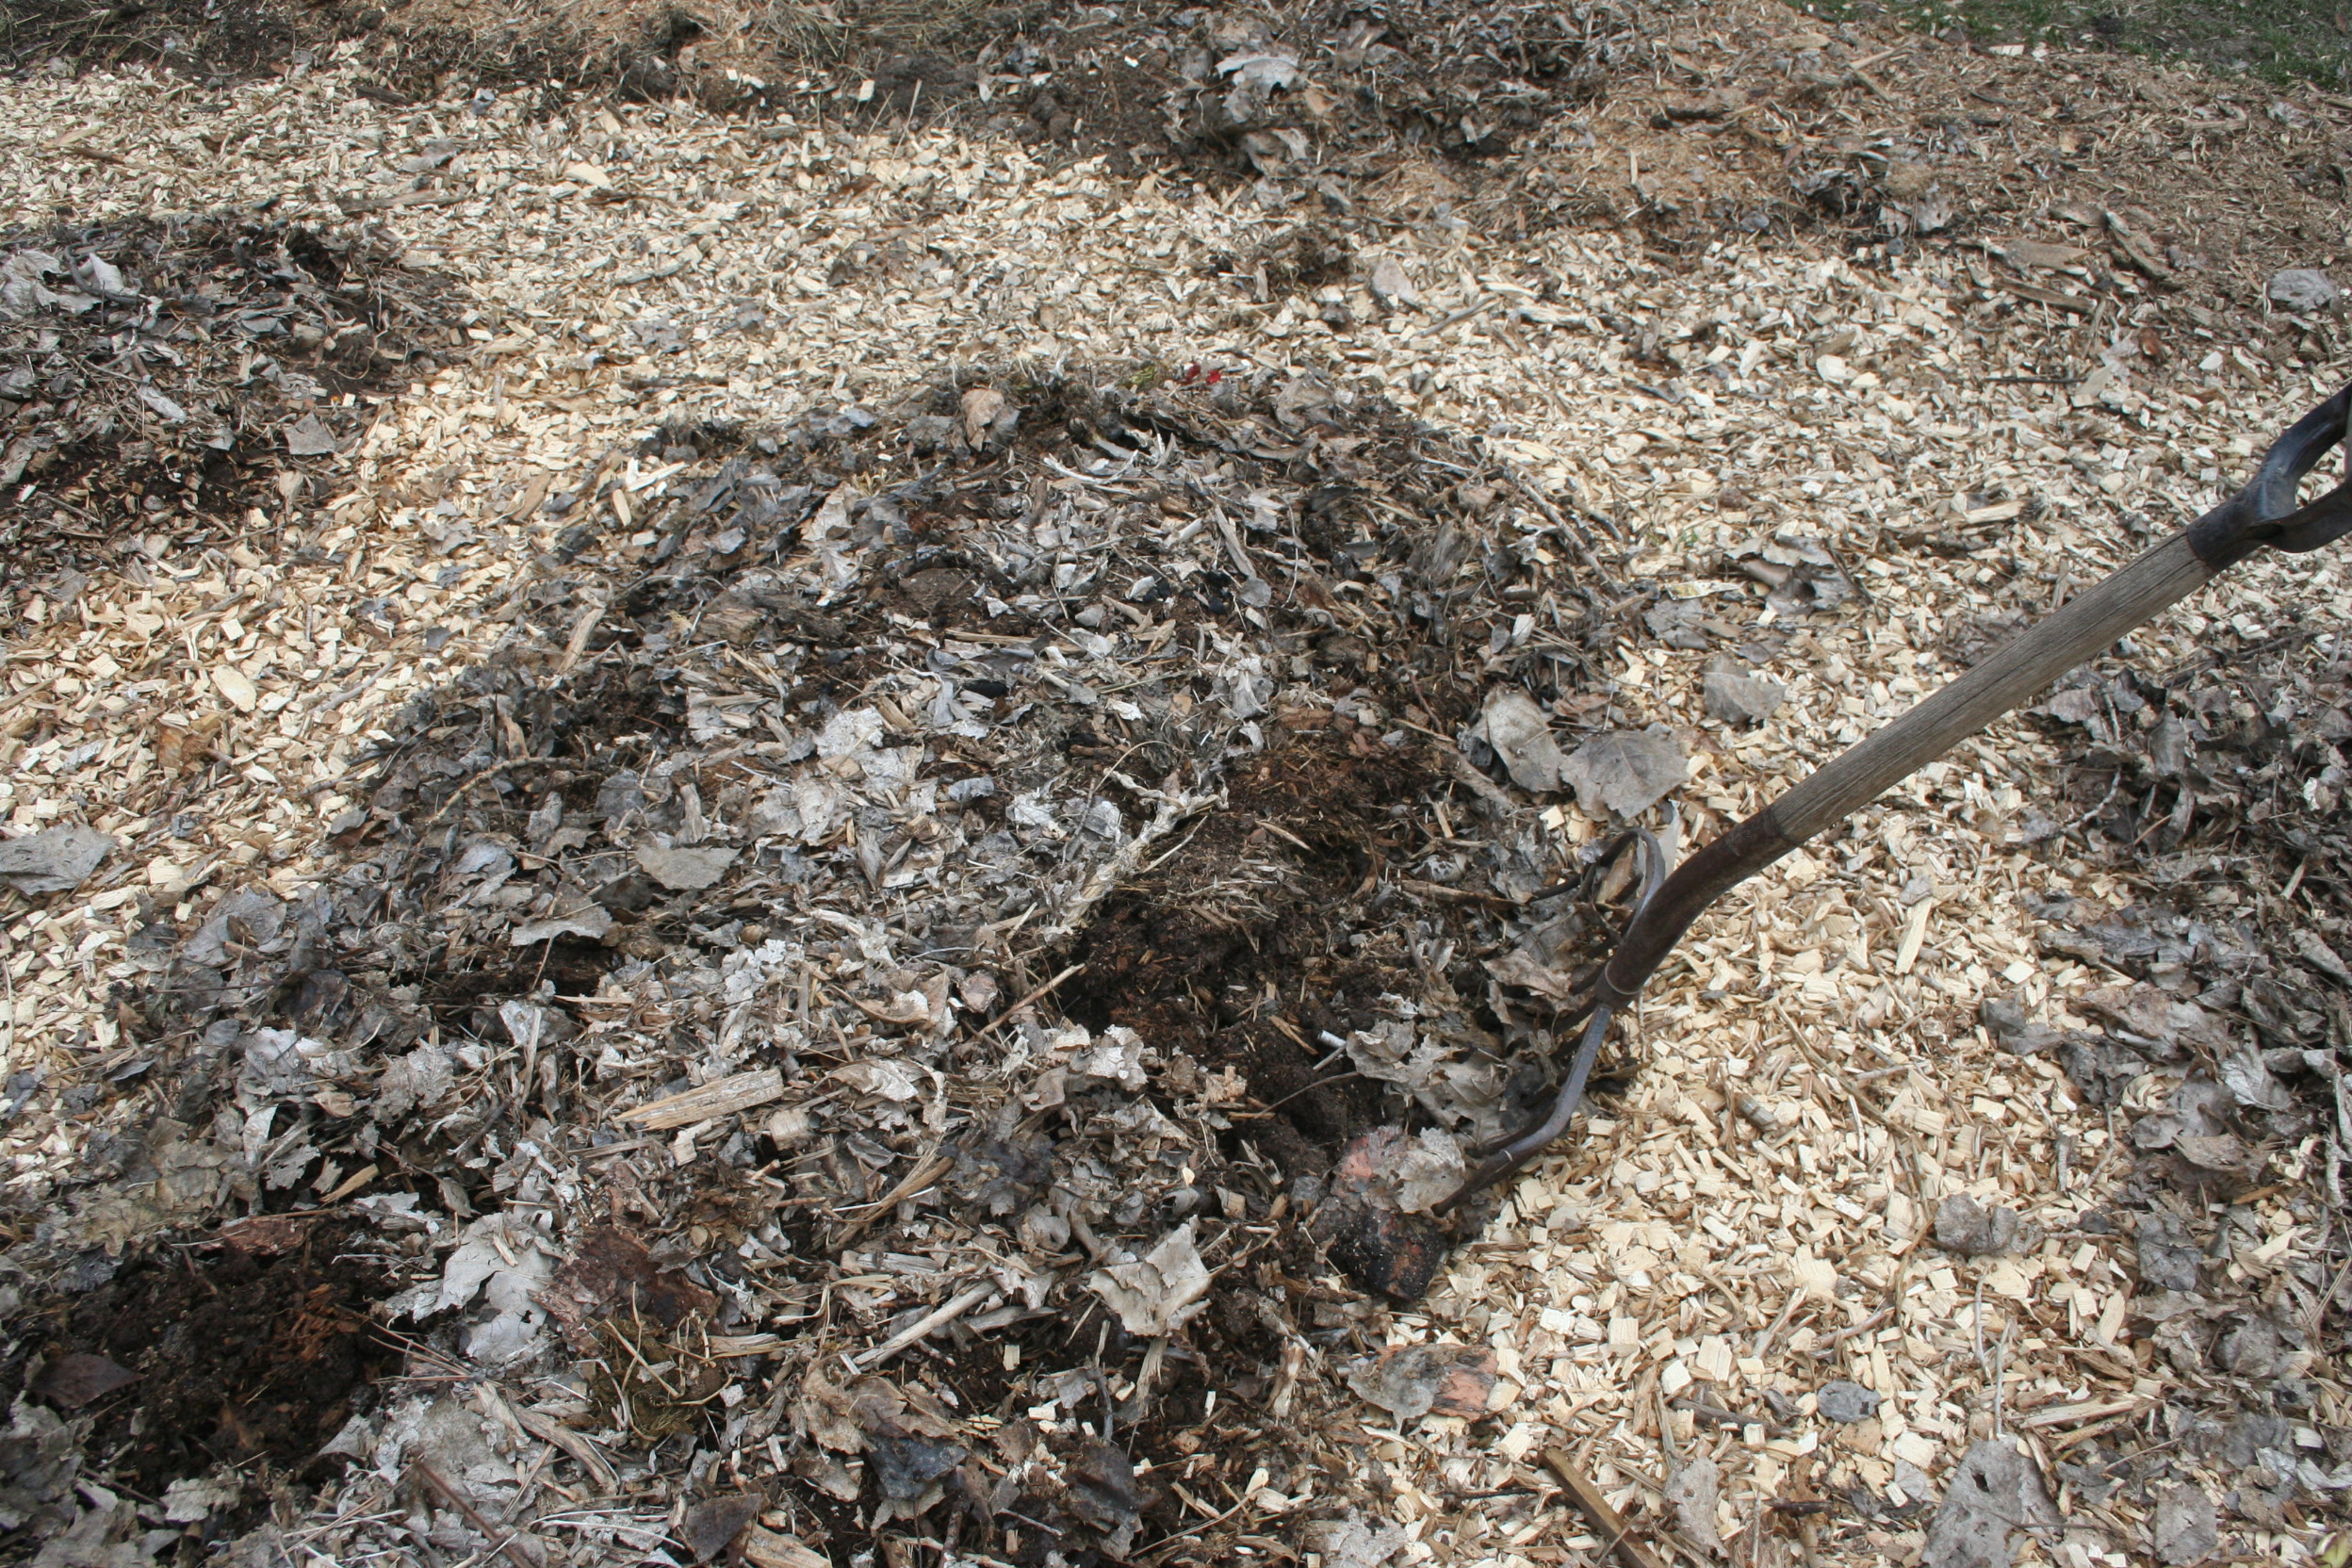
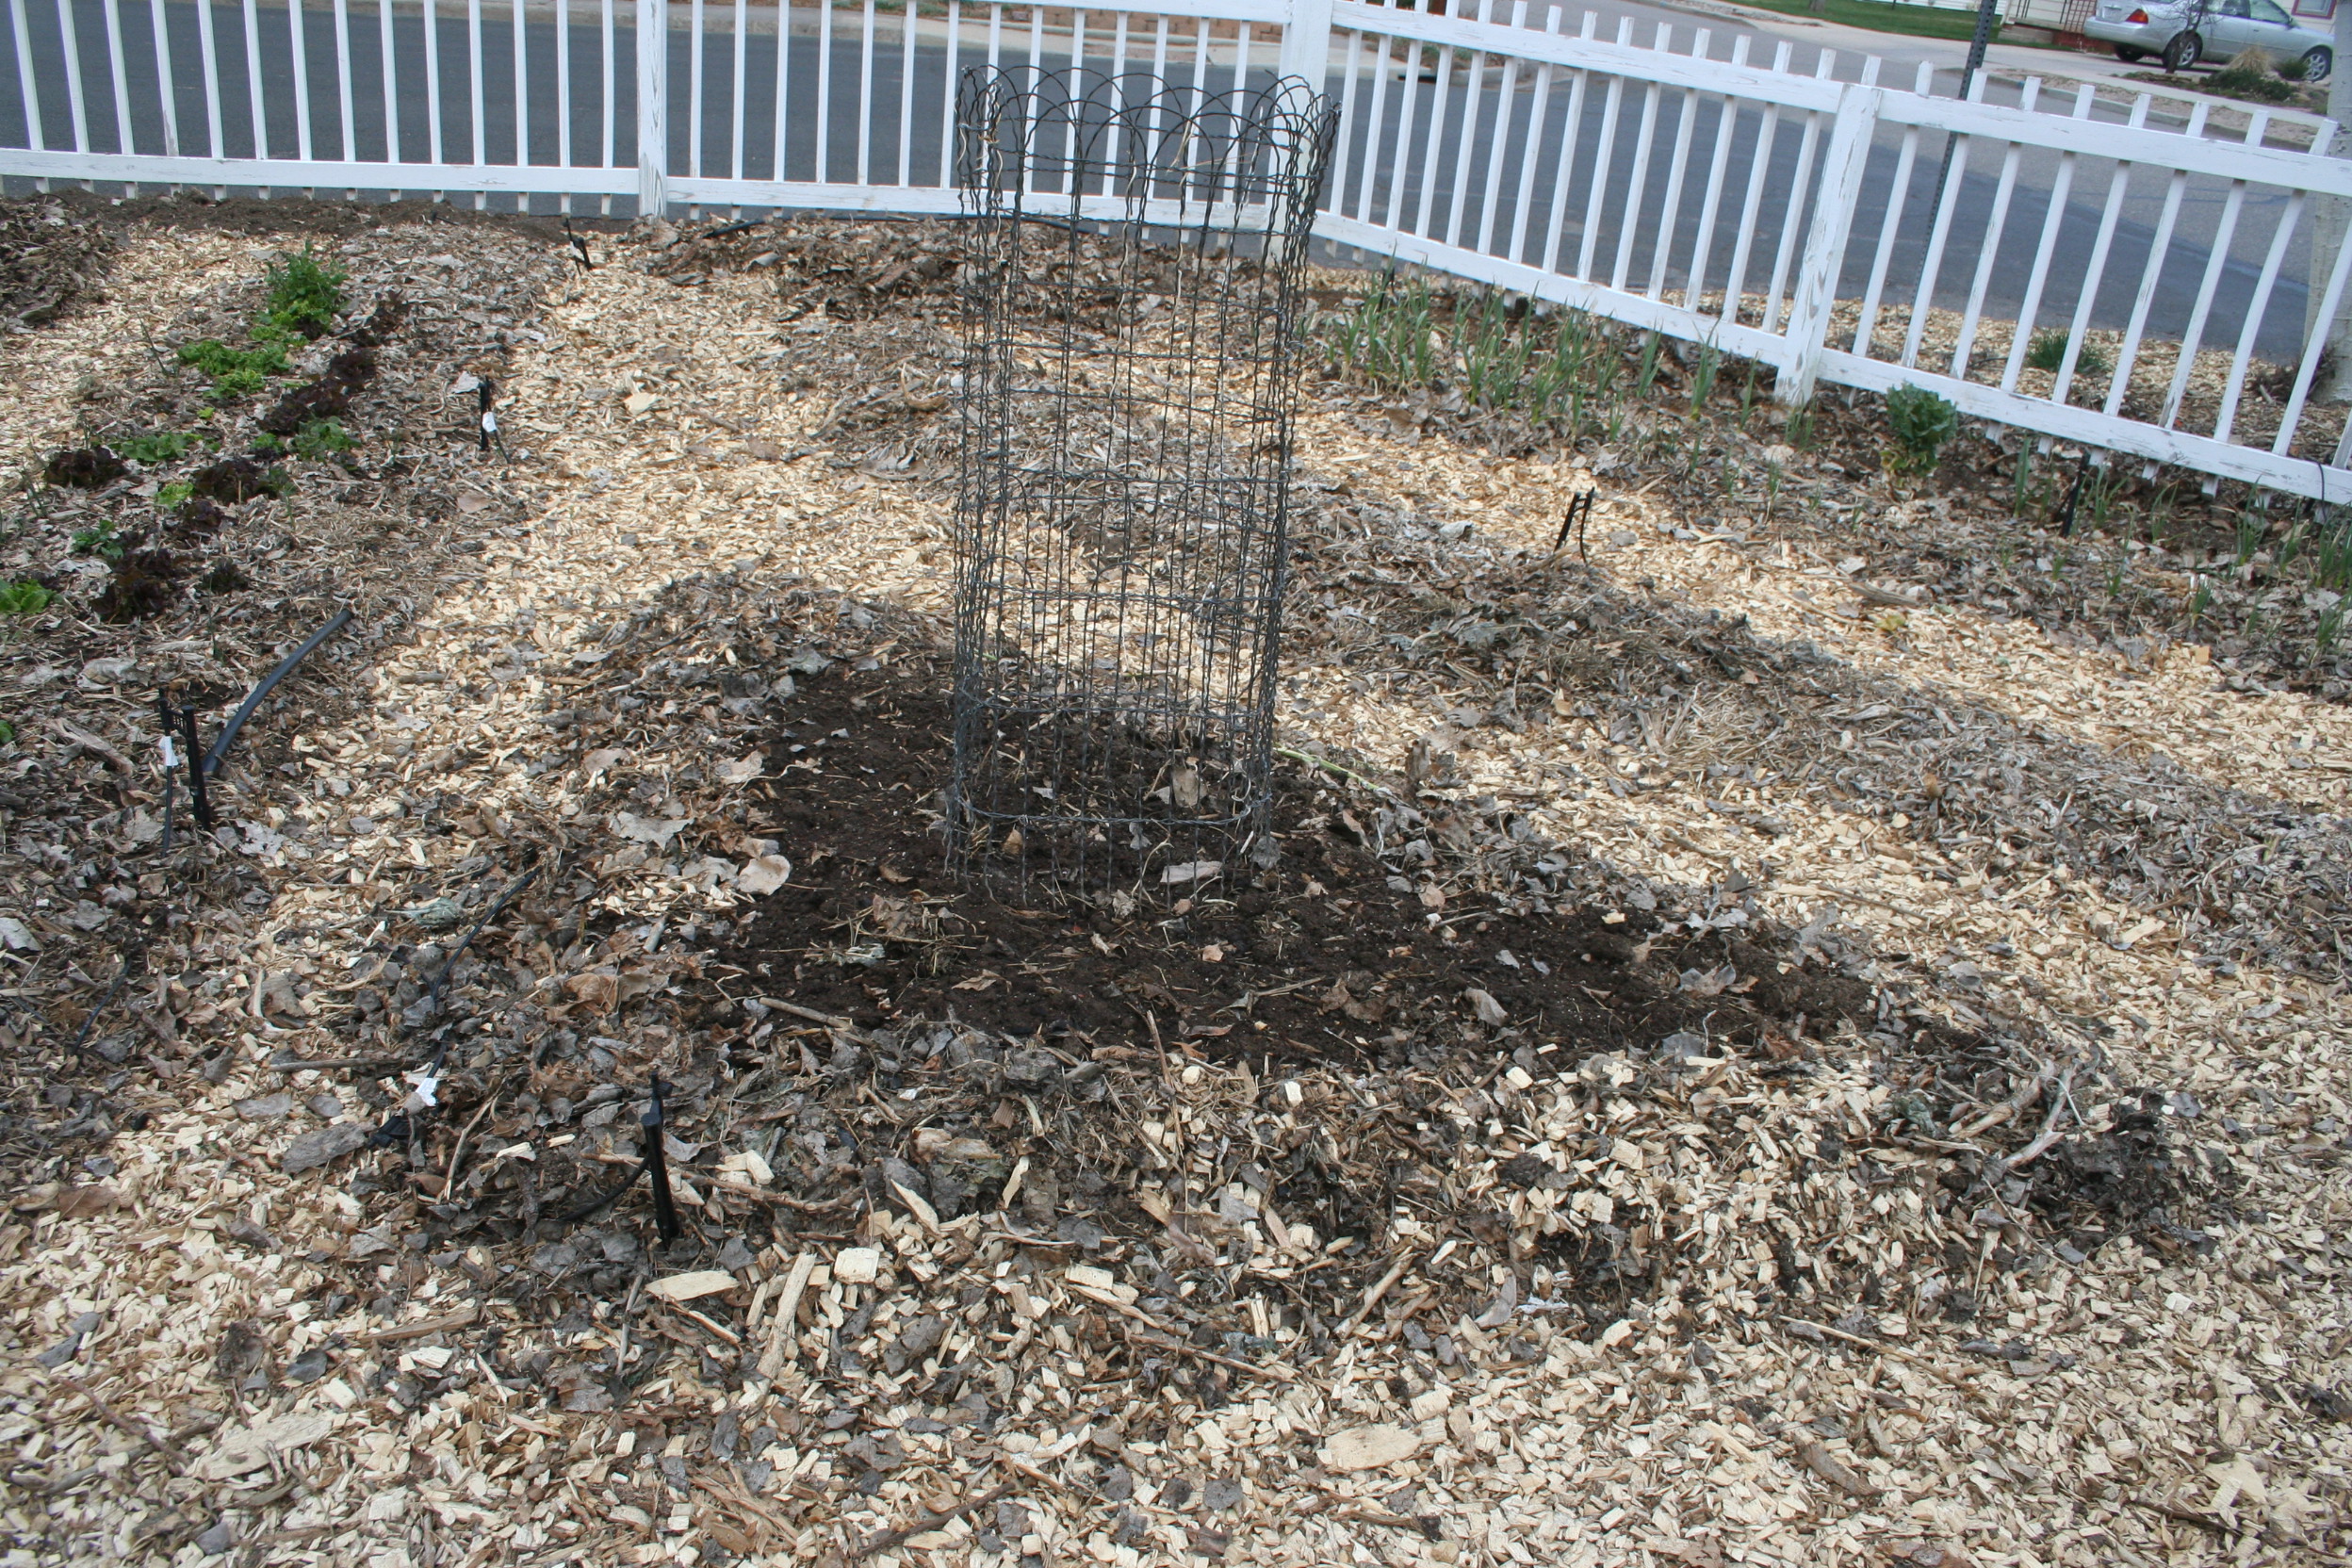
Biking a load of wood chip mulch to one of the neighbor plots
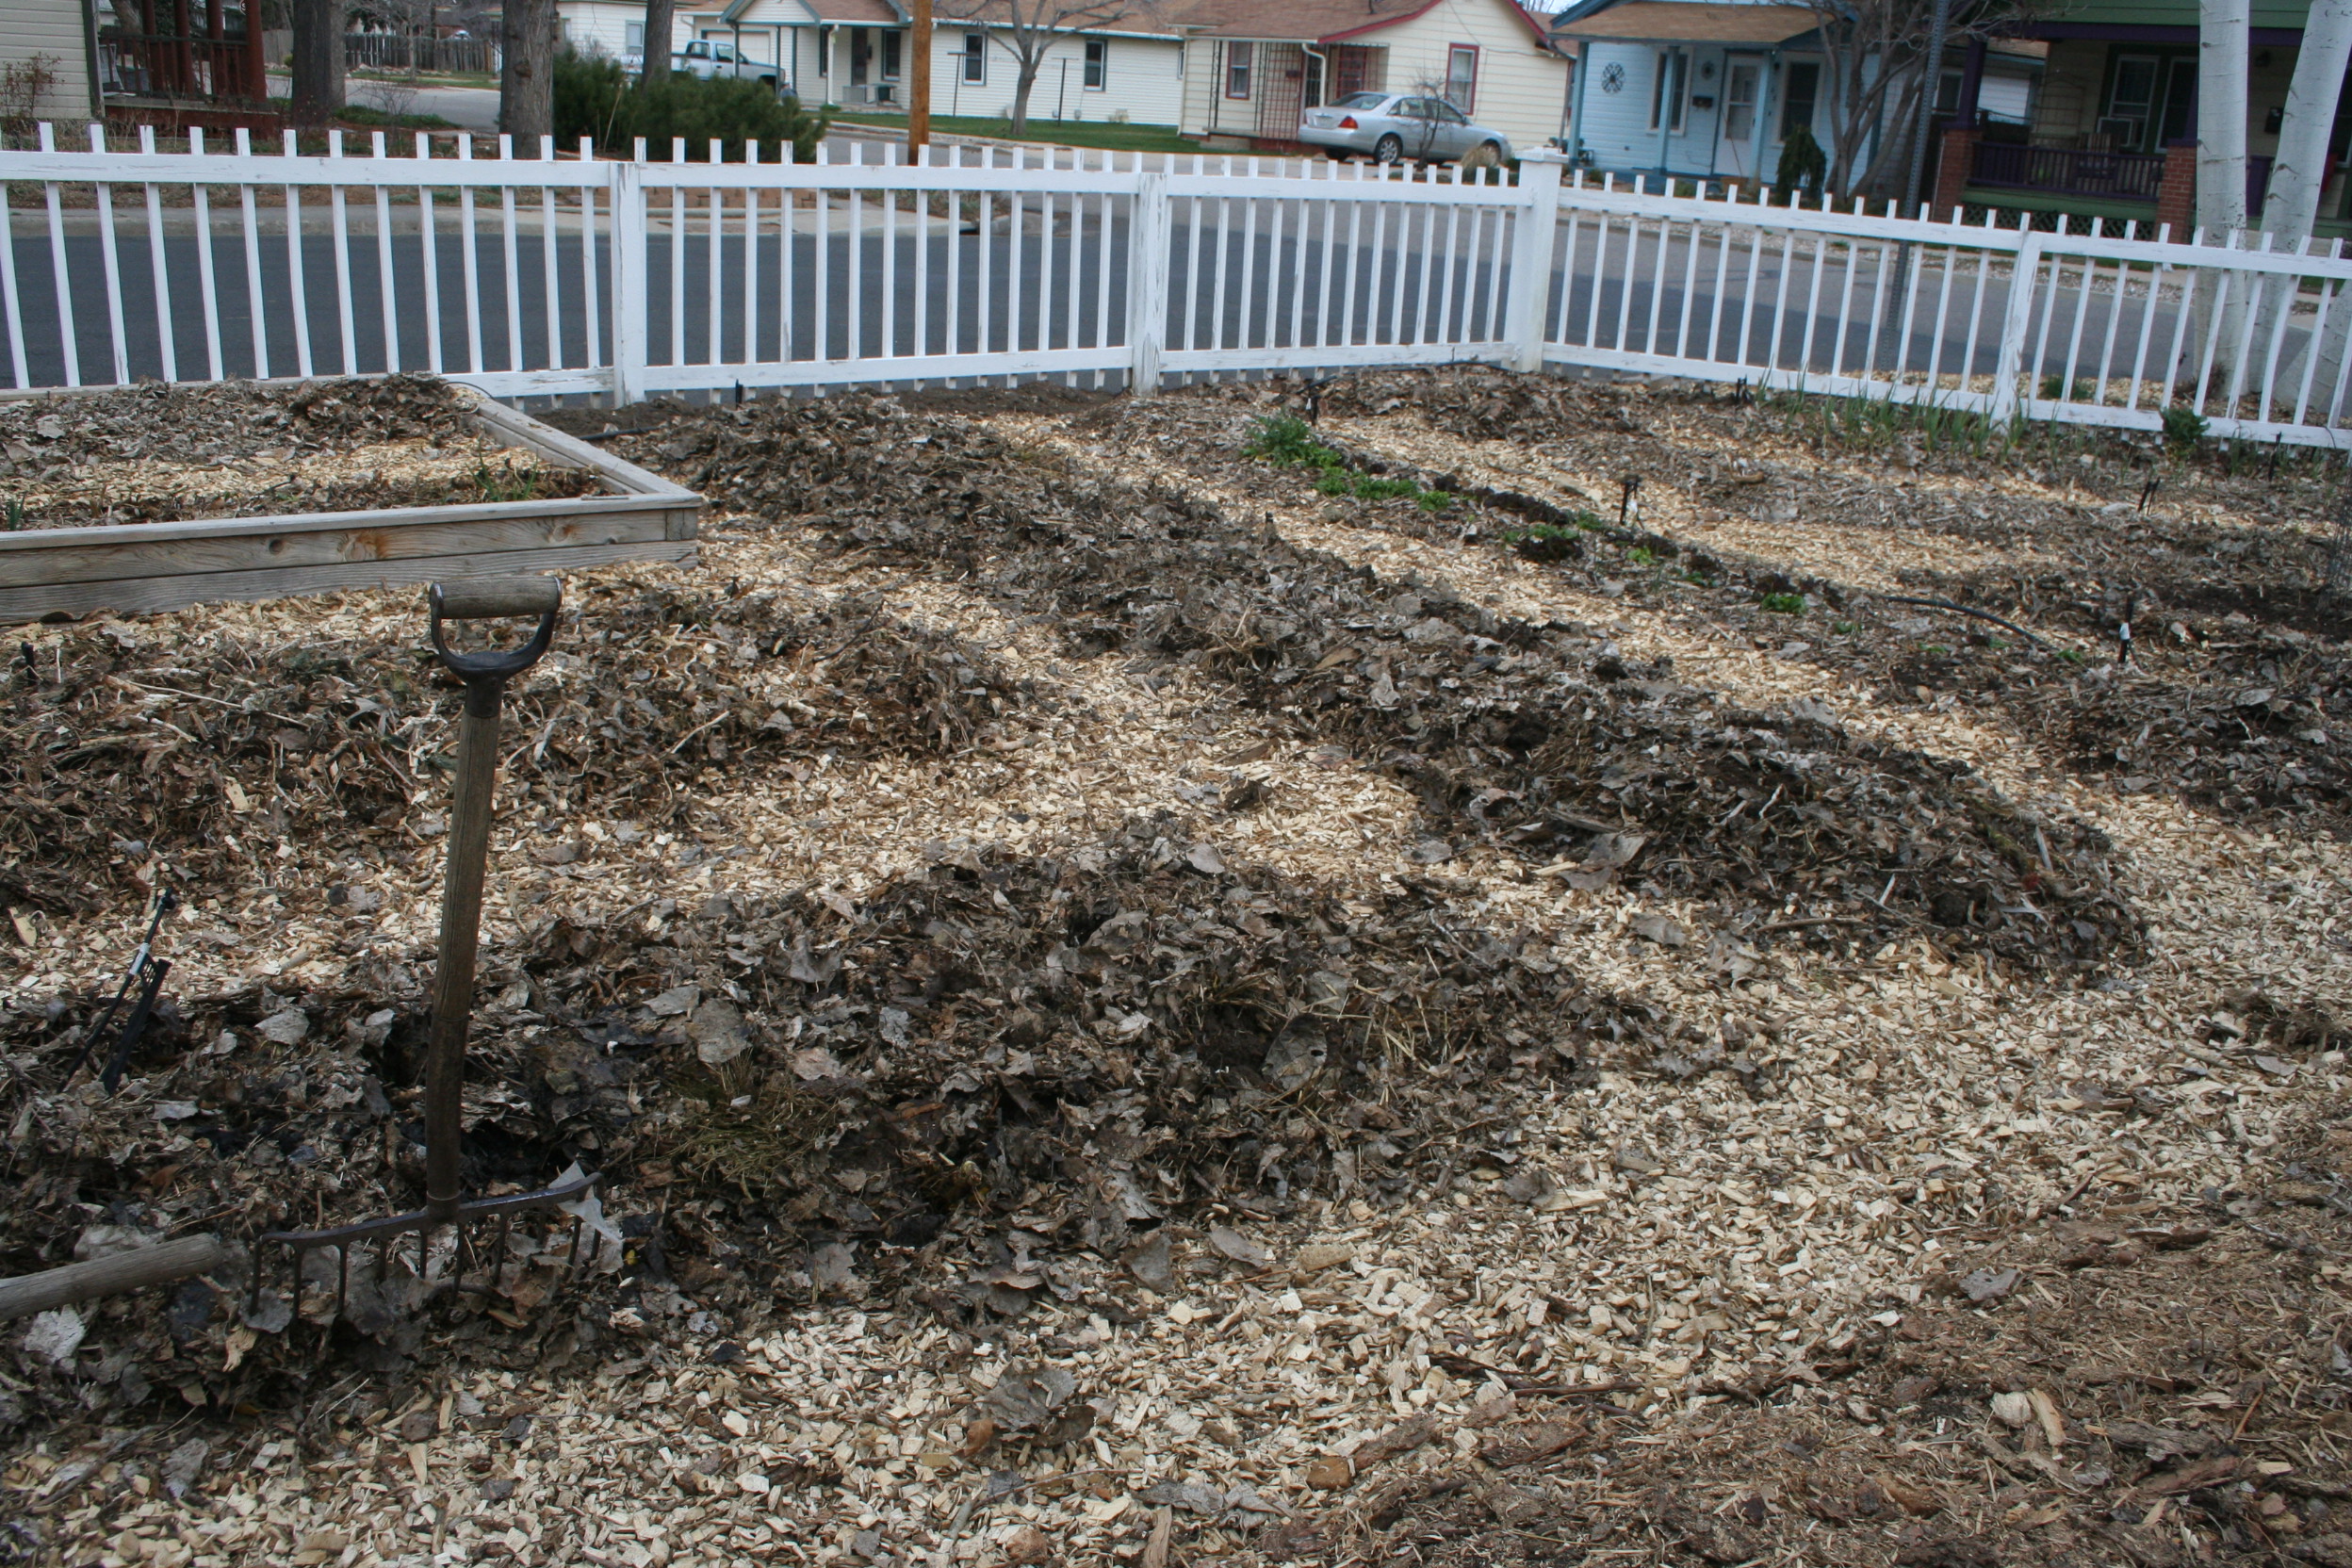
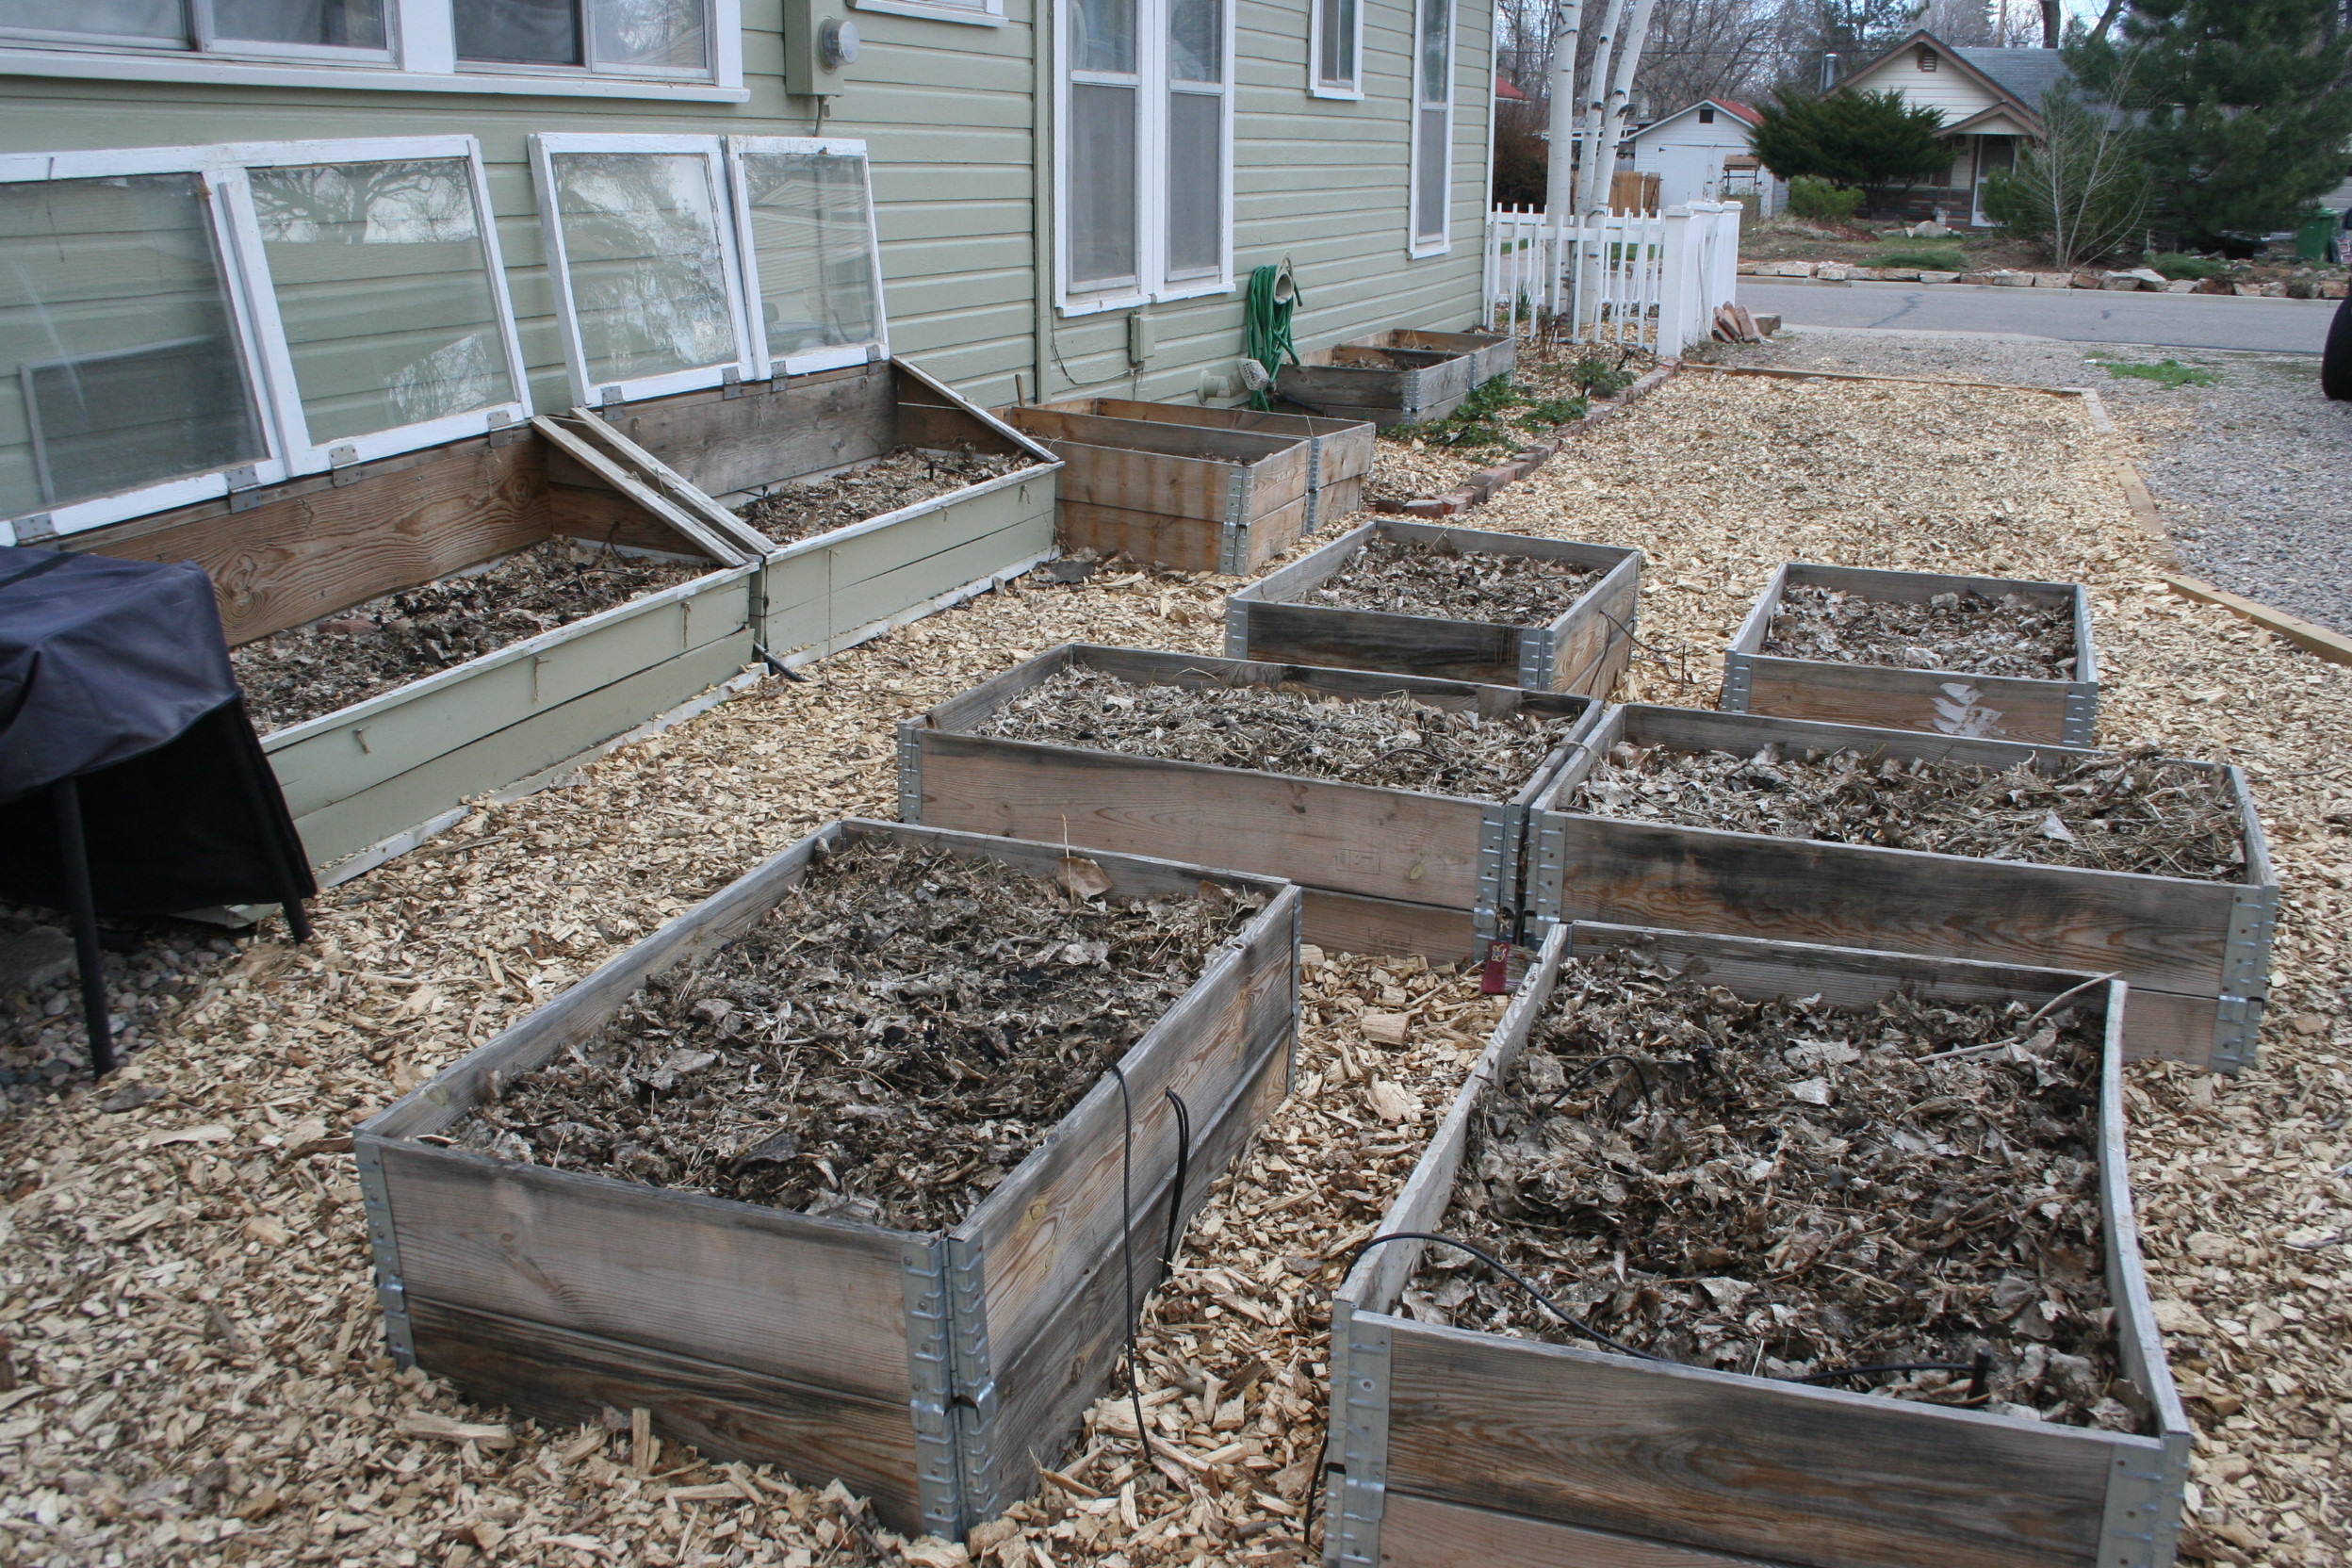
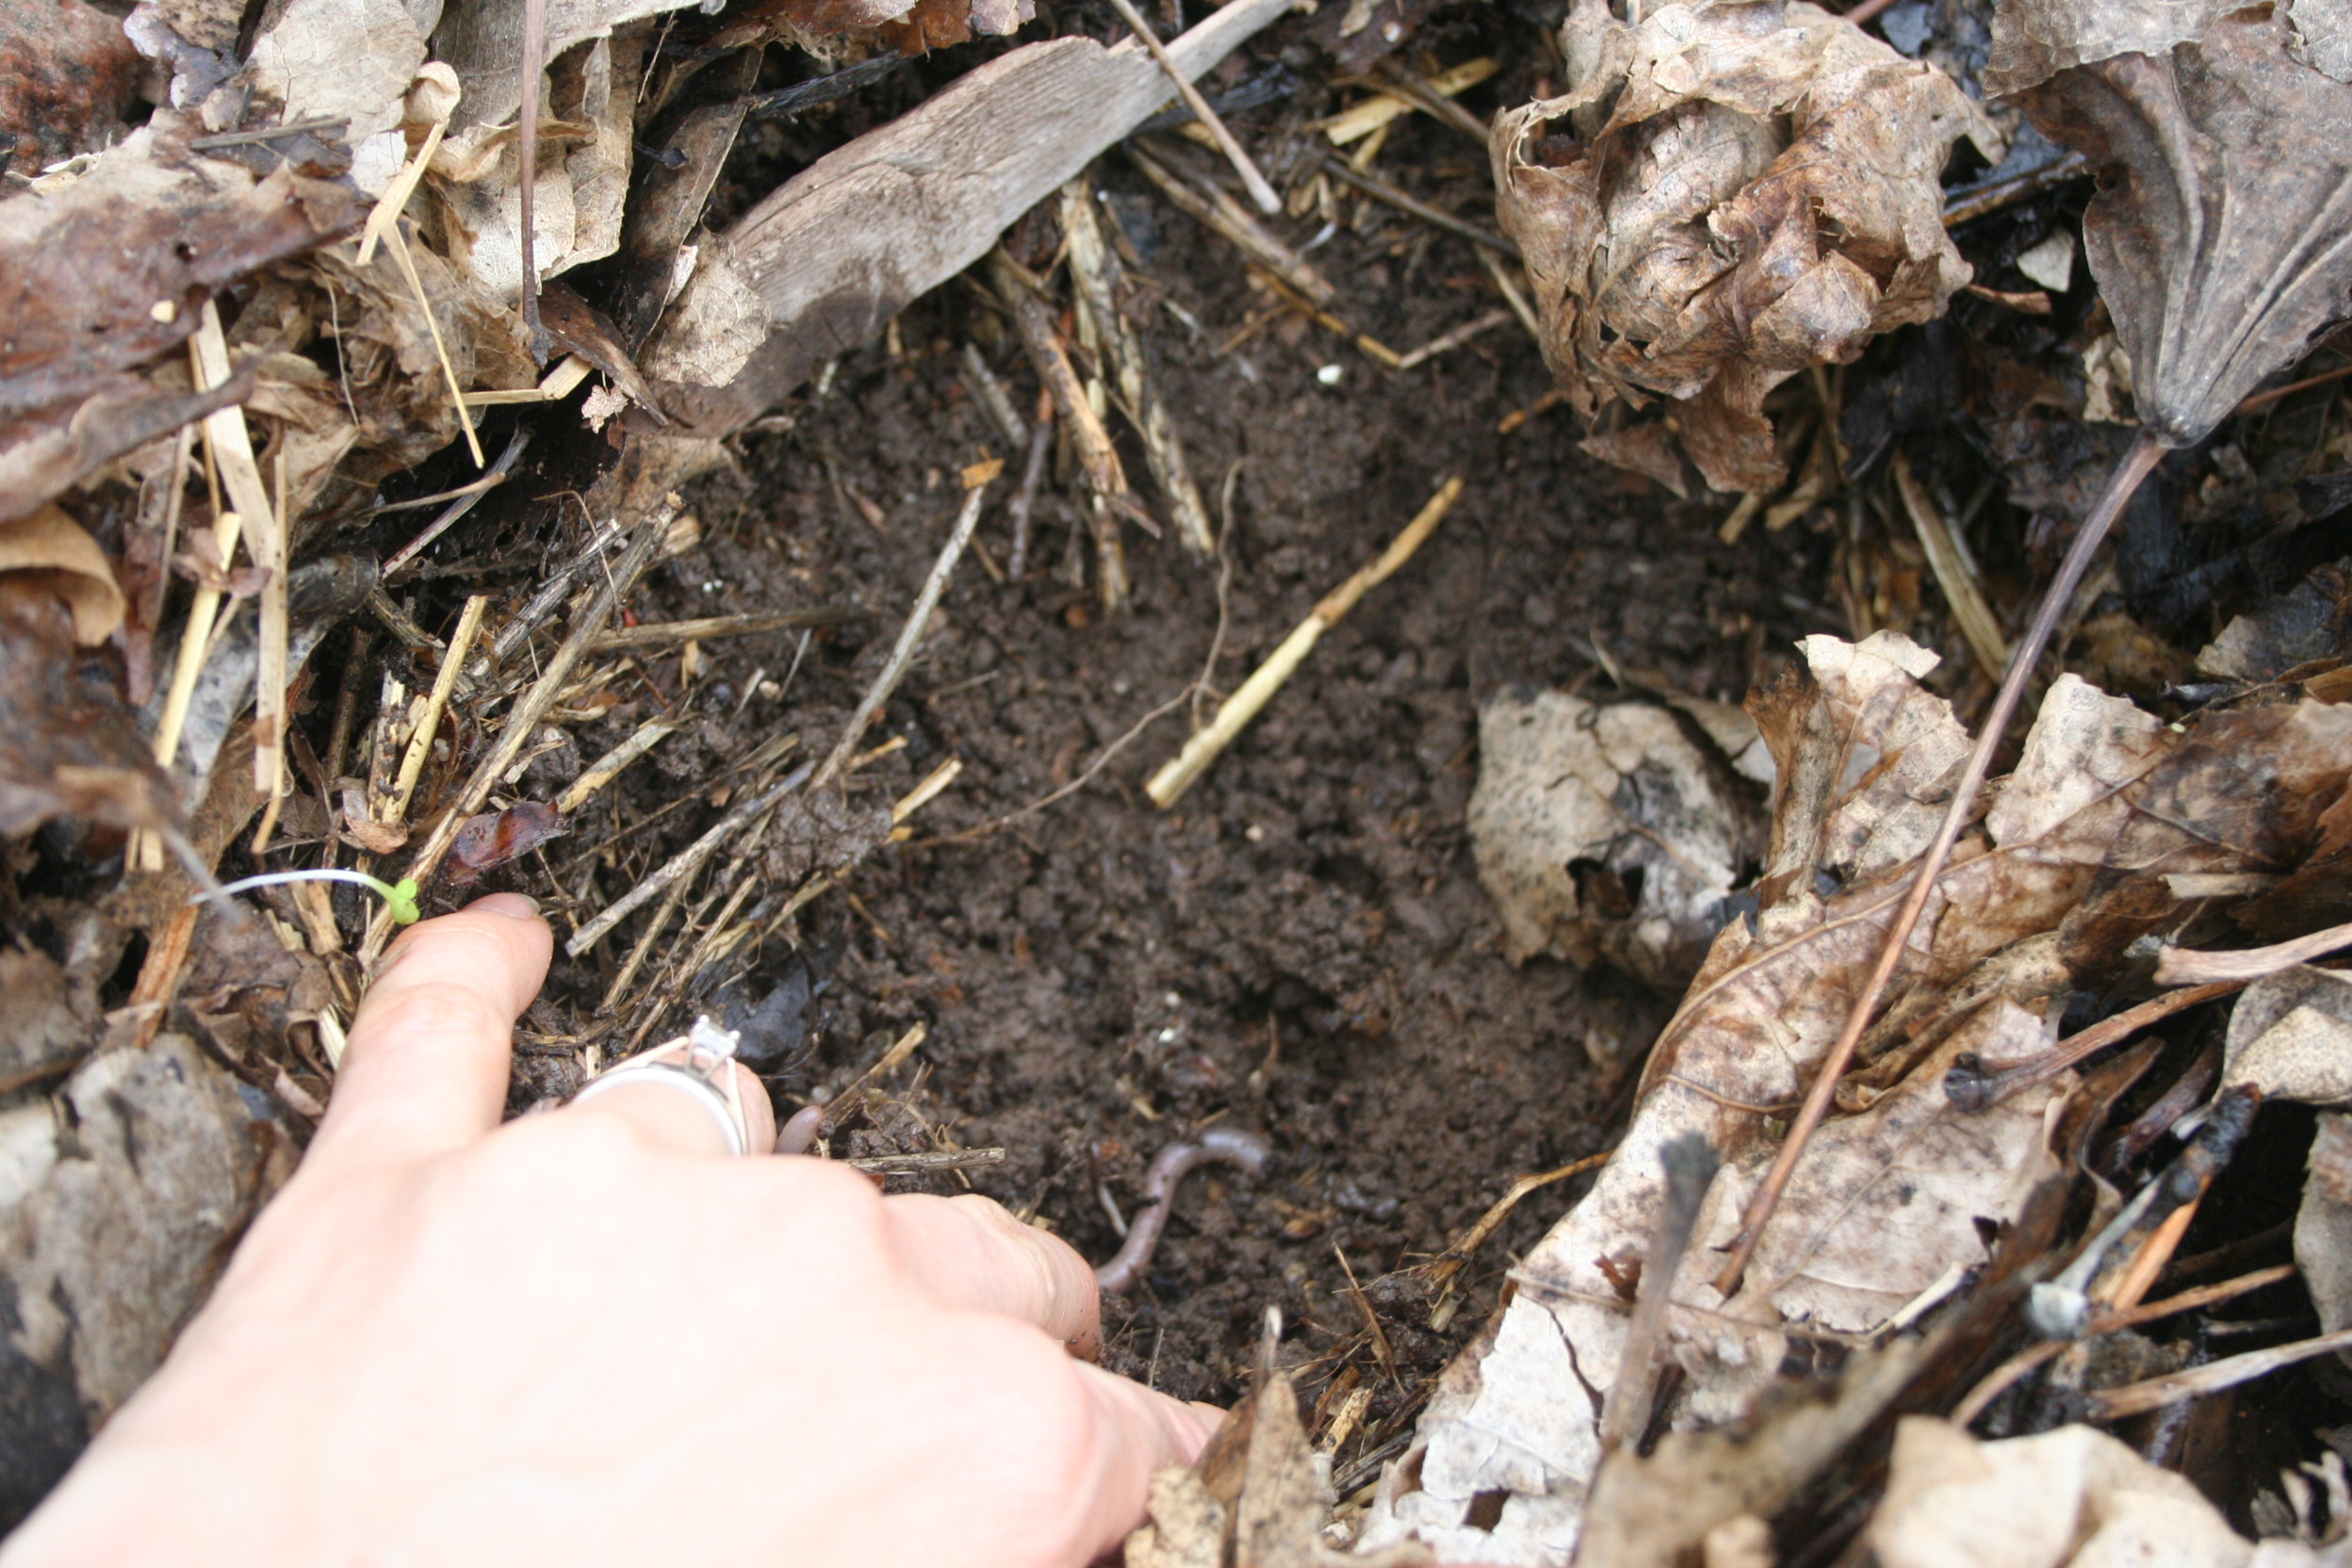
We've created a farm-share situation with these neighbors. I provided the seed, started the plants out in my basment and greenhouse, and brought in all of the compost. We shared the work of prepping the soil and they are providing the land and water to keep things growing. The large front yard plot has been so much fun. I planted corn and baking pumpkins in their large yard (two things which I don't have room for at my house) - along with cucumbers, beans, greens and enough tomatoes for BOTH of our families to put up for winter.

It has been so much fun sharing the joy of growing food with this young family. The mother of these three kids shared that it was difficult getting her family to eat many vegetables. Now, she is adding fresh swiss chard to their smoothies, picking cucumbers for their salads and they are even trying things like eating spicy radish pods! Because the kids were involved in the process of growing this food - they are much more interested in eating it. They have really enjoyed the process of keeping the garden looking beautiful. They have chickens for the first time this year, and have a thriving compost pile in the backyard!
The kids helping Will plant our three sisters garden: corn, beans and squash

Lynn with her three kids, Kevin, Reese and Harper in front of the thriving corn!.
Our hope is to add 2-3 new plots each year. With this extra space, we hope to provide nearly all of our family's produce ( while sharing half of it with the neighbors who share the land). My friend Will is helping me keep up with the gardens - and along with our wood-fired bread business, we dream of selling any extra produce to the neighborhood in years to come. (Local Northern Colorado friends, learn more HERE)

One of our french baking pumpkins at the neighbor garden

Collards and bush beans thriving
It may be a crazy idea (my husband thinks so!) but I've even thought of a neighborhood goat share. Picture a pair of goats which could be loaded onto a bike-powered trailer and shared between 5-6 yards for occasional brush clearing, weeding and milking. Hmmm... the idea of a backyard tilapia pond/aquaculture setup might be a little more realistic.
So, I may not get to have my cow.
That's ok. I love supporting our local dairy farmer - and our extended family has offered to let us raise pigs at their place. This fall we will learn to butcher our first pig... curing meat, making sausages... this is in my future!!
My dream of being self-sufficient has changed. We cannot do this alone. The neighborhood community is being drawn into our vision of... let's call it FOOD INTER-DEPENDENCE. This means more sharing, learning and growing together. This inter-dependence is SO good. More fresh food on more tables, more healthy bodies working under the sun. More compost piles in backyards. I can hardly contain my excitement as we begin planning for next year.
But for now... it's time for me to go plant some fall carrots!

Peterson kids showing their bounty of cucumbers!