Peeling Chicken Feet - a homesteading adventure story

I am a first generation homesteader. Well, in a way.  The skills I am learning are not new skills.  This knowledge I am soaking up about learning to grow vegetables, save seed, preserve my harvest - and raise animals for meat - are all skills my grandparents and great-grandparents definitely had.

They knew the basics of how to store root vegetables in a cellar, of how to make their own bread, and probably ...

...how to peel chicken feet.  

But me?  Well, let me tell you my story.

chicken

We've been raising chickens since our firstborn was tiny.  Both  my husband and I had chickens growing up, so raising them for eggs was natural.  But neither of us had much chicken farming experience beyond egg production.


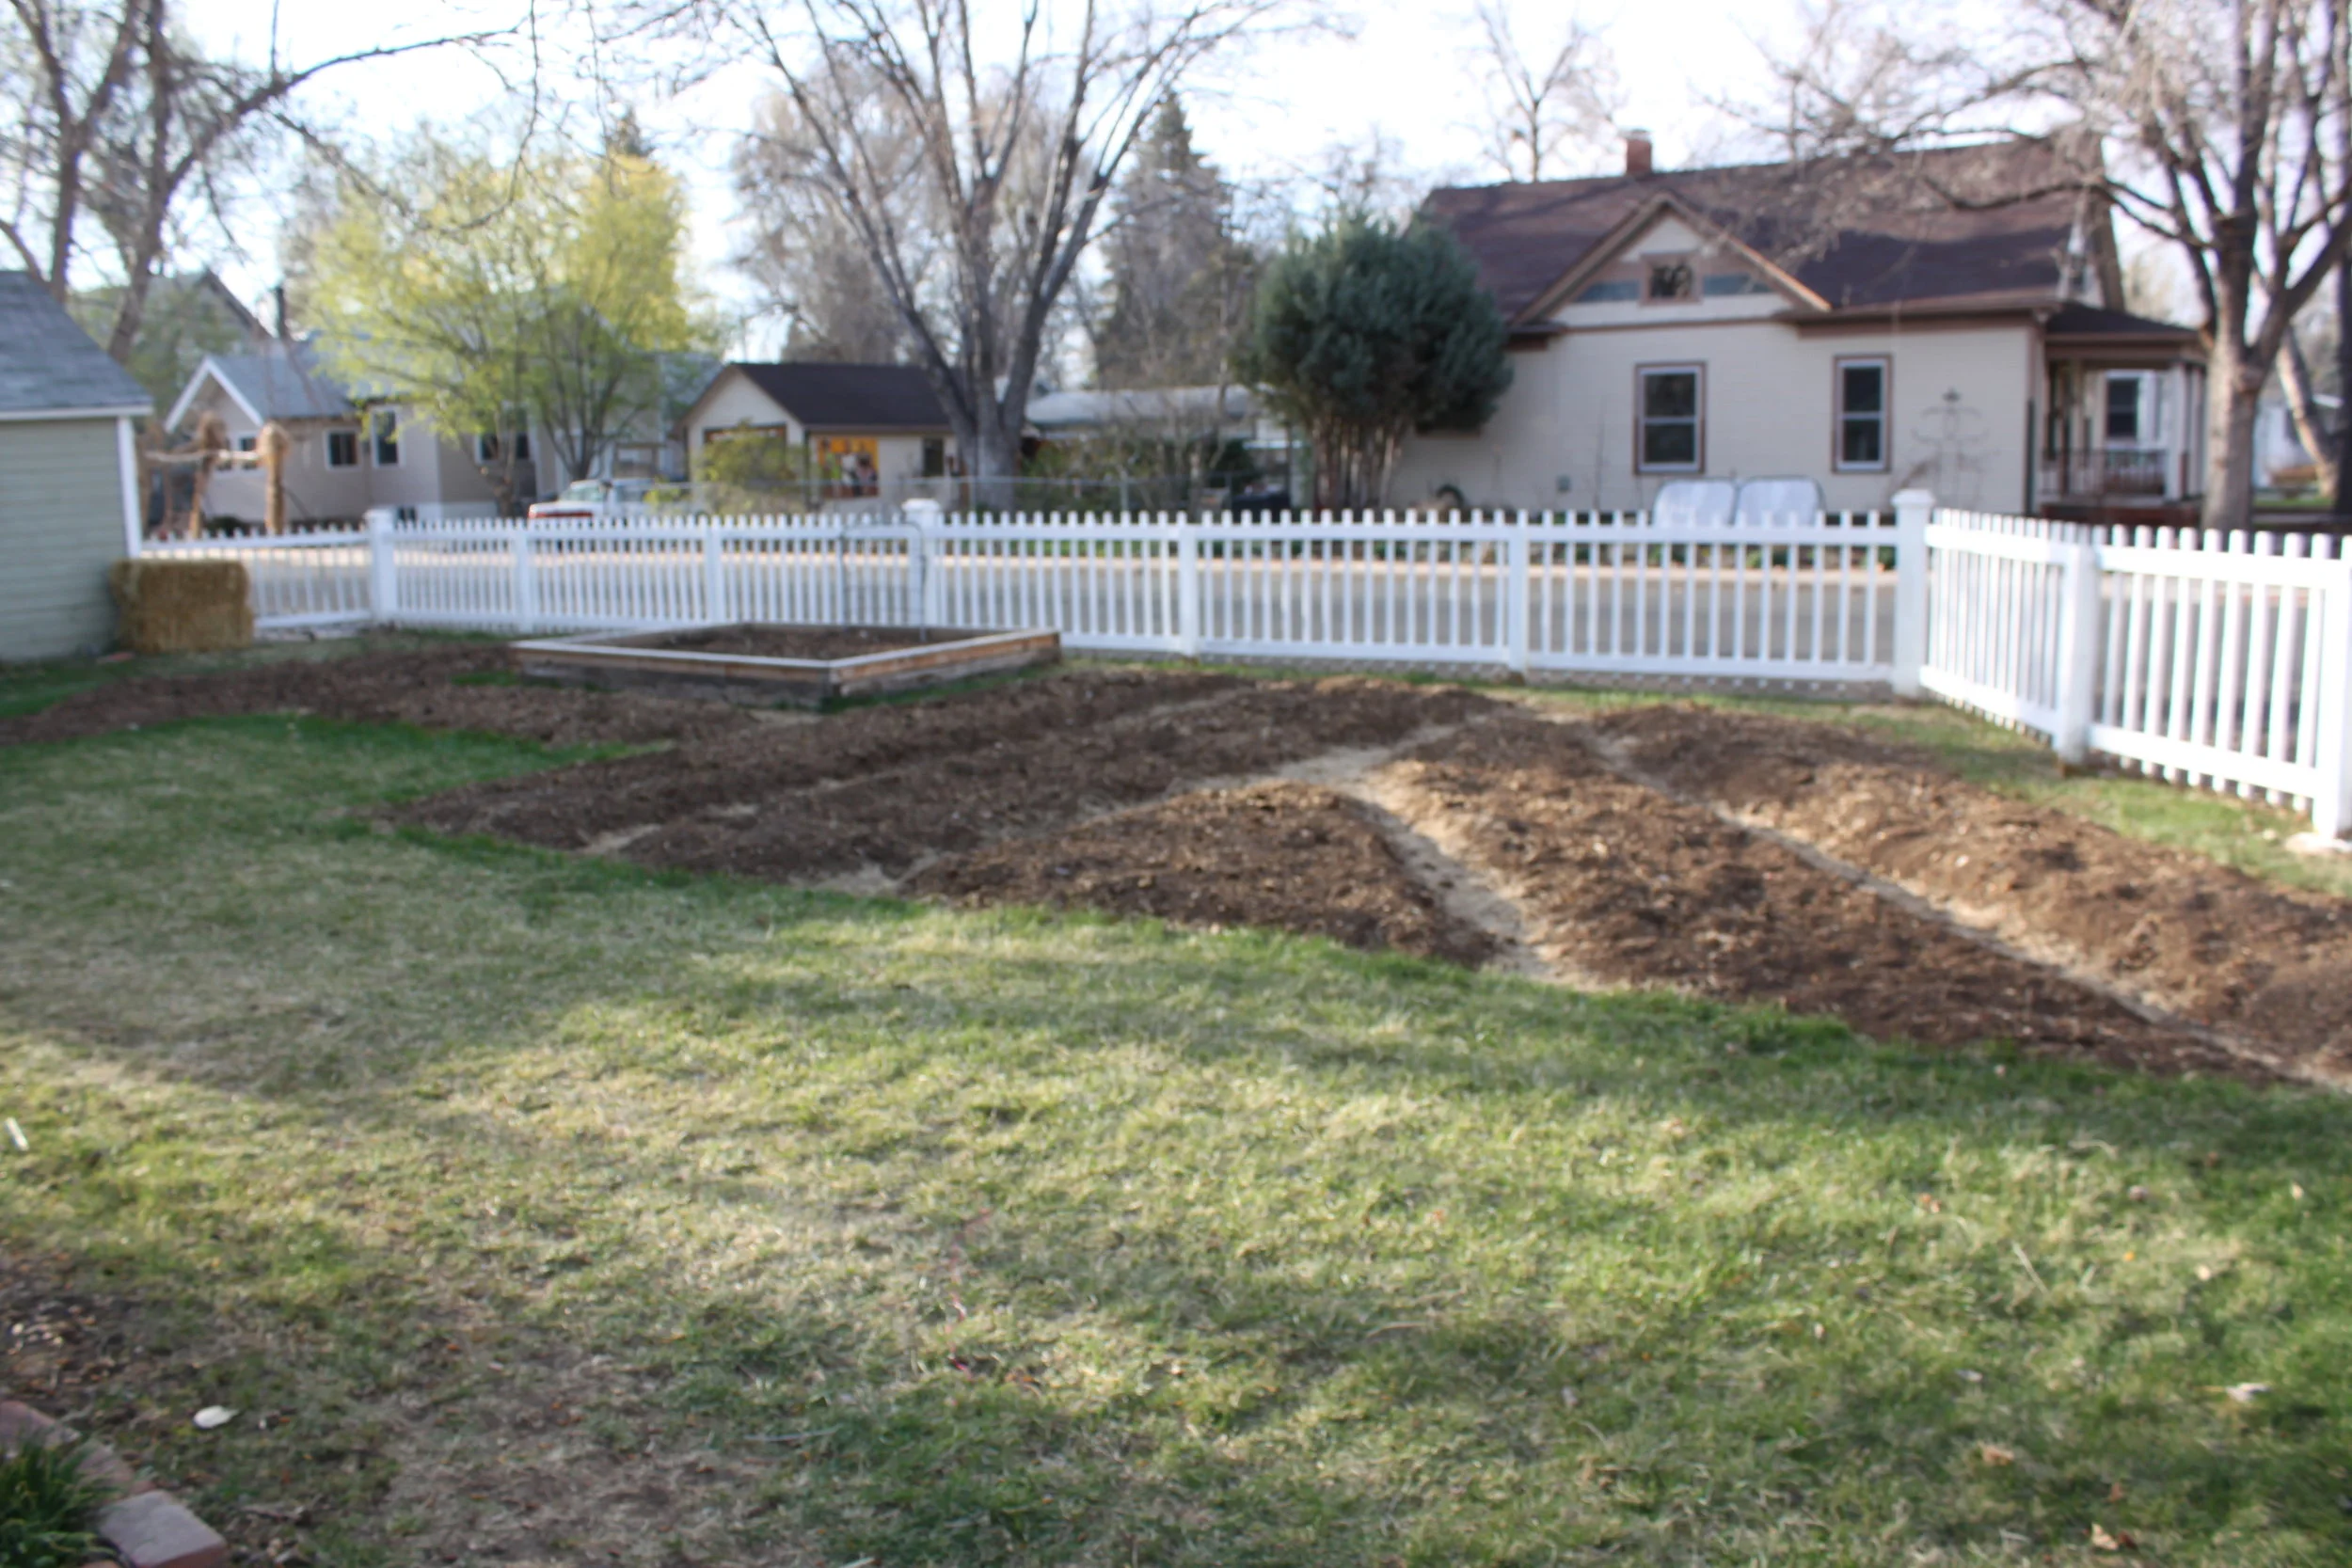
Once we made the decision to try and grow as much food as possible - we began to see the chickens as more than a hobby.  We wanted them to be put to use in every way.  As we learned more about soil health and composting, they became even more crucial to our homesteading success.  

Learning how to butcher our own chickens was another way to make sure we were valuing these animals.  You can read more about that process HERE.

So that is where we were last year.  We had spent a couple of years learning to butcher, process and prepare our own chicken and rabbit which we had raised.  It felt good knowing we weren't wasting anything. 

But were we?

We are big believers in home made bone broth.  We use our vegetable scraps and any leftover bones regularly.  (Here's a simple way to do it) One of the reasons bone broth is so beneficial, is because of the vitamins, minerals and gelatin that releases from the bones.  They are extremely healing to the immune system. (Read more details HERE.)

One secret to a really nutritious bone broth, I'd read, was CHICKEN FEET.

Chicken FEET?  Really?

Now .. it only takes a little observation to realize that chicken feet are... really......

NASTY.

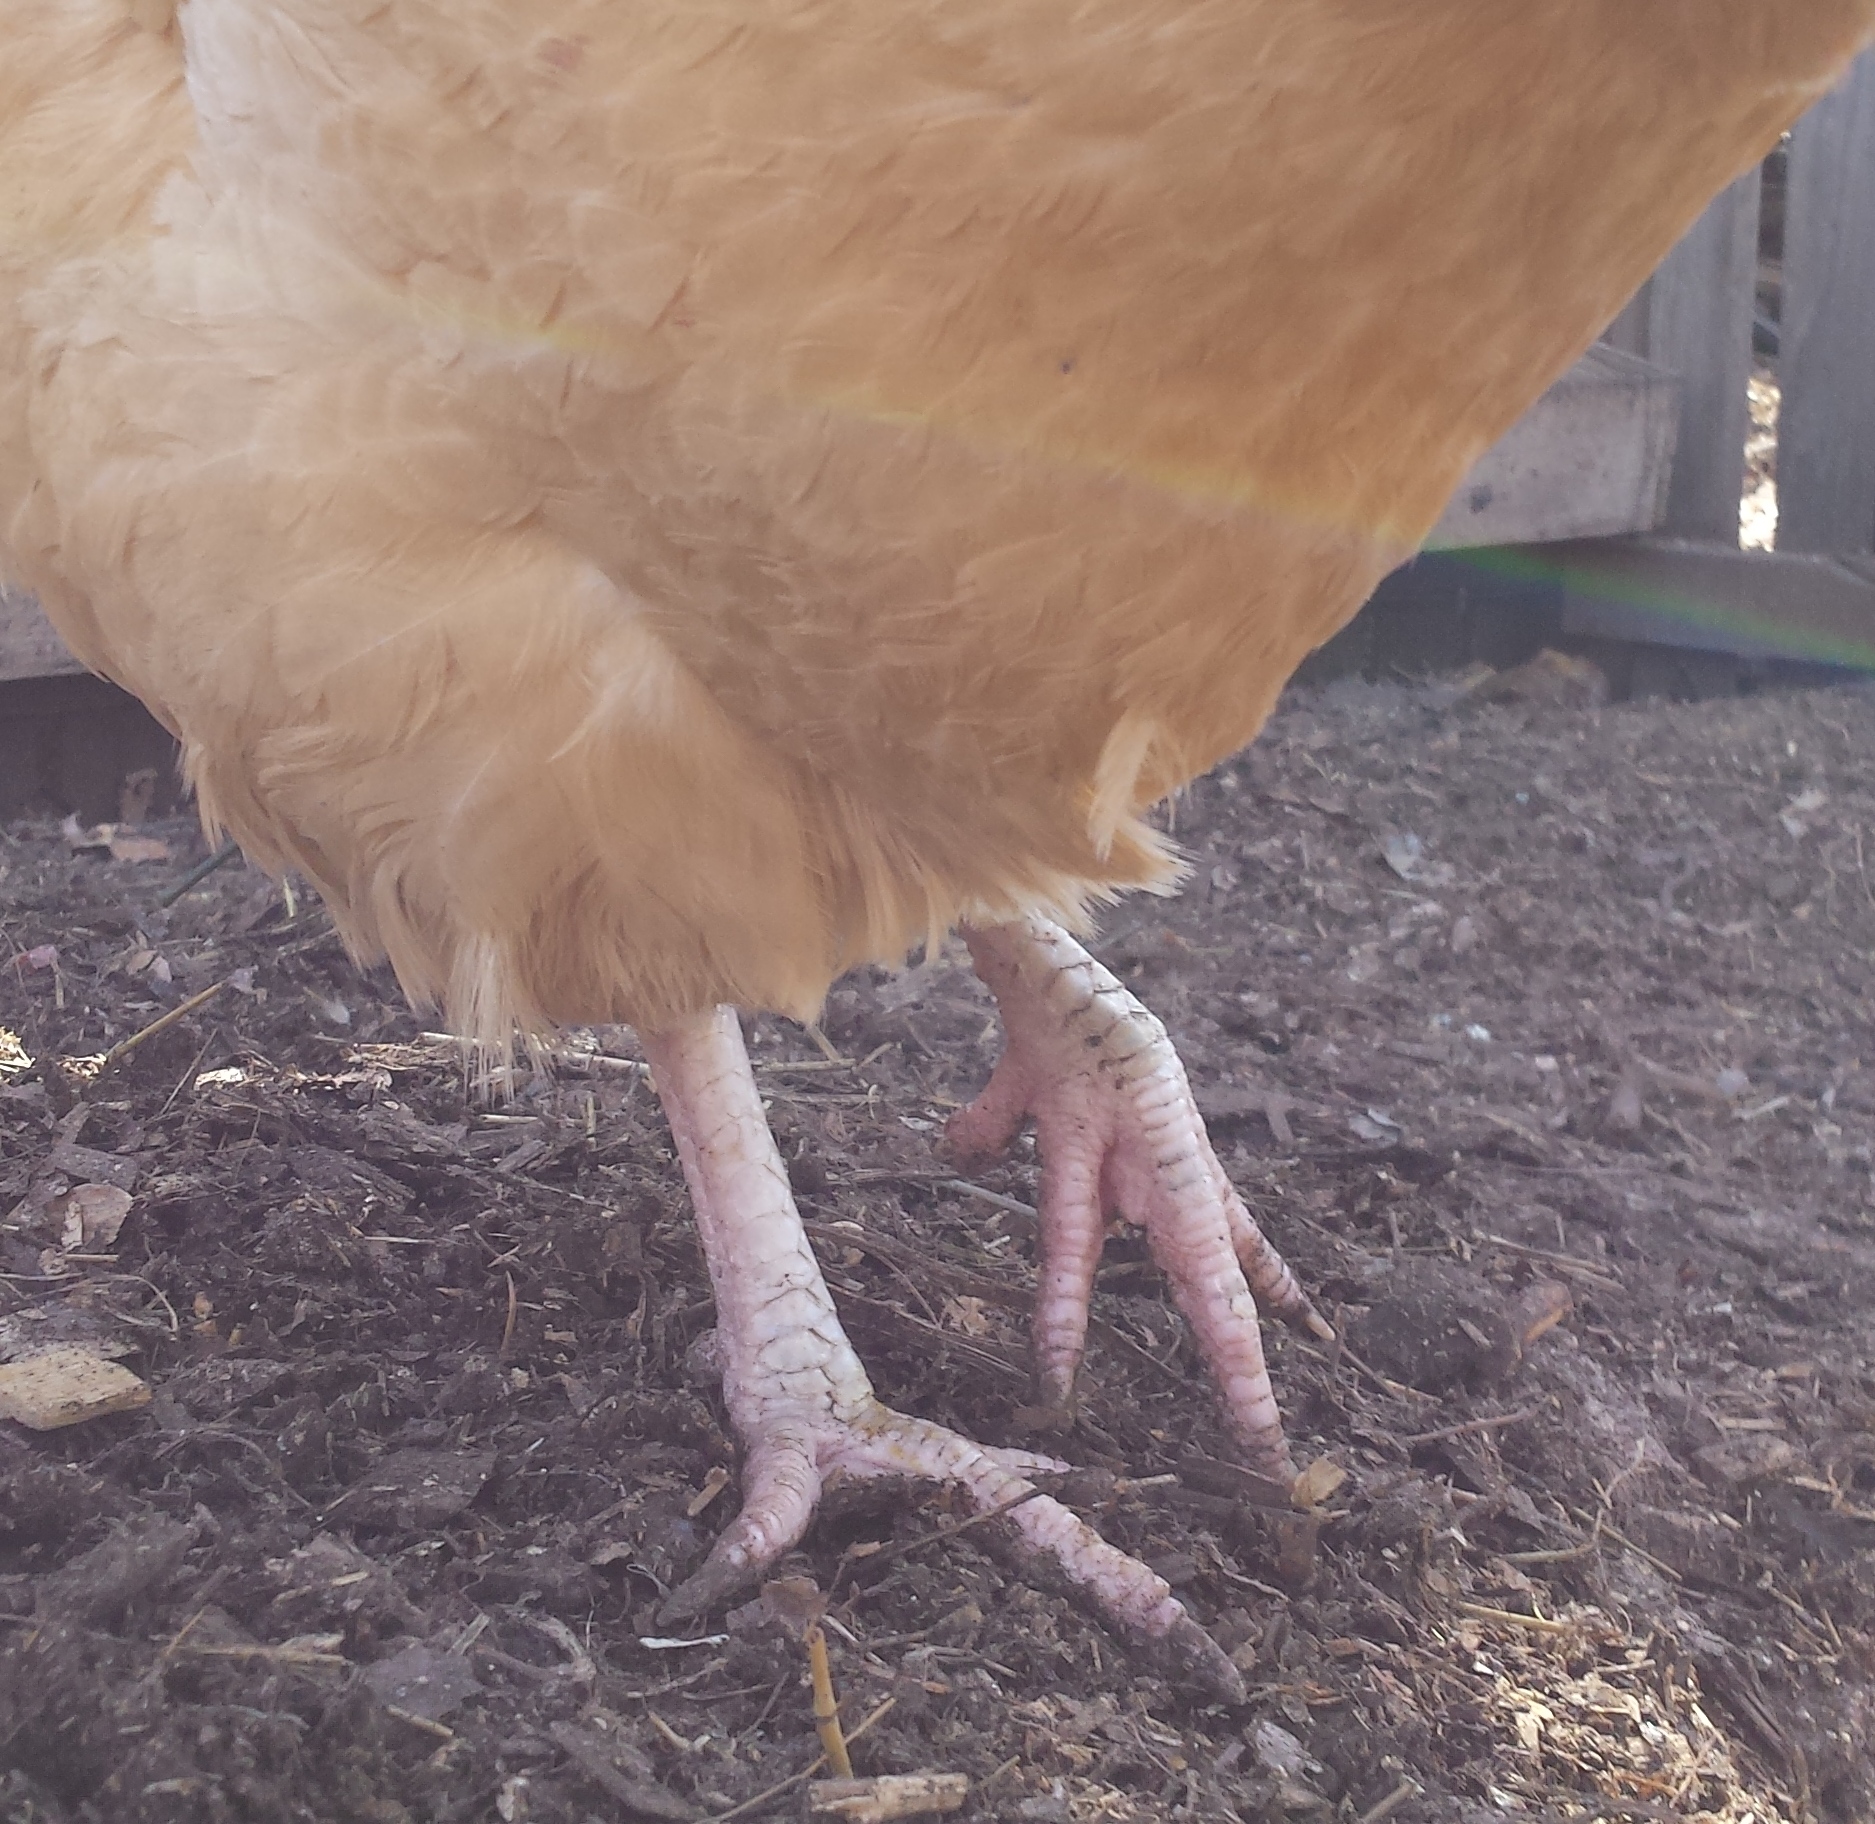
They are the hen's best tool to scratch, dig and fling all sorts of things around in the compost pile.  And no matter how clean you keep your coop - those claws are going to be downright dirty.

Now, not having a relative to pass down this knowledge to me - I was truly mystified. How ON EARTH would I be able to clean those feet well enough to get them anywhere near our food? After burying many feet into the compost pile along with the feathers and innards (from butchering)  ... I finally got the courage up to save some for the pot.   The girls used a brush and we scrubbed them outside as best we could.

Once I got them into the kitchen sink, though - the problem became apparent.  These feet have scales, and the scales get dirt and junk under them - kinda like fingernails. (are you gagging yet?)  No matter how much I scrubbed, I coudn't get them clean enough.   

I'd seen chicken feet for sale in Asian markets and even at Natural Food meat counters before - but they didn't look like these.  They were clean.  What was I missing?

I picked up the phone and called my friend Will.   I'm grateful to have a few friends with some of this rare homesteading knowledge to share.  He tried not to chuckle while I told him I was nearly gagging trying to get these feet clean. What should I do?

BOIL THEM for a few minutes.  He said.  And the outer layer of the feet will peel off like a glove. 

 Well I wouldn't have thought of that.

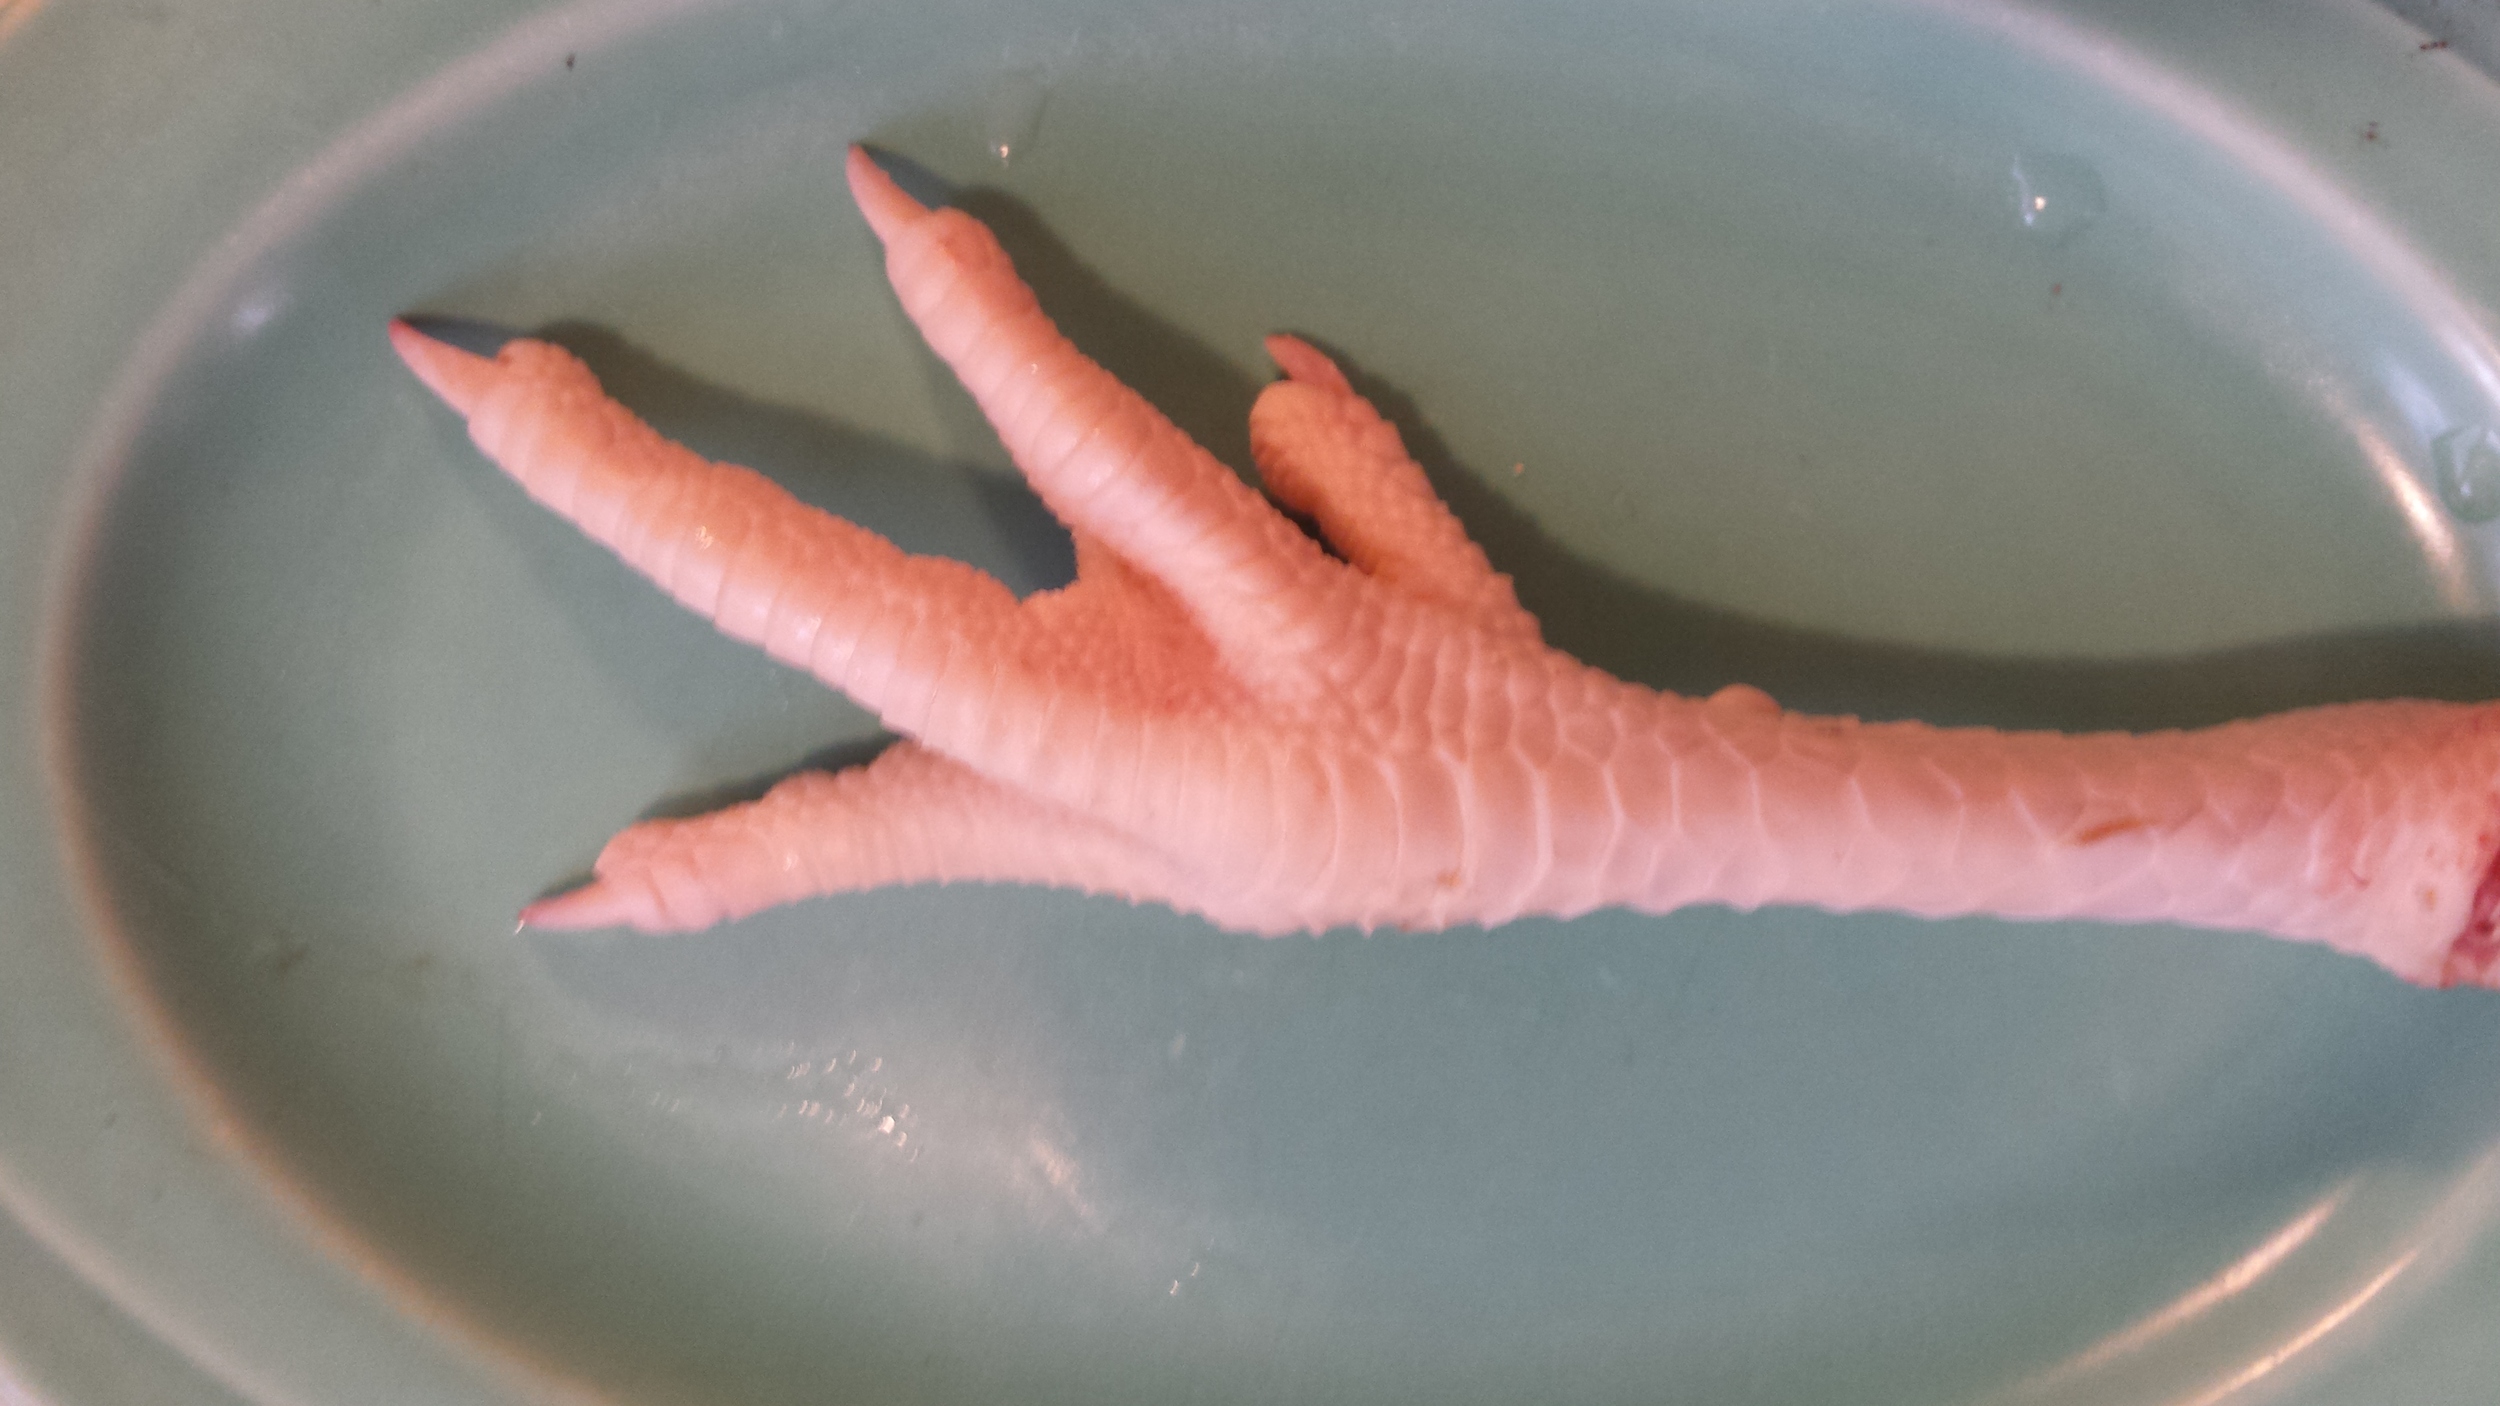
We did as he said, and sure enough - the outer scaley skin layer peeled off - very reptile-like.  WEIRD.  What came next, Will forgot to mention.  The chicken's toenail popped off revealing a totally clean, new one underneath.   WHAT?!  

So here I am at my kitchen sink doing this bizarre thing  - calling for the girls to come look.  First it was 'EEW!' but it then turned to 'LET ME TRY!'.  The peeling and popping off toenails was strangely fun.  And true enough - we had some beautifully, without-a-doubt CLEAN chicken feet at the end of it:


I had to take a quick video.  Here we are peeling chicken feet for the first time - still in our GROSSED OUT/SHOCKED state:

Urban homesteading adventures! We butchered 5 chickens and decided to try and save the feet this time for our soup stock. Read the full post about it here: http://www.thriftygoodlife.com/thriftygoodlife/2015/3/22/peeling-chicken-feet-a-homesteading-adventure-story


Learning this new skill somehow warms my heart.  It makes me feel connected to the generations that went before me.  Sadly, we have about a 100 year knowledge gap in our society.  Since the rise of convenience foods, grocery stores, mass produced meat and factory farms, we have all but lost much of this important food knowledge.

 We did add them to our next batch of soup stock.  Gia helped me:

20141115_181716.jpg
chicken feet in soup stock


In case you were wondering, the feet did not add any new or different flavor to our stock.  It tasted as delicious as always.

I'm wondering if this bizarre sight will become a bit more normal to us with time.  Not sure, really.

What I am sure of though, is that little by little - the homesteading skills and knowledge that generations past took for granted - are becoming important to many of us again.

The birth of the Sailer Urban Homestead - Part One

When my hubby and I purchased our home 10 years ago, we did not realize then - what our 1/5 of an acre lot could become. We were just thrilled to have purchased a spot where our girls would be able to play and run.  We could not foresee rising green bean trellises, spreading squash forests, ducks waddling, litters of baby bunnies in the spring, or a greenhouse brimming with veg.

This adventure in growing our own food grew up organically, you could say.

Our own family health issues led us on the journey of discovering how intricately FOOD is linked with GOOD HEALTH. Once this had permeated our thinking, organic produce became a priority.  We'd grown small gardens with a few tomatoes and beans here and there each year (which was a wonderful beginning) but it never amounted to enough to make a difference in our grocery budget.  And a difference is exactly what we needed.  My husband began a new way of eating (no carb, no sugar) for the management of his own health - and I realized we just couldn't afford to purchase such large quantities of fresh, organic veggies.  We had to figure out another way.

This is where my over-confident optimism kicked in (a character trait of mine that I'm not sure whether I love or hate).  "We should just try and grow our own produce!  I am sure if I research enough - I can figure it out!"

I ordered this book:

I determined to read every page until I understood how to grow food well.  I did read every page.... and I did learn a lot.  In reality - it was a wonderful place to start - but I would learn MUCH more from the experience of trying, failing, succeeding, being inspired by other gardeners and tasting the wonderful results of our hard work.

This is Part One of our Homesteading story.  When we bought our house - the yard was very run-down.  The lawn was dead, the house needed work - but we soon had it looking nice.  Here is our side yard before any big garden had even entered our minds:

Later - we put up a fence - and the side yard seemed so much larger:

My hubby built me some garden boxes (you can kind of see them behind the pool here) and we packed in as much as we could (2010):

Those were great beginnings, but 2011 was the year we decided to GO BIG....

We spent time sketching out where we wanted the beds... and although it was January (and much of the deep ground was frozen, we rented a sod cutter and started in on removing the lawn!)  It's amazing that we didn't break the machine... (I'm a little impatient, I'm sure it was my idea NOT to wait until Spring).  It did work!  We got most of the sod out.   (I did not like the fact that my hubby used spray paint on my soon-to-be organic veggie bed - but some things can't be battled over.)  I shouldn't complain... he does so much to turn my dreams into realities!!

I will admit to some mild panic after we dug these huge patches out of the lawn.  I wondered if I'd just totally ruined our beautiful yard (though NOTHING looks very beautiful in the brown mid-winter).

We rented a tiller and really turned the sod in and under to break things up after a week or so.   I have learned, since - that tilling is not the most beneficial way to improve the soil.  Adding compost to the top, and then covering well with mulch will draw up the earthworms and they will do the hard work for you.  I think it would have taken much longer, though if we hadn't tilled.  We have not tilled since - and the results (with heavy mulching only) have been wonderful.

Here is an incredible video about the benefits of mulching instead of tilling (saves water, keeps weeds at bay, enriches soil).  Ruth Stout's 'no work garden' has given me inspiration, for the years since.  I have learned to mulch, mulch, mulch from this funny lady.  I don't leave my garden as 'untidy' as hers... nor do I garden naked...  but her methods are amazing!

We ordered seeds online from Baker Creek Heirloom Seed Co. and Seed Savers Exchange, and in February we got prepared to plant indoors.  There's nothing like potting mix on the kitchen table!  Although we did purchase some standard seed starting trays, we also had fun creating pots from toilet paper rolls and newspaper.

It was fun for the girls to be a part of the whole process.

This year - we made our own seed start mix.  I spent a lot last year on pre-made bags of potting mix.

Here's a simple seed start mix recipe:

  • 3 parts peat moss or coconut coir (coco coir is ground up coconut husks and is more environmentally friendly) - this is your water holding agent (acts like a sponge)
  • 3 parts compost-  this is your feeding agent - rich in nutrients.  Starting a simple backyard compost pile will keep you supplied with rich, home made compost each spring.  
  • 1 part perlite - (the white puffed rock) - this is your air agent - keeps the soil aerated and not compact.
  • 1/2 part greensand - this is a natural mineral agent that slowly releases nutrients and retains water.

* note * - I purchased organic compost this year for my seed starts.  I hadn't started my worm bin in time - and my outdoor compost pile is still quite frozen.   Sometimes you've got to use whatever you can and just get started!

Jeremiah installed grow lights in the basement, which has been the perfect place to give our seeds their start.  He was given some of these old light fixtures - and fitted them with plant bulbs.

In this first year - I started a lot of the wrong things - too soon (beans, squash & tomatoes) - and was just SO eager that I ended up losing most of them because I didn't harden them off before planting them outside.

Still... it was SO exciting to see the basement filling up with green, while it was still drab outside.

The next step was re-potting a lot of these little starts into larger pots, and then 'hardening them off'(once large enough) to move to the outside greenhouse.  Jeremiah started building this for me in 2011, but we finished it in 2012.  The first year, I kept my pots all throughout the house (near windows, in our bedroom... everywhere!) until the weather was warm enough to plant out.

More details on the making of the greenhouse in The birth of the Sailer Urban Homestead - Part Two ... but here's a sneak peek!

It's not too late to get your seeds started for this year's garden... make a plan (start small) and give it a try!  The rewards of this rich learning experience are so worth the effort.

-Sarah