Make-your-own-butter fun!
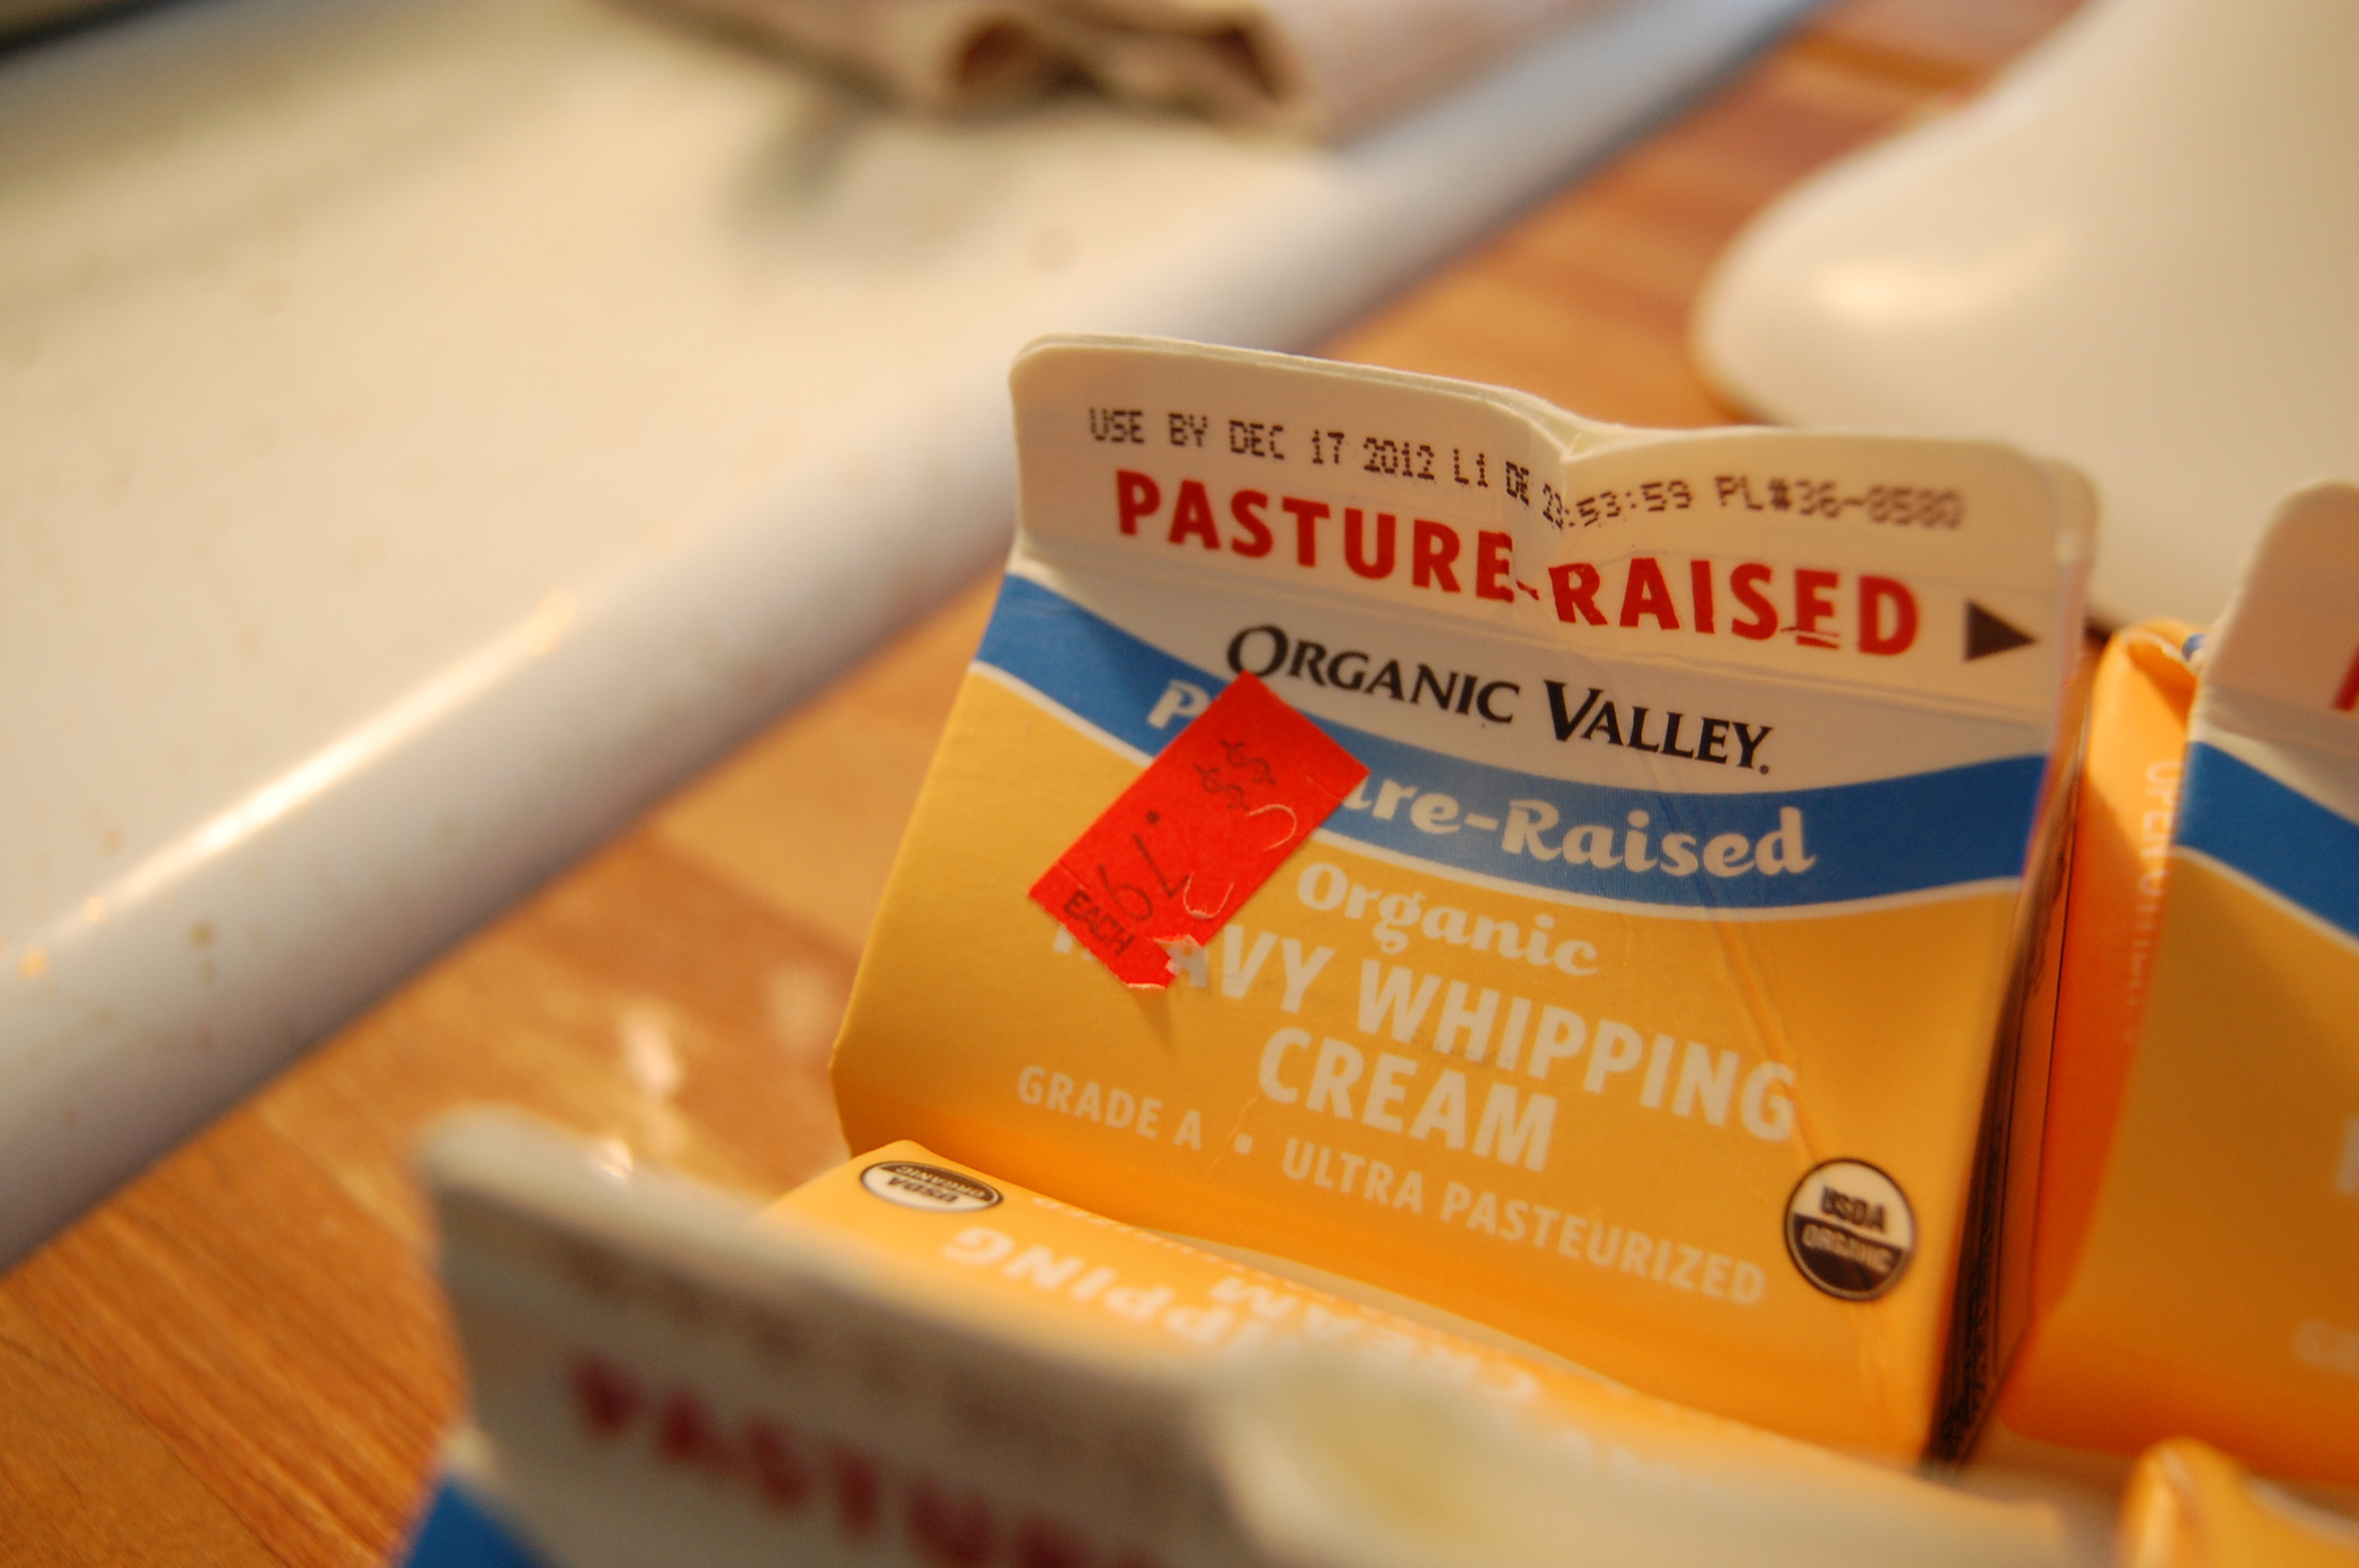
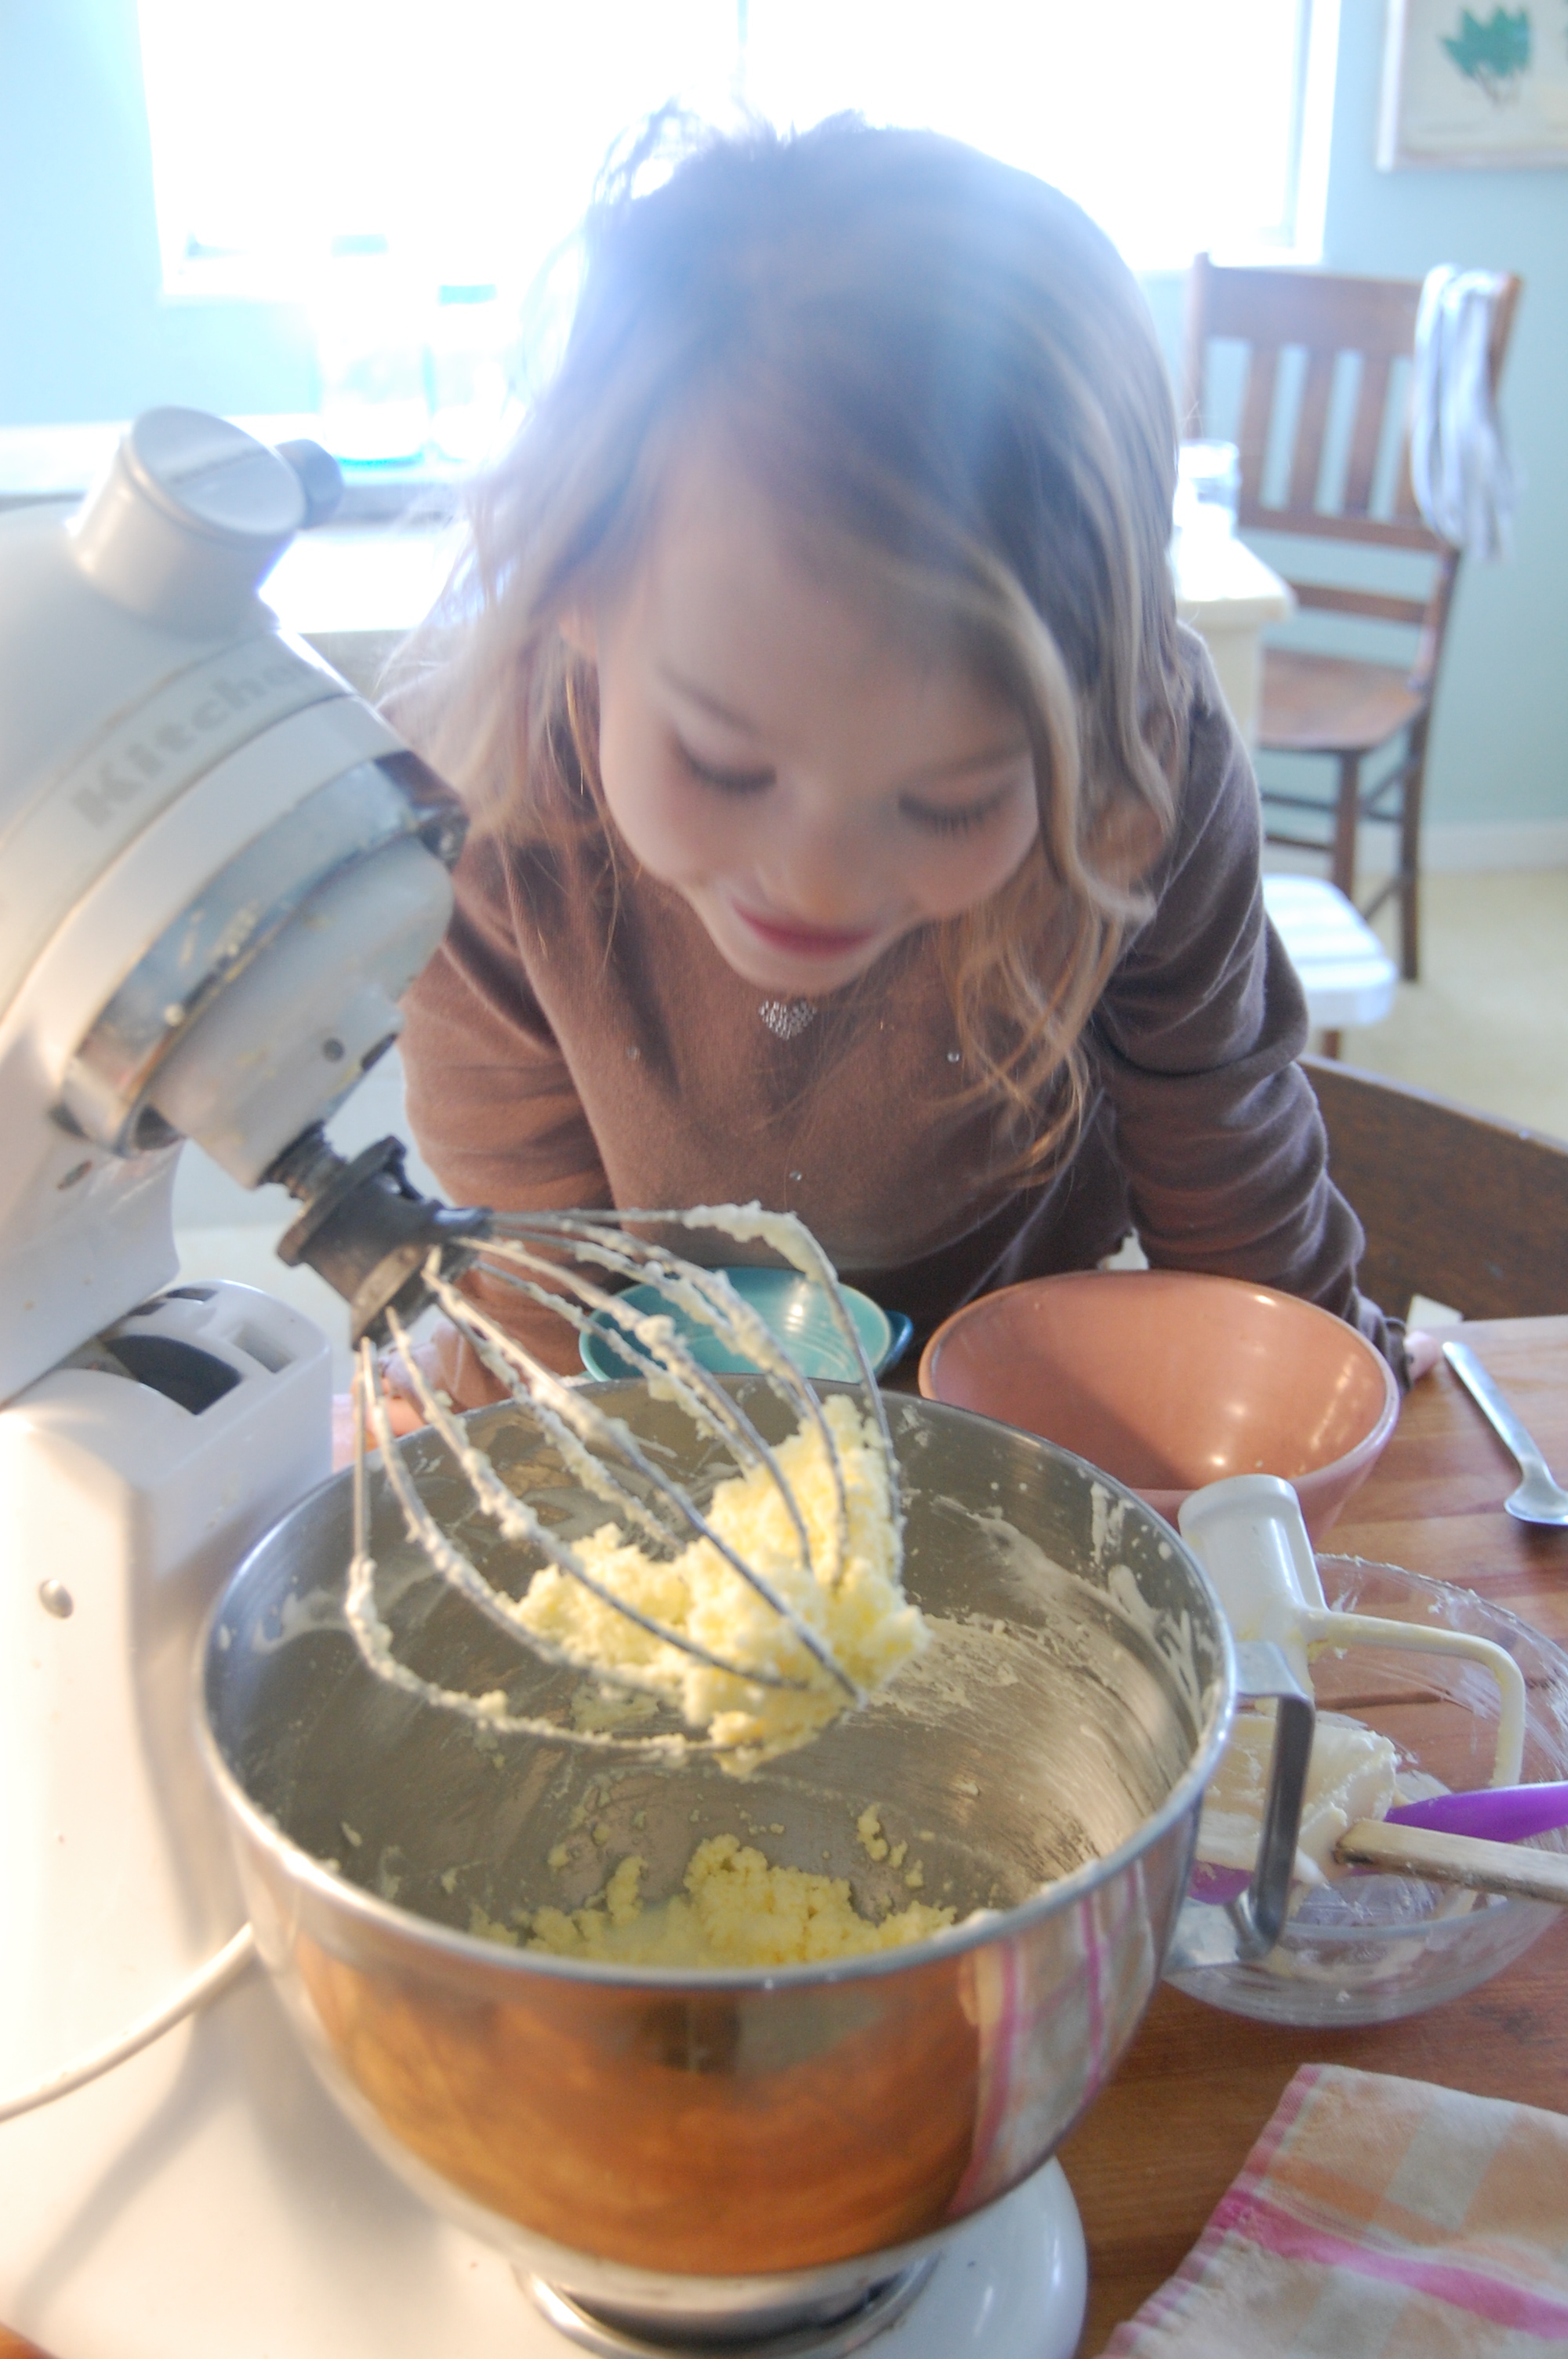
"Watch out - or it might turn to butter!" my mom used to say. I always enjoyed whipping up fresh cream in our standing mixer. There really is NO comparison when it comes to a dessert topping. It's so simple to dump in the whipping cream, add some real vanilla extract and honey (or your favorite sweetener). A summer strawberry dipped in fresh whipped cream? Heaven. The warning about cream turning to butter always intrigued me. How hard was it, anyway - to make butter? I recently found a bunch of wonderful organic whipping cream on sale (at my favorite discount grocery store) and since they didn't have any organic butter that day, I decided it would be fun to make some.
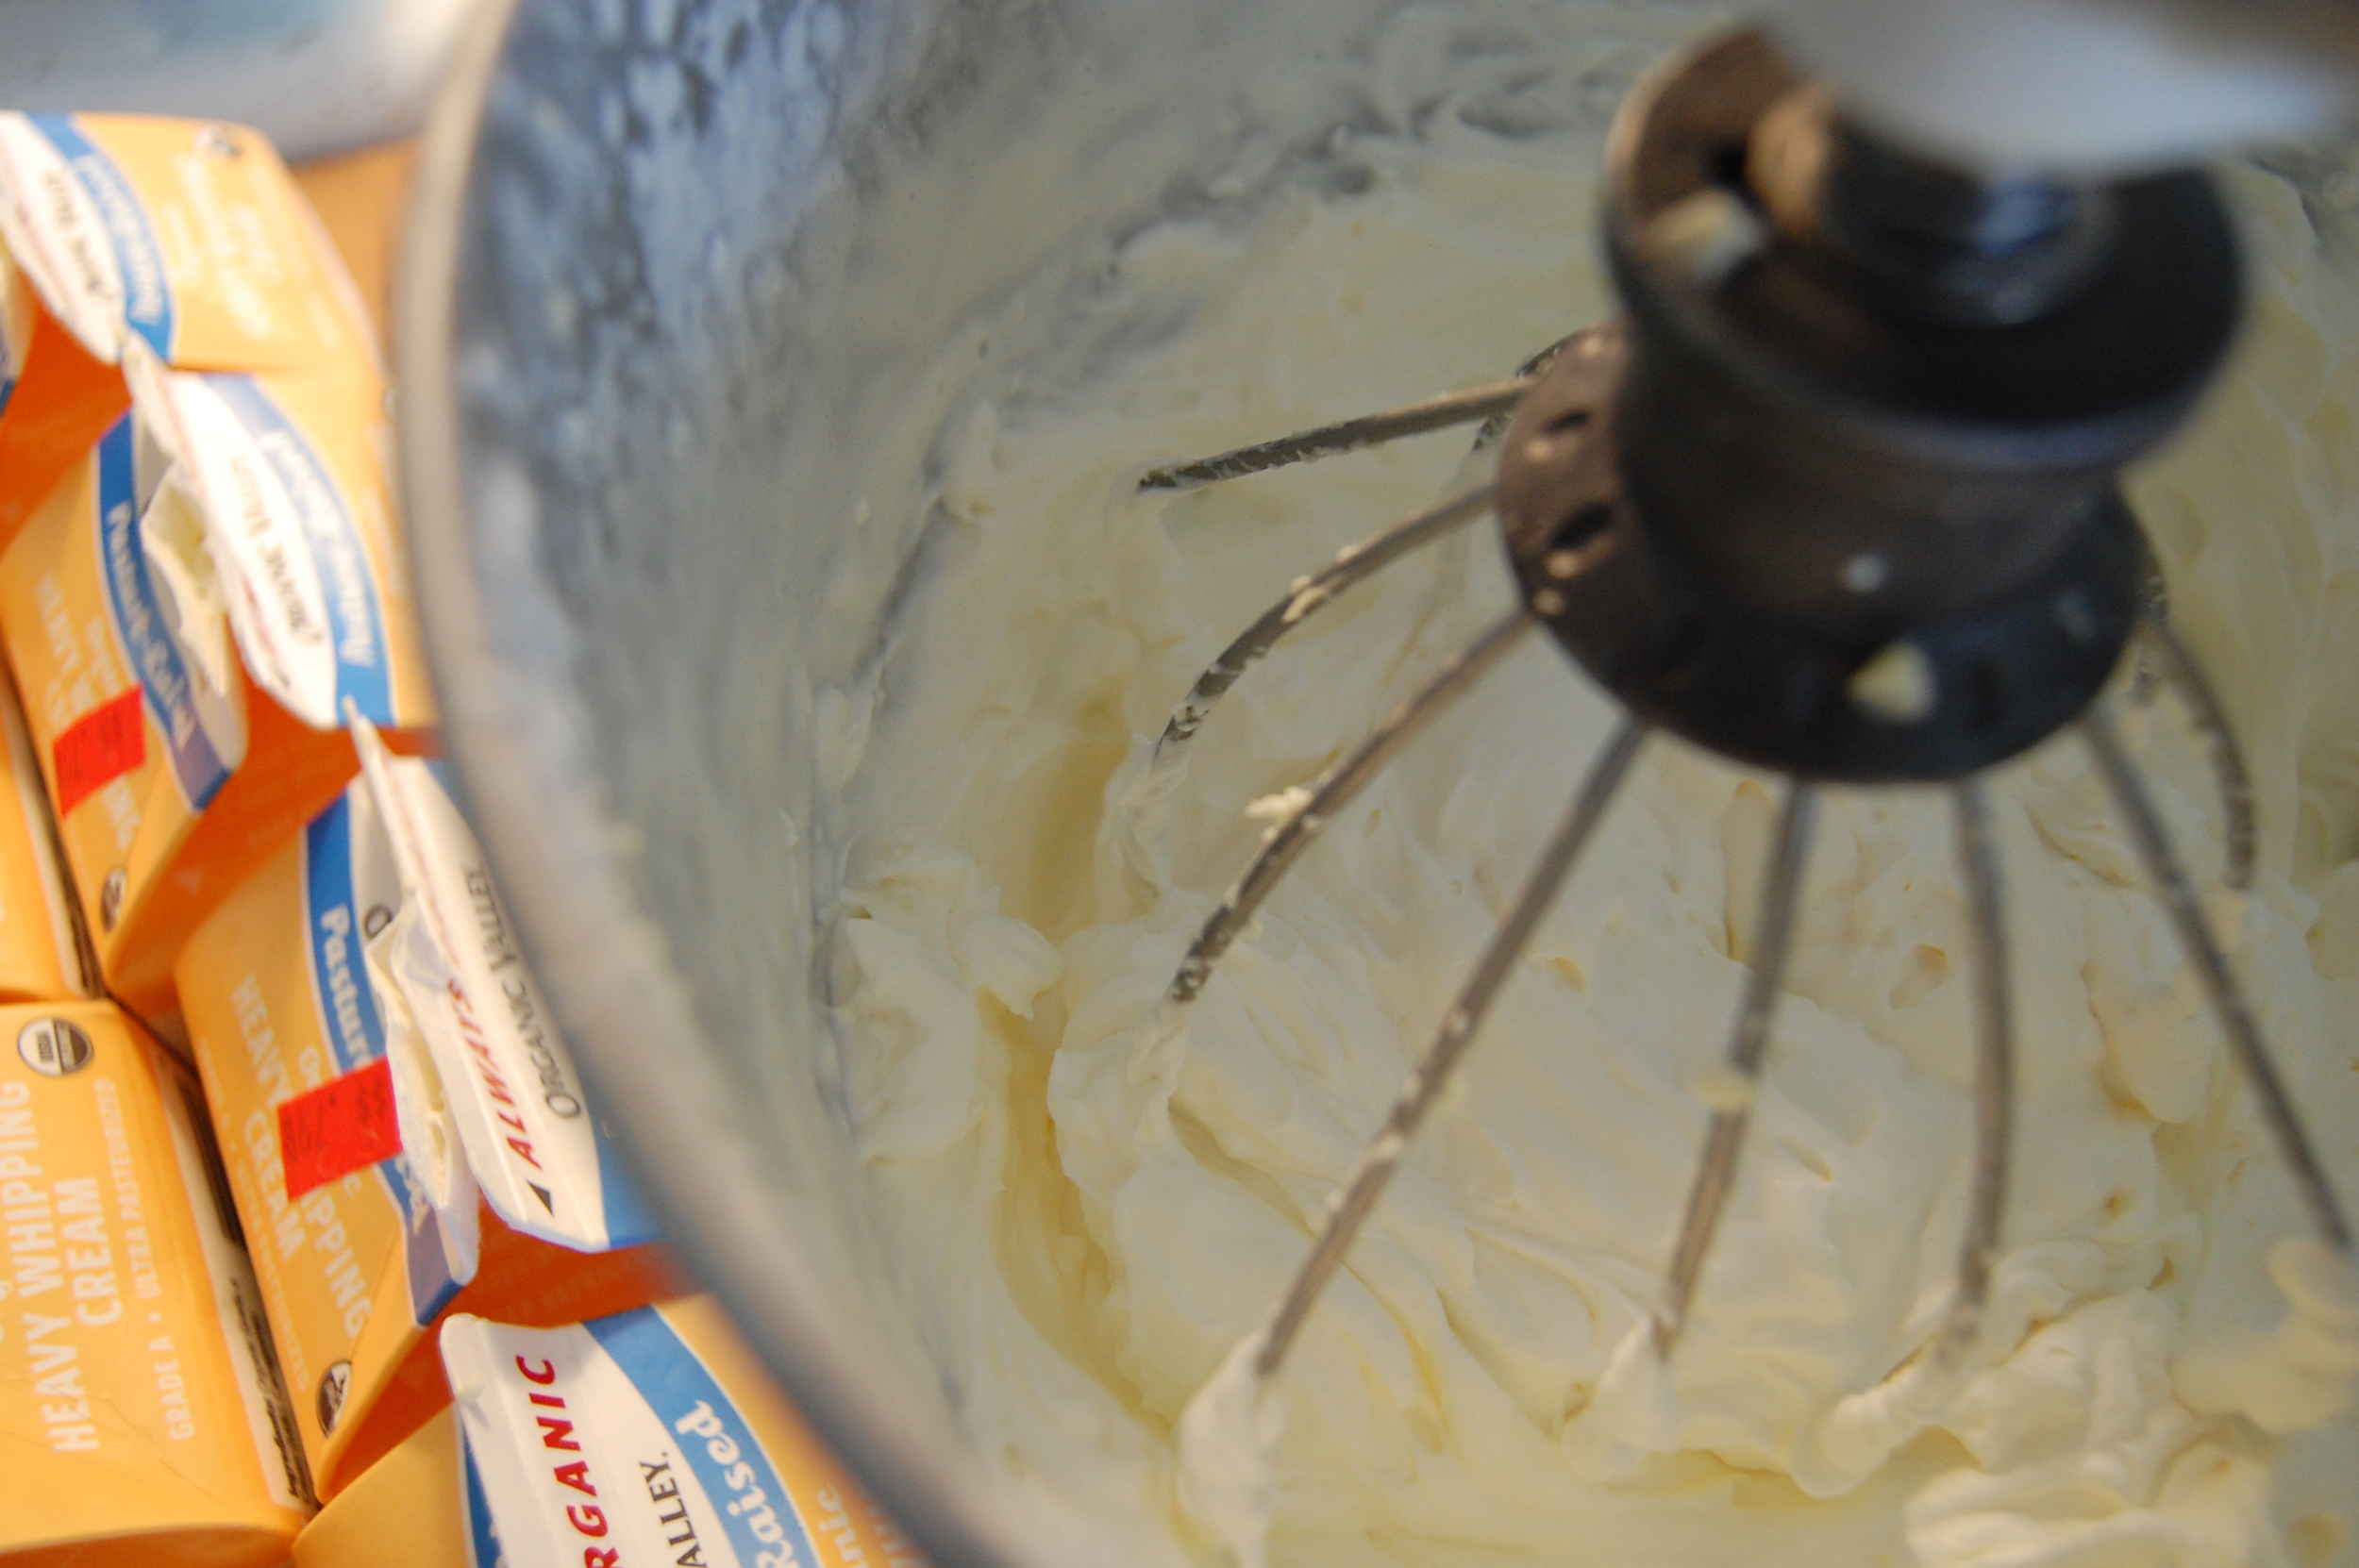
We dumped in the cream (my mixer can only handle about 4 cups of liquid without splashing it everywhere) - so we did this in two batches. It soon became a lovely, firm whipped cream.
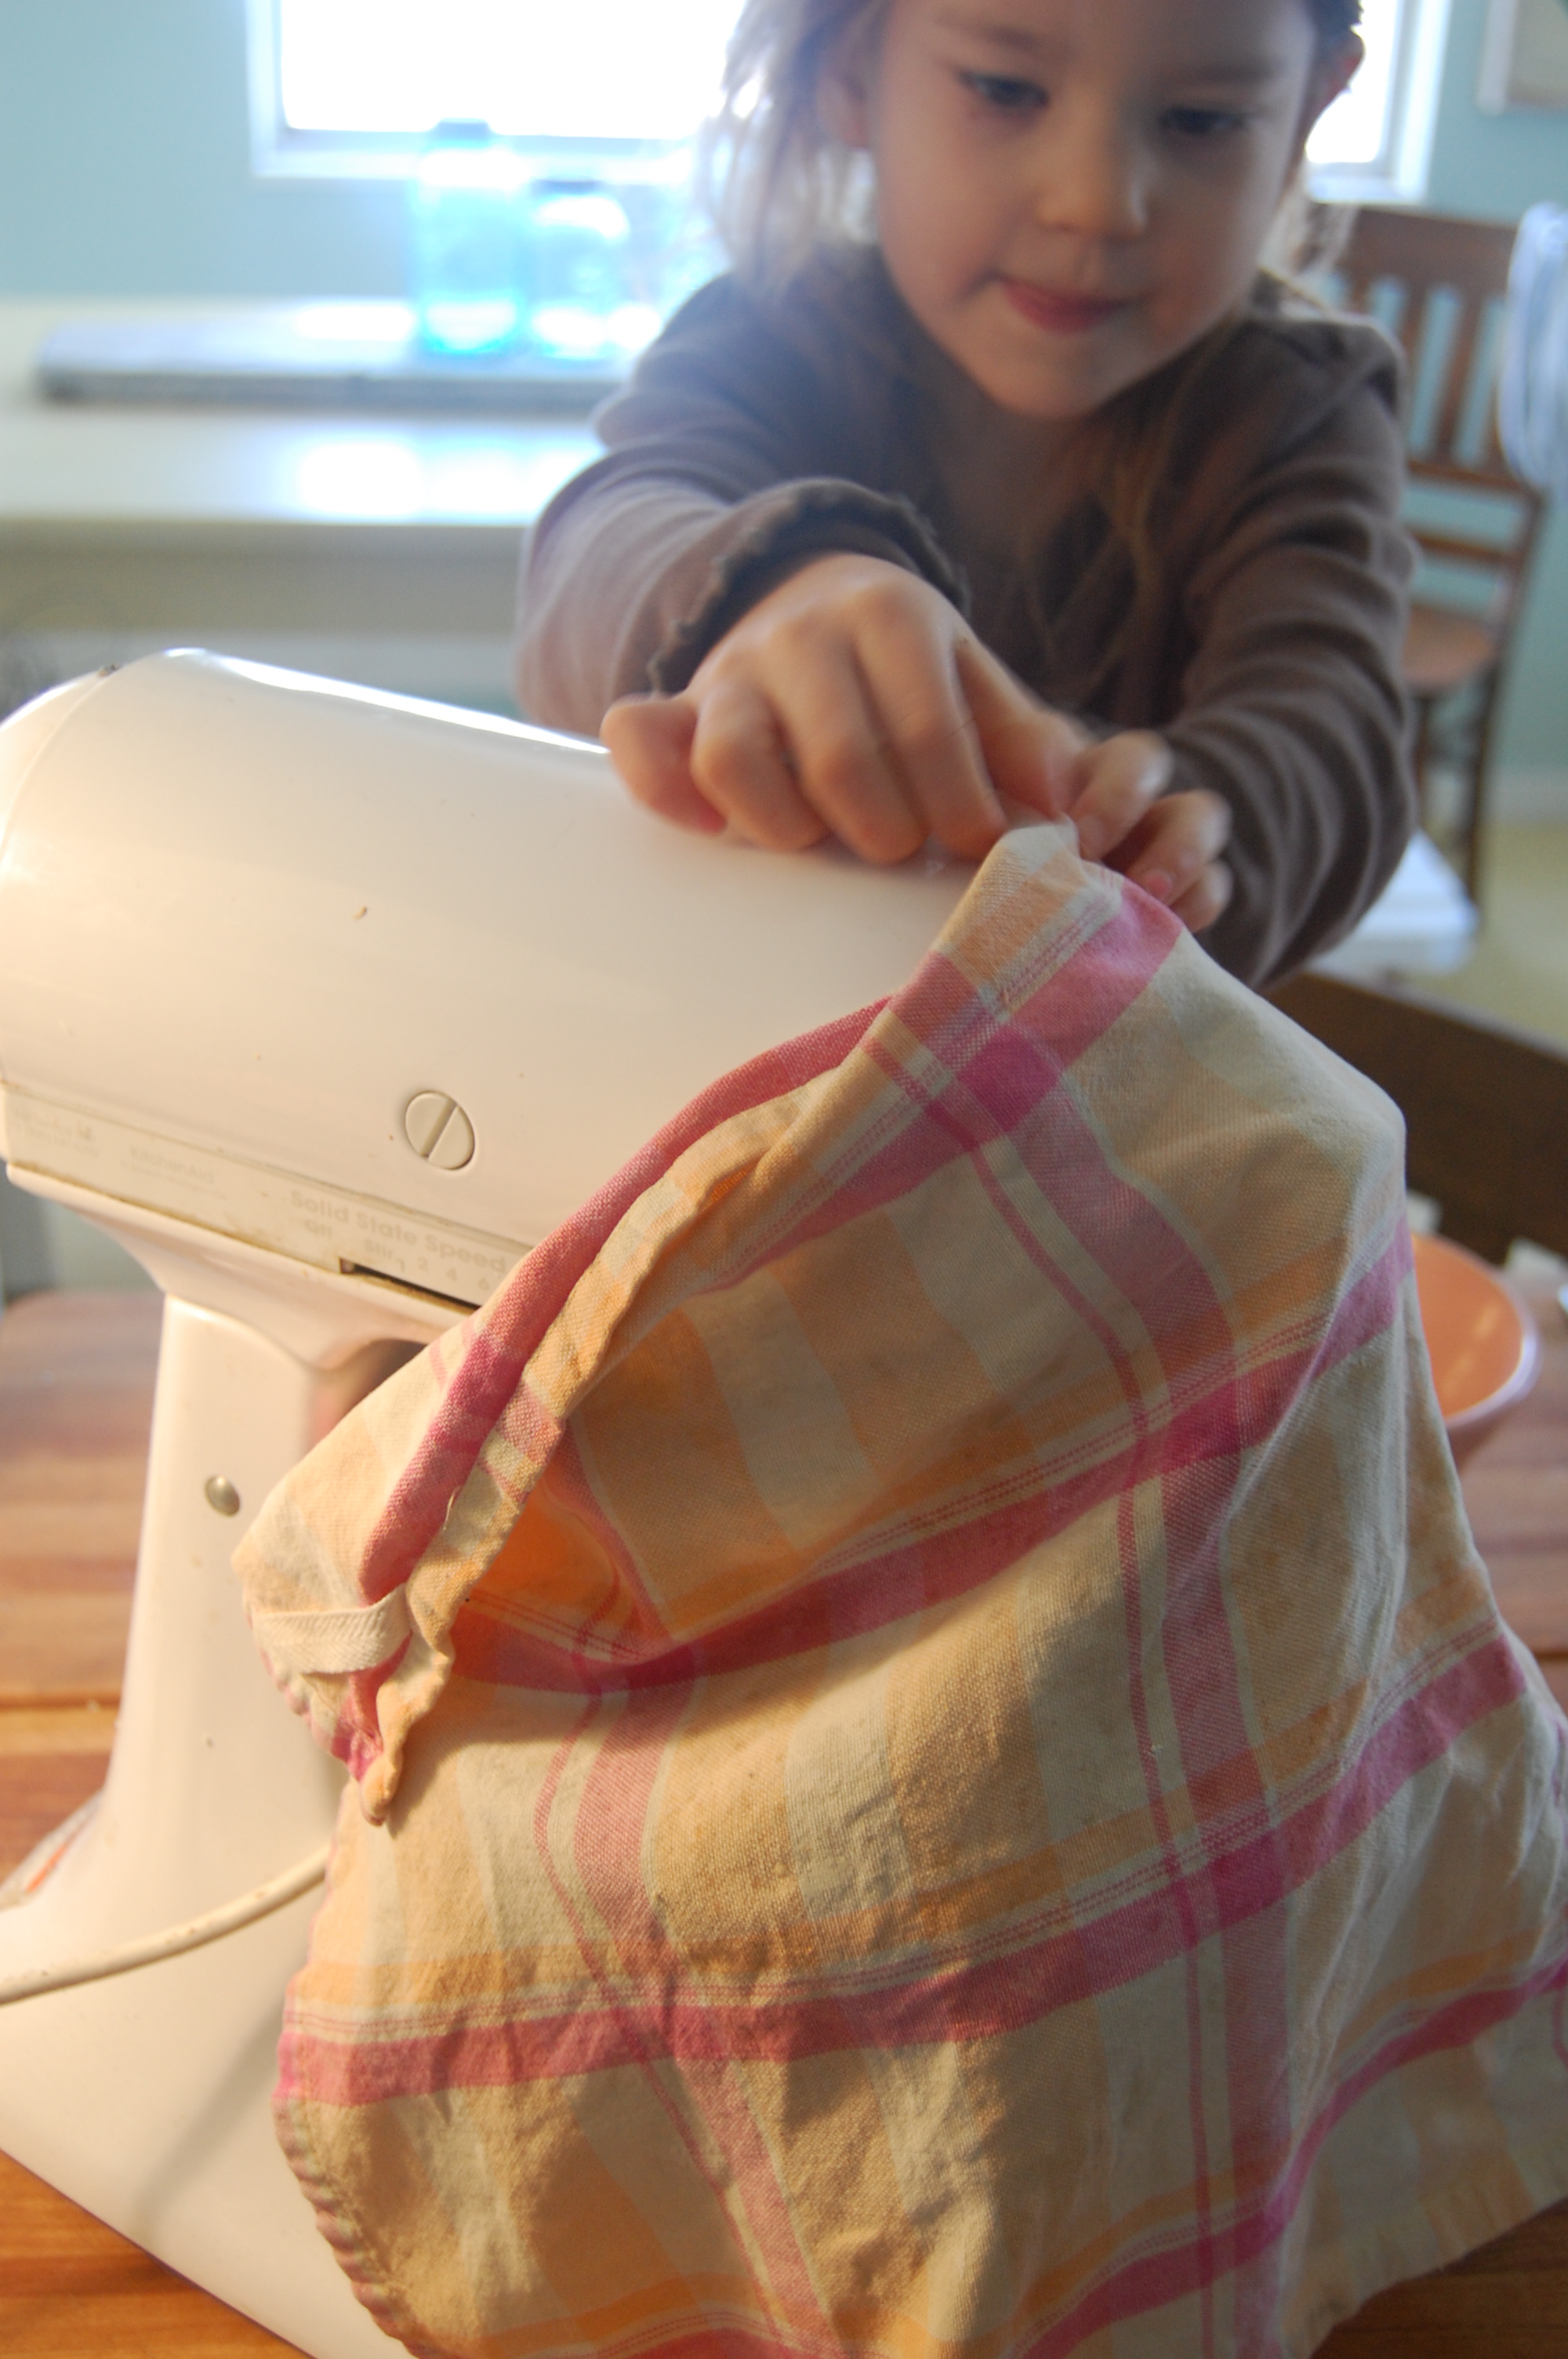
We kept whipping. It's useful to keep a dish towel draped over the mixer to avoid getting bits of cream all over you.
We would peek every so often to see how the cream was changing, stop and scrape the sides of the bowl down to keep it mixing evenly. The next stage after the firm whipped cream was this:
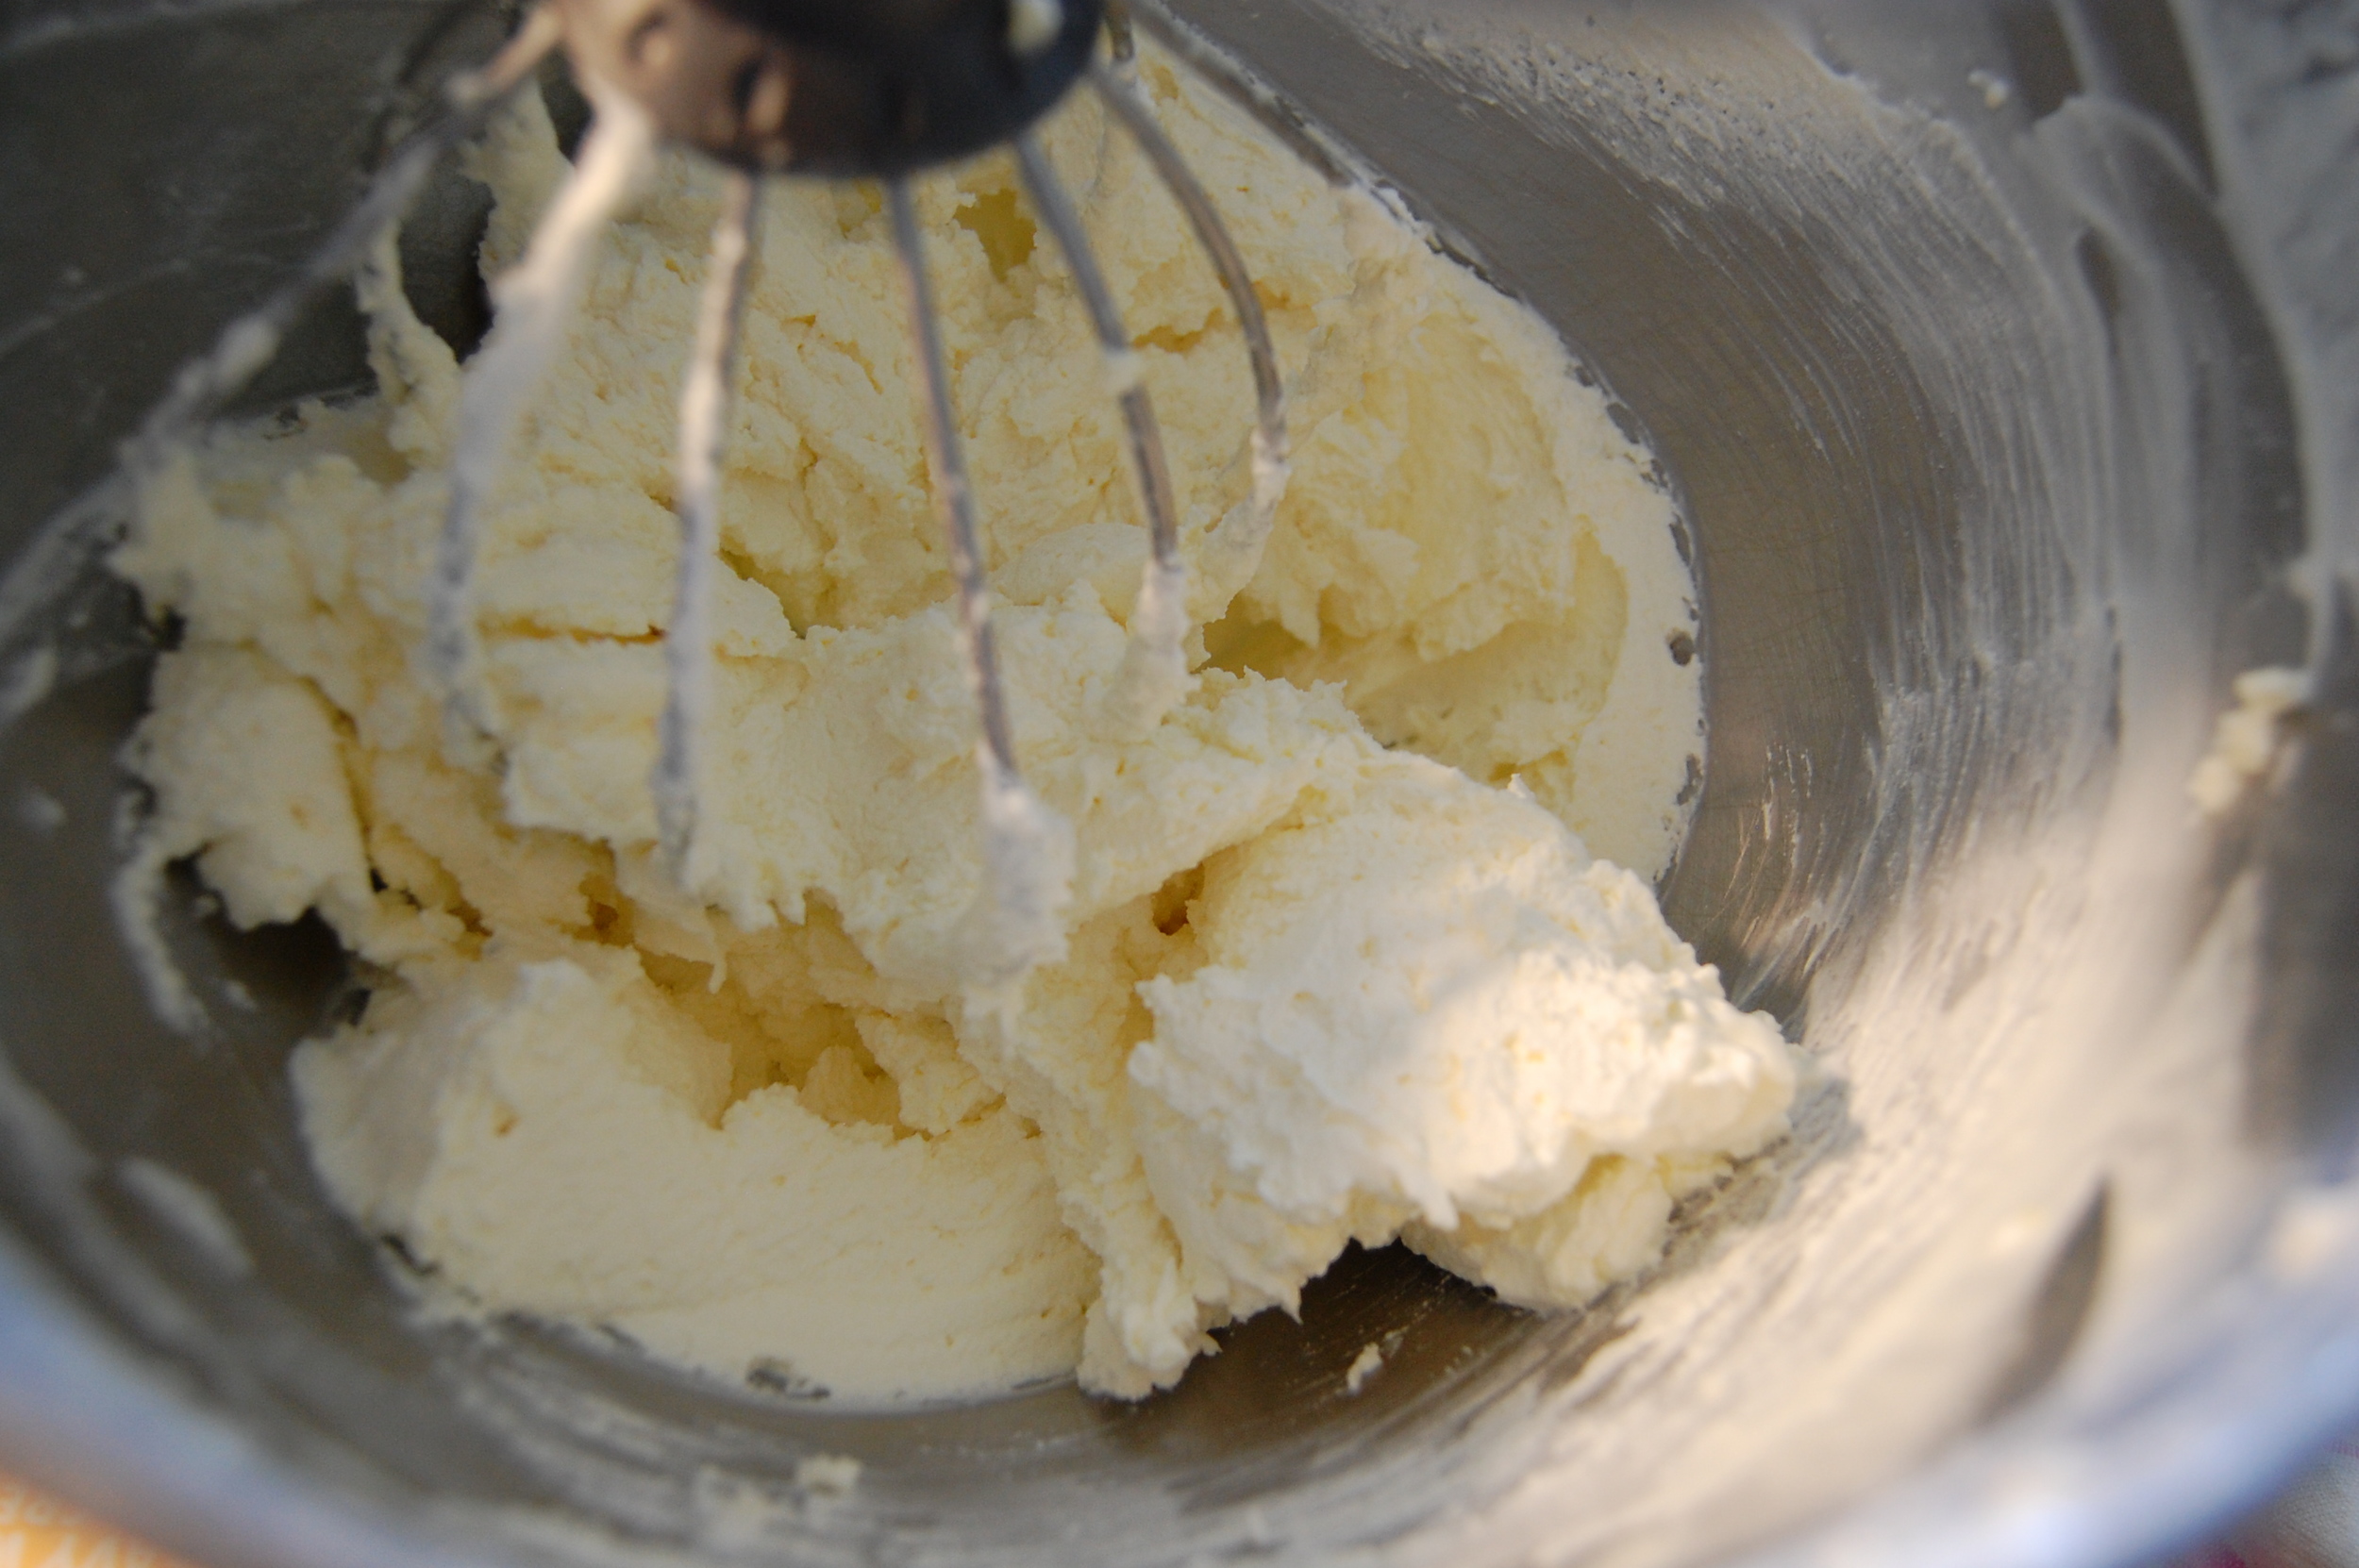
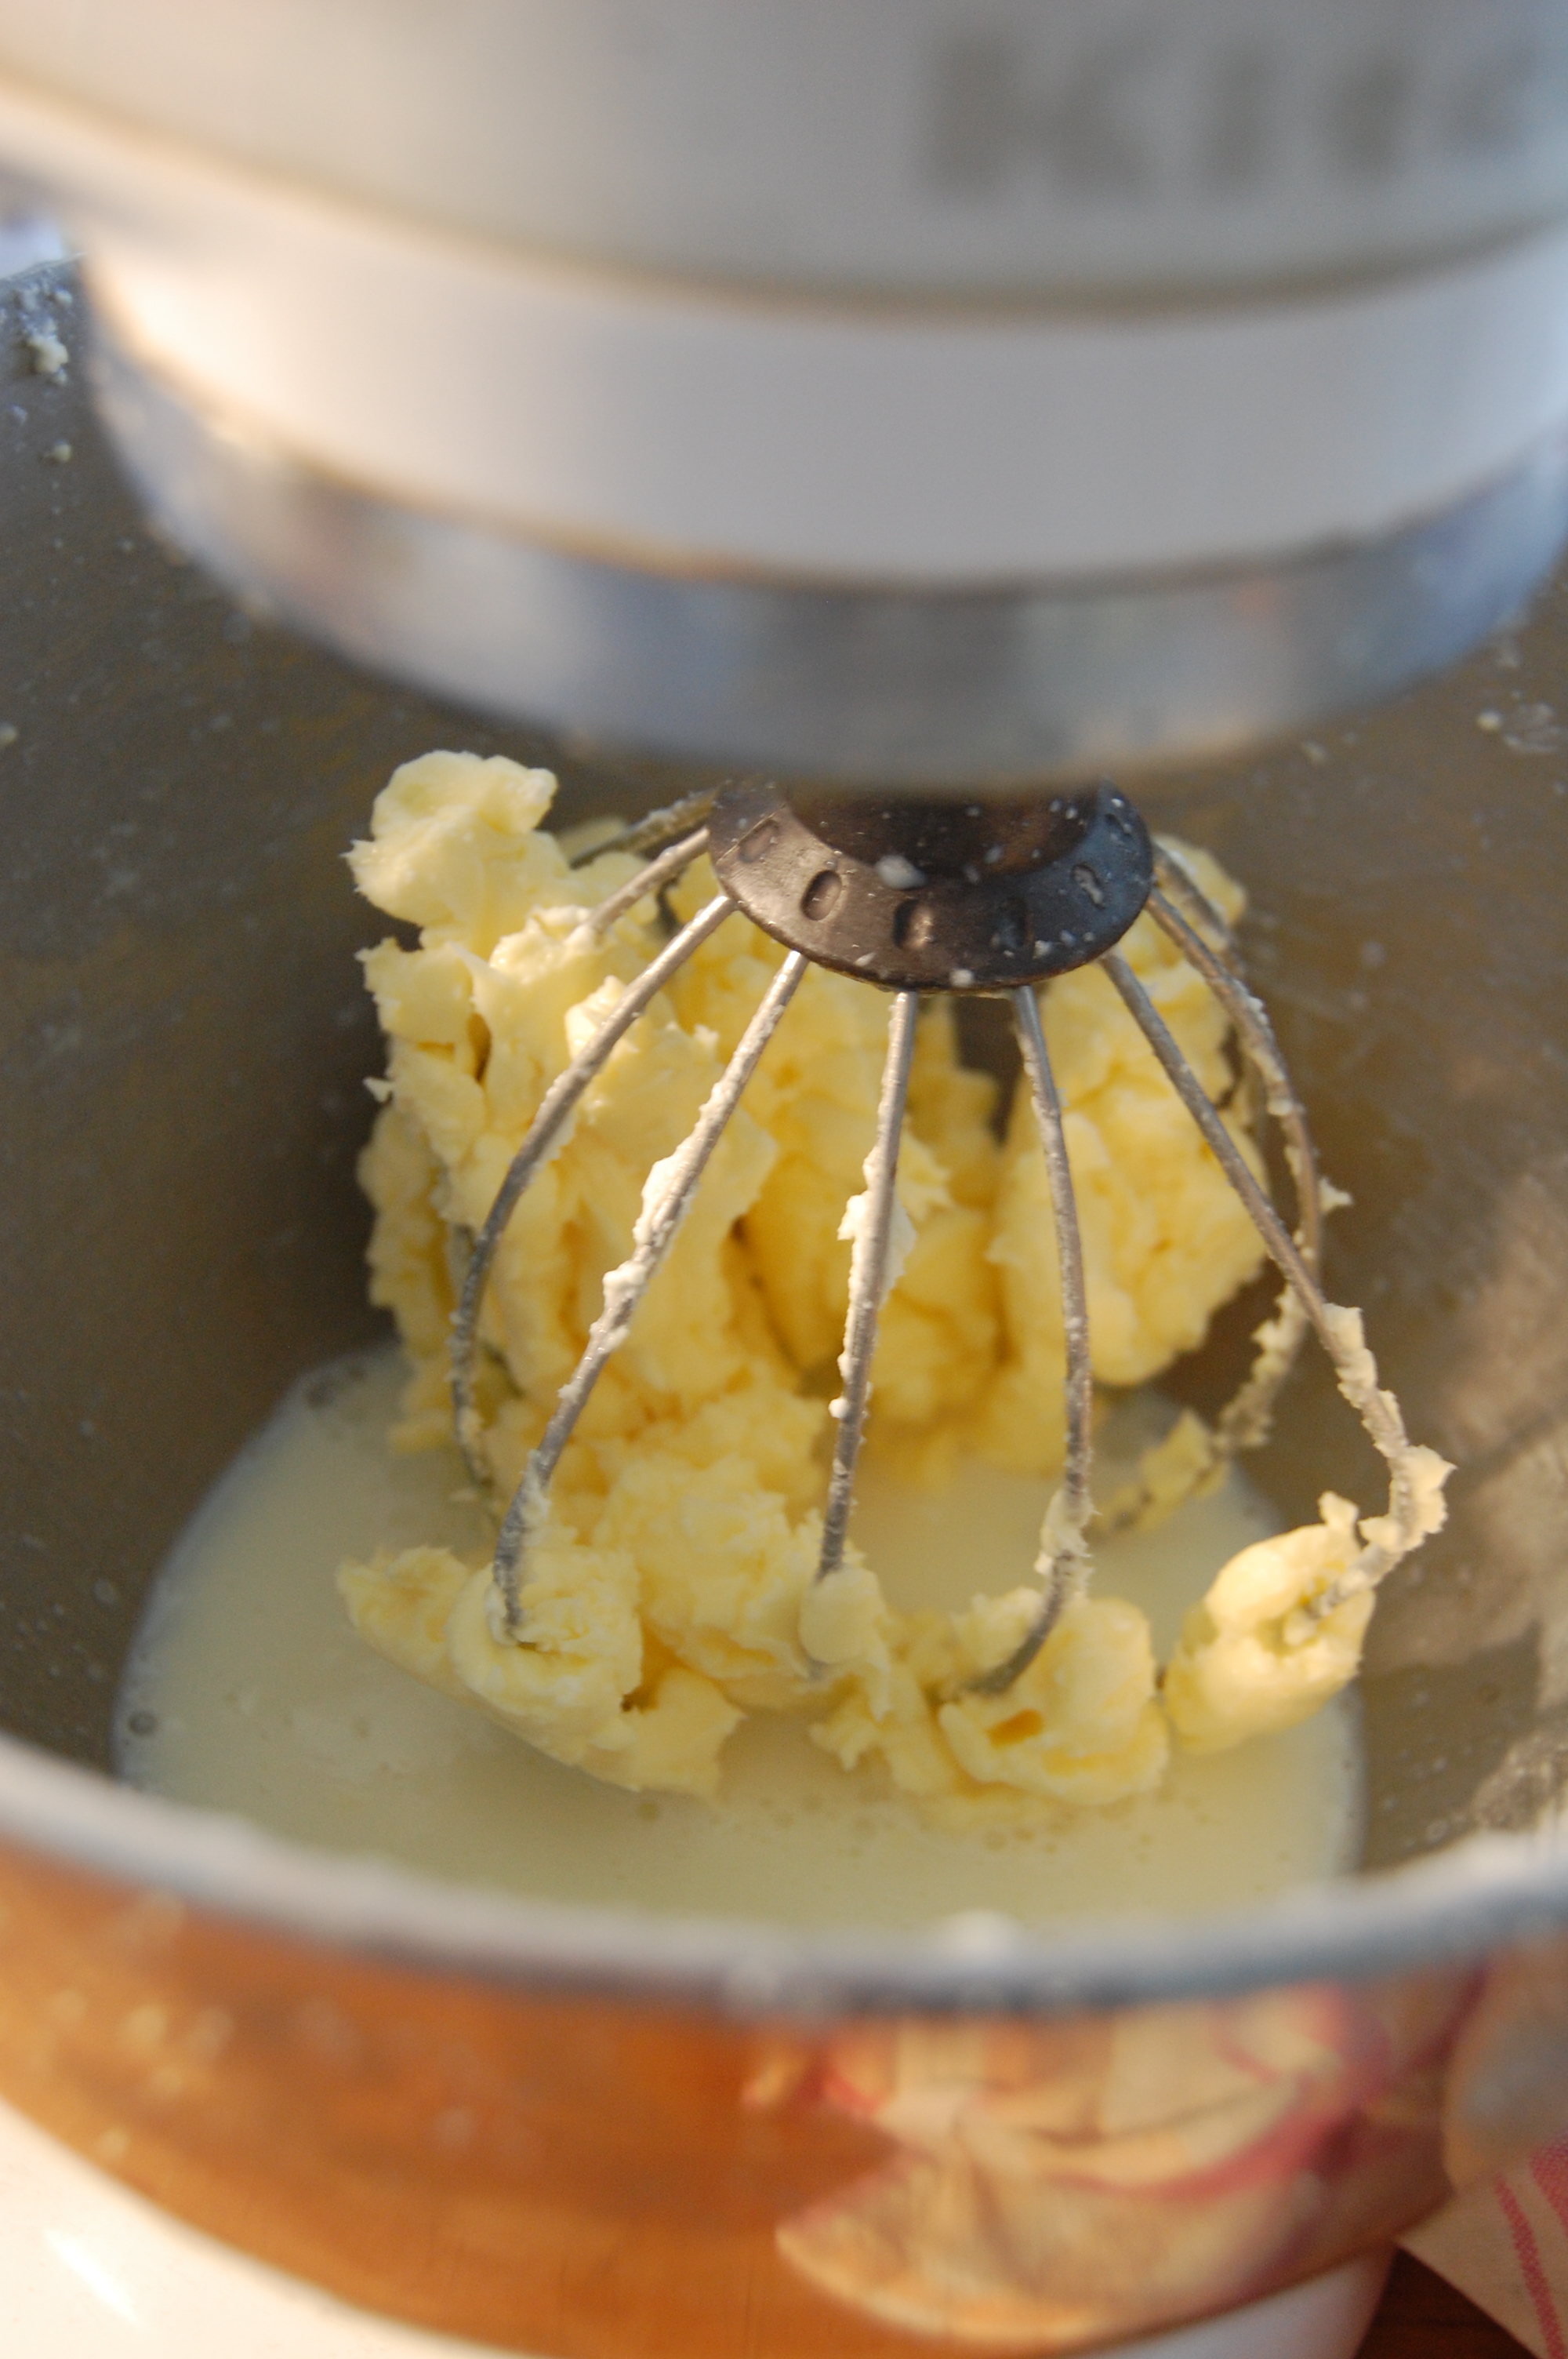
We covered the bowl with the towel again and kept mixing. After a few more minutes we started to hear a sloshing sound. This is the butter separating from the buttermilk. It's exciting when it begins to look like butter!

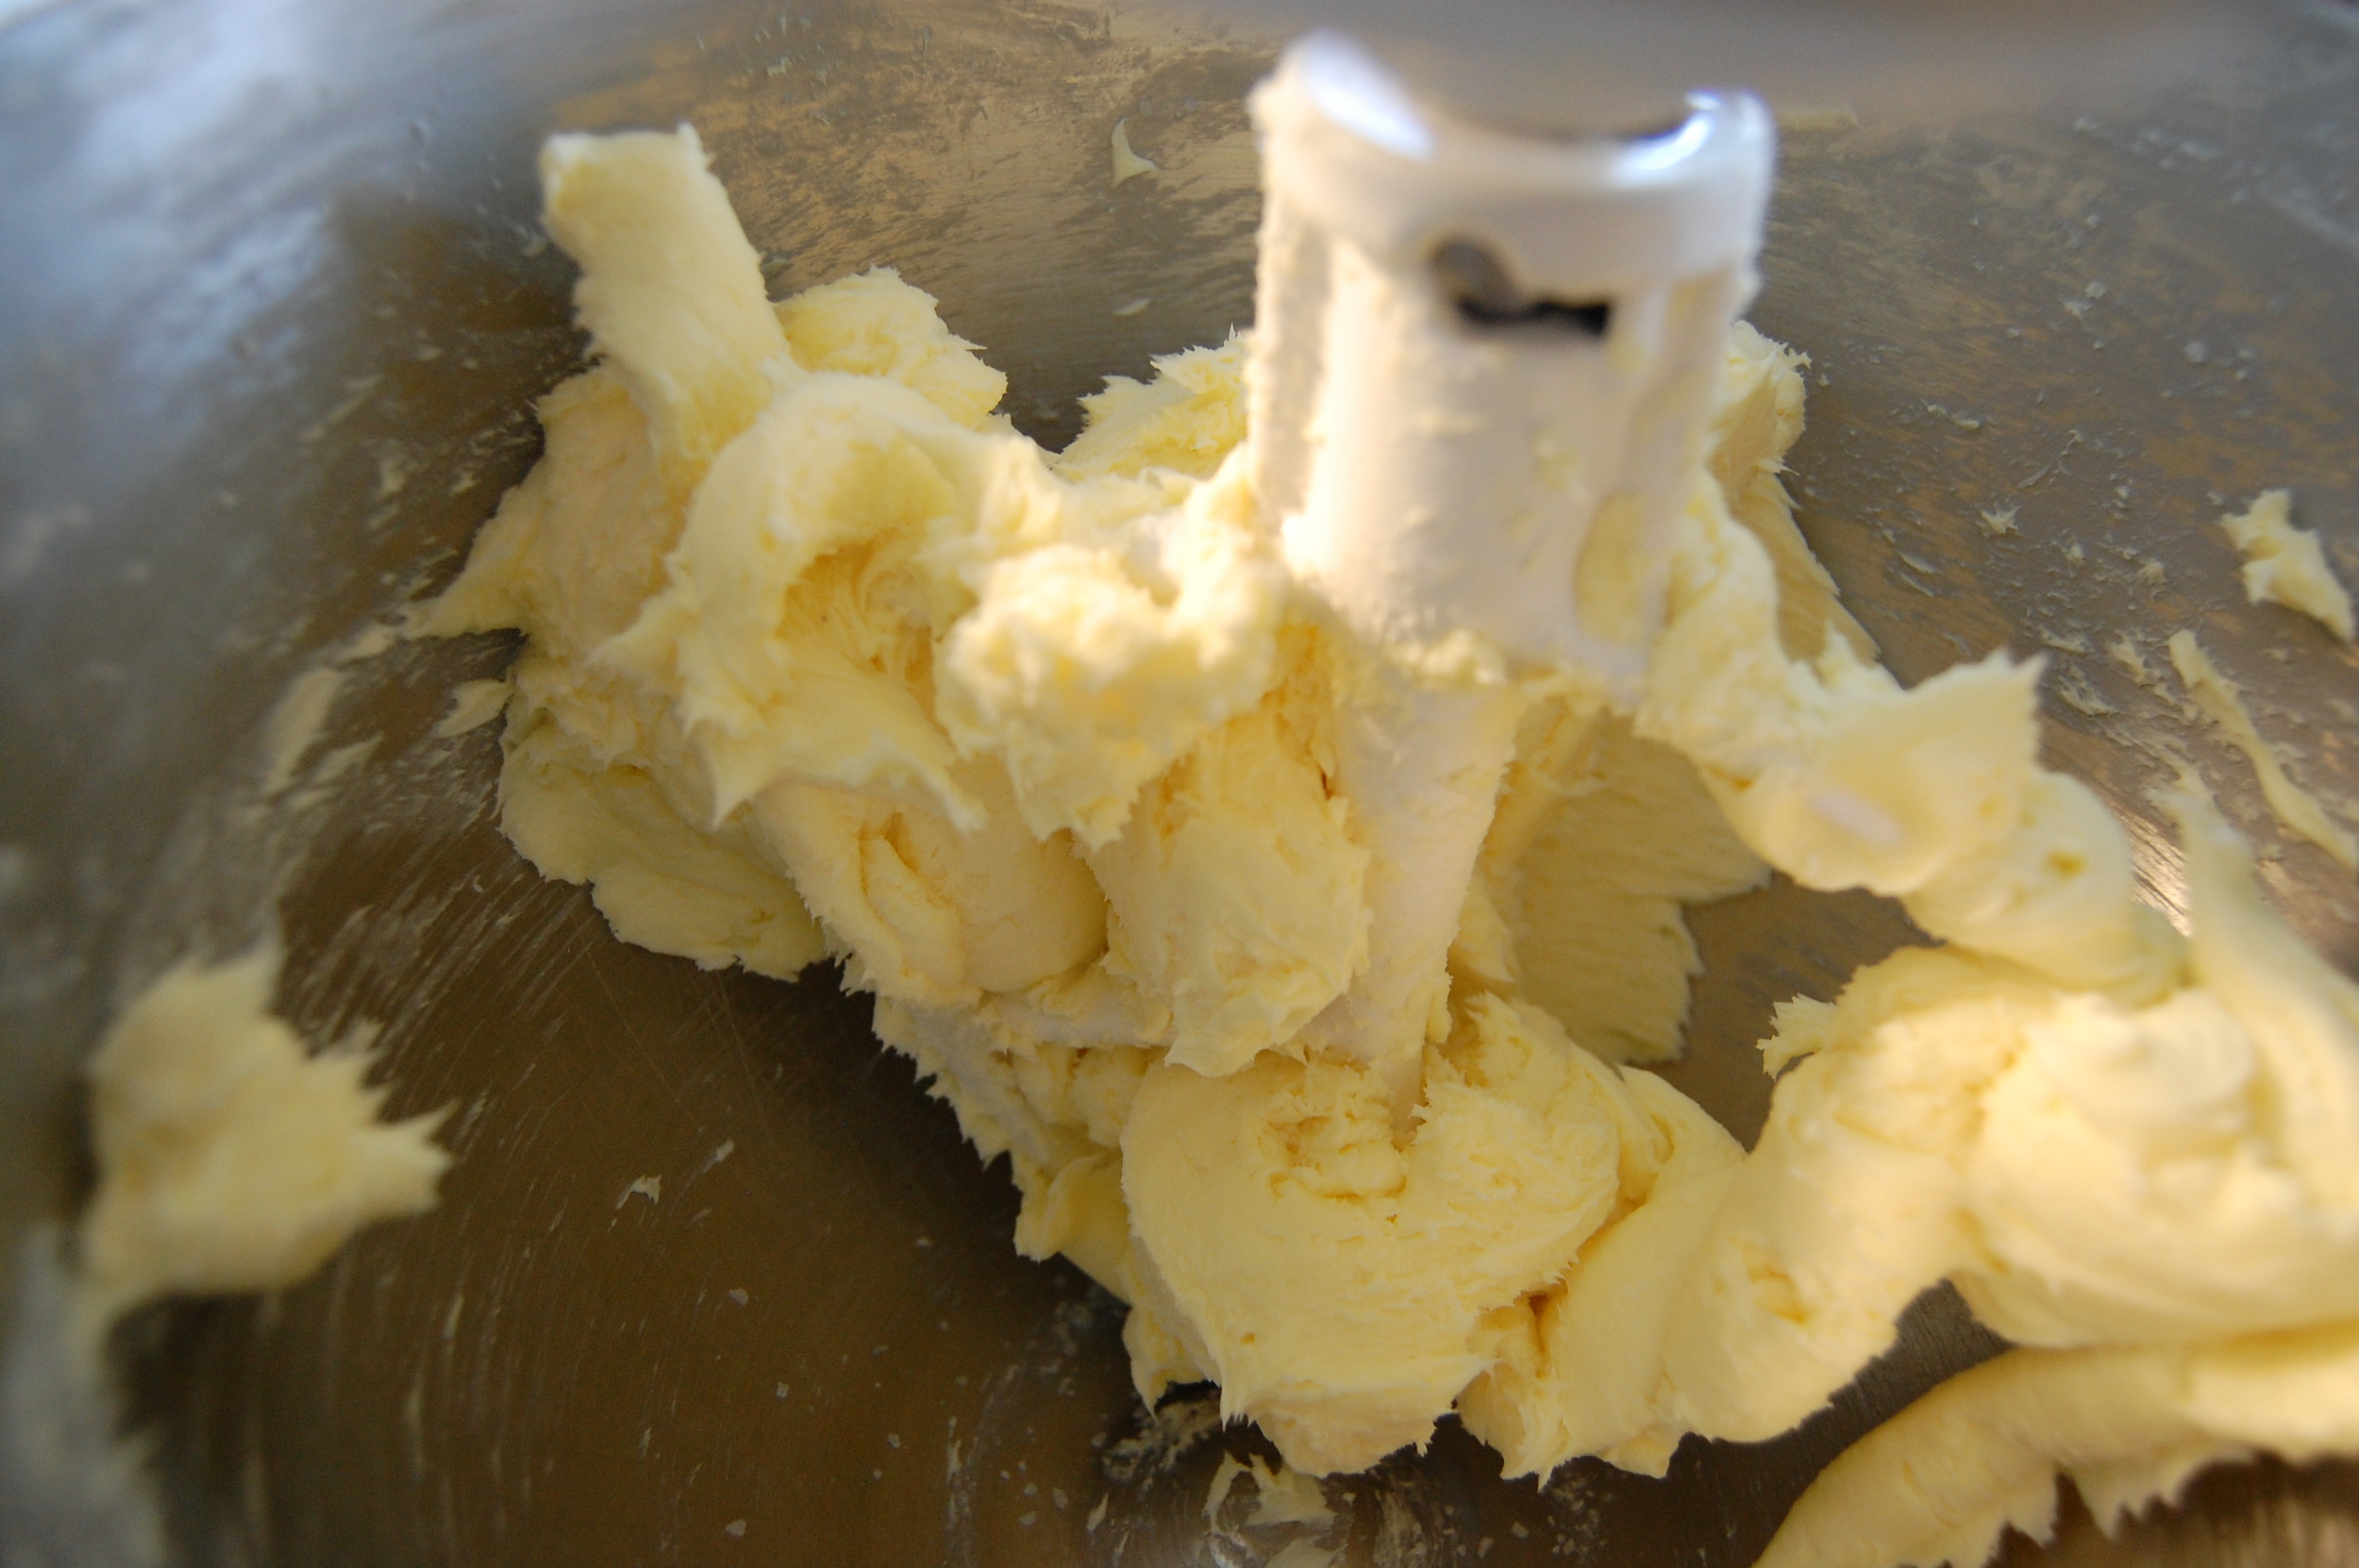
A minute or two longer and the butter got nice and firm and began to form a ball.
We now had butter and buttermilk. I did some reading, and in order to keep your butter from spoiling easily - it's important to wash out all of the buttermilk from your butter solids. I poured the buttermilk through a fine mesh strainer (to catch all of the tiny butter pieces) and saved it in the fridge for later. (I have a yummy banana bread recipe that calls for buttermilk)
I took the butter solids and put them on a clean piece of cotton that I use for straining. It's kind of gauzey - (cheesecloth would work too).
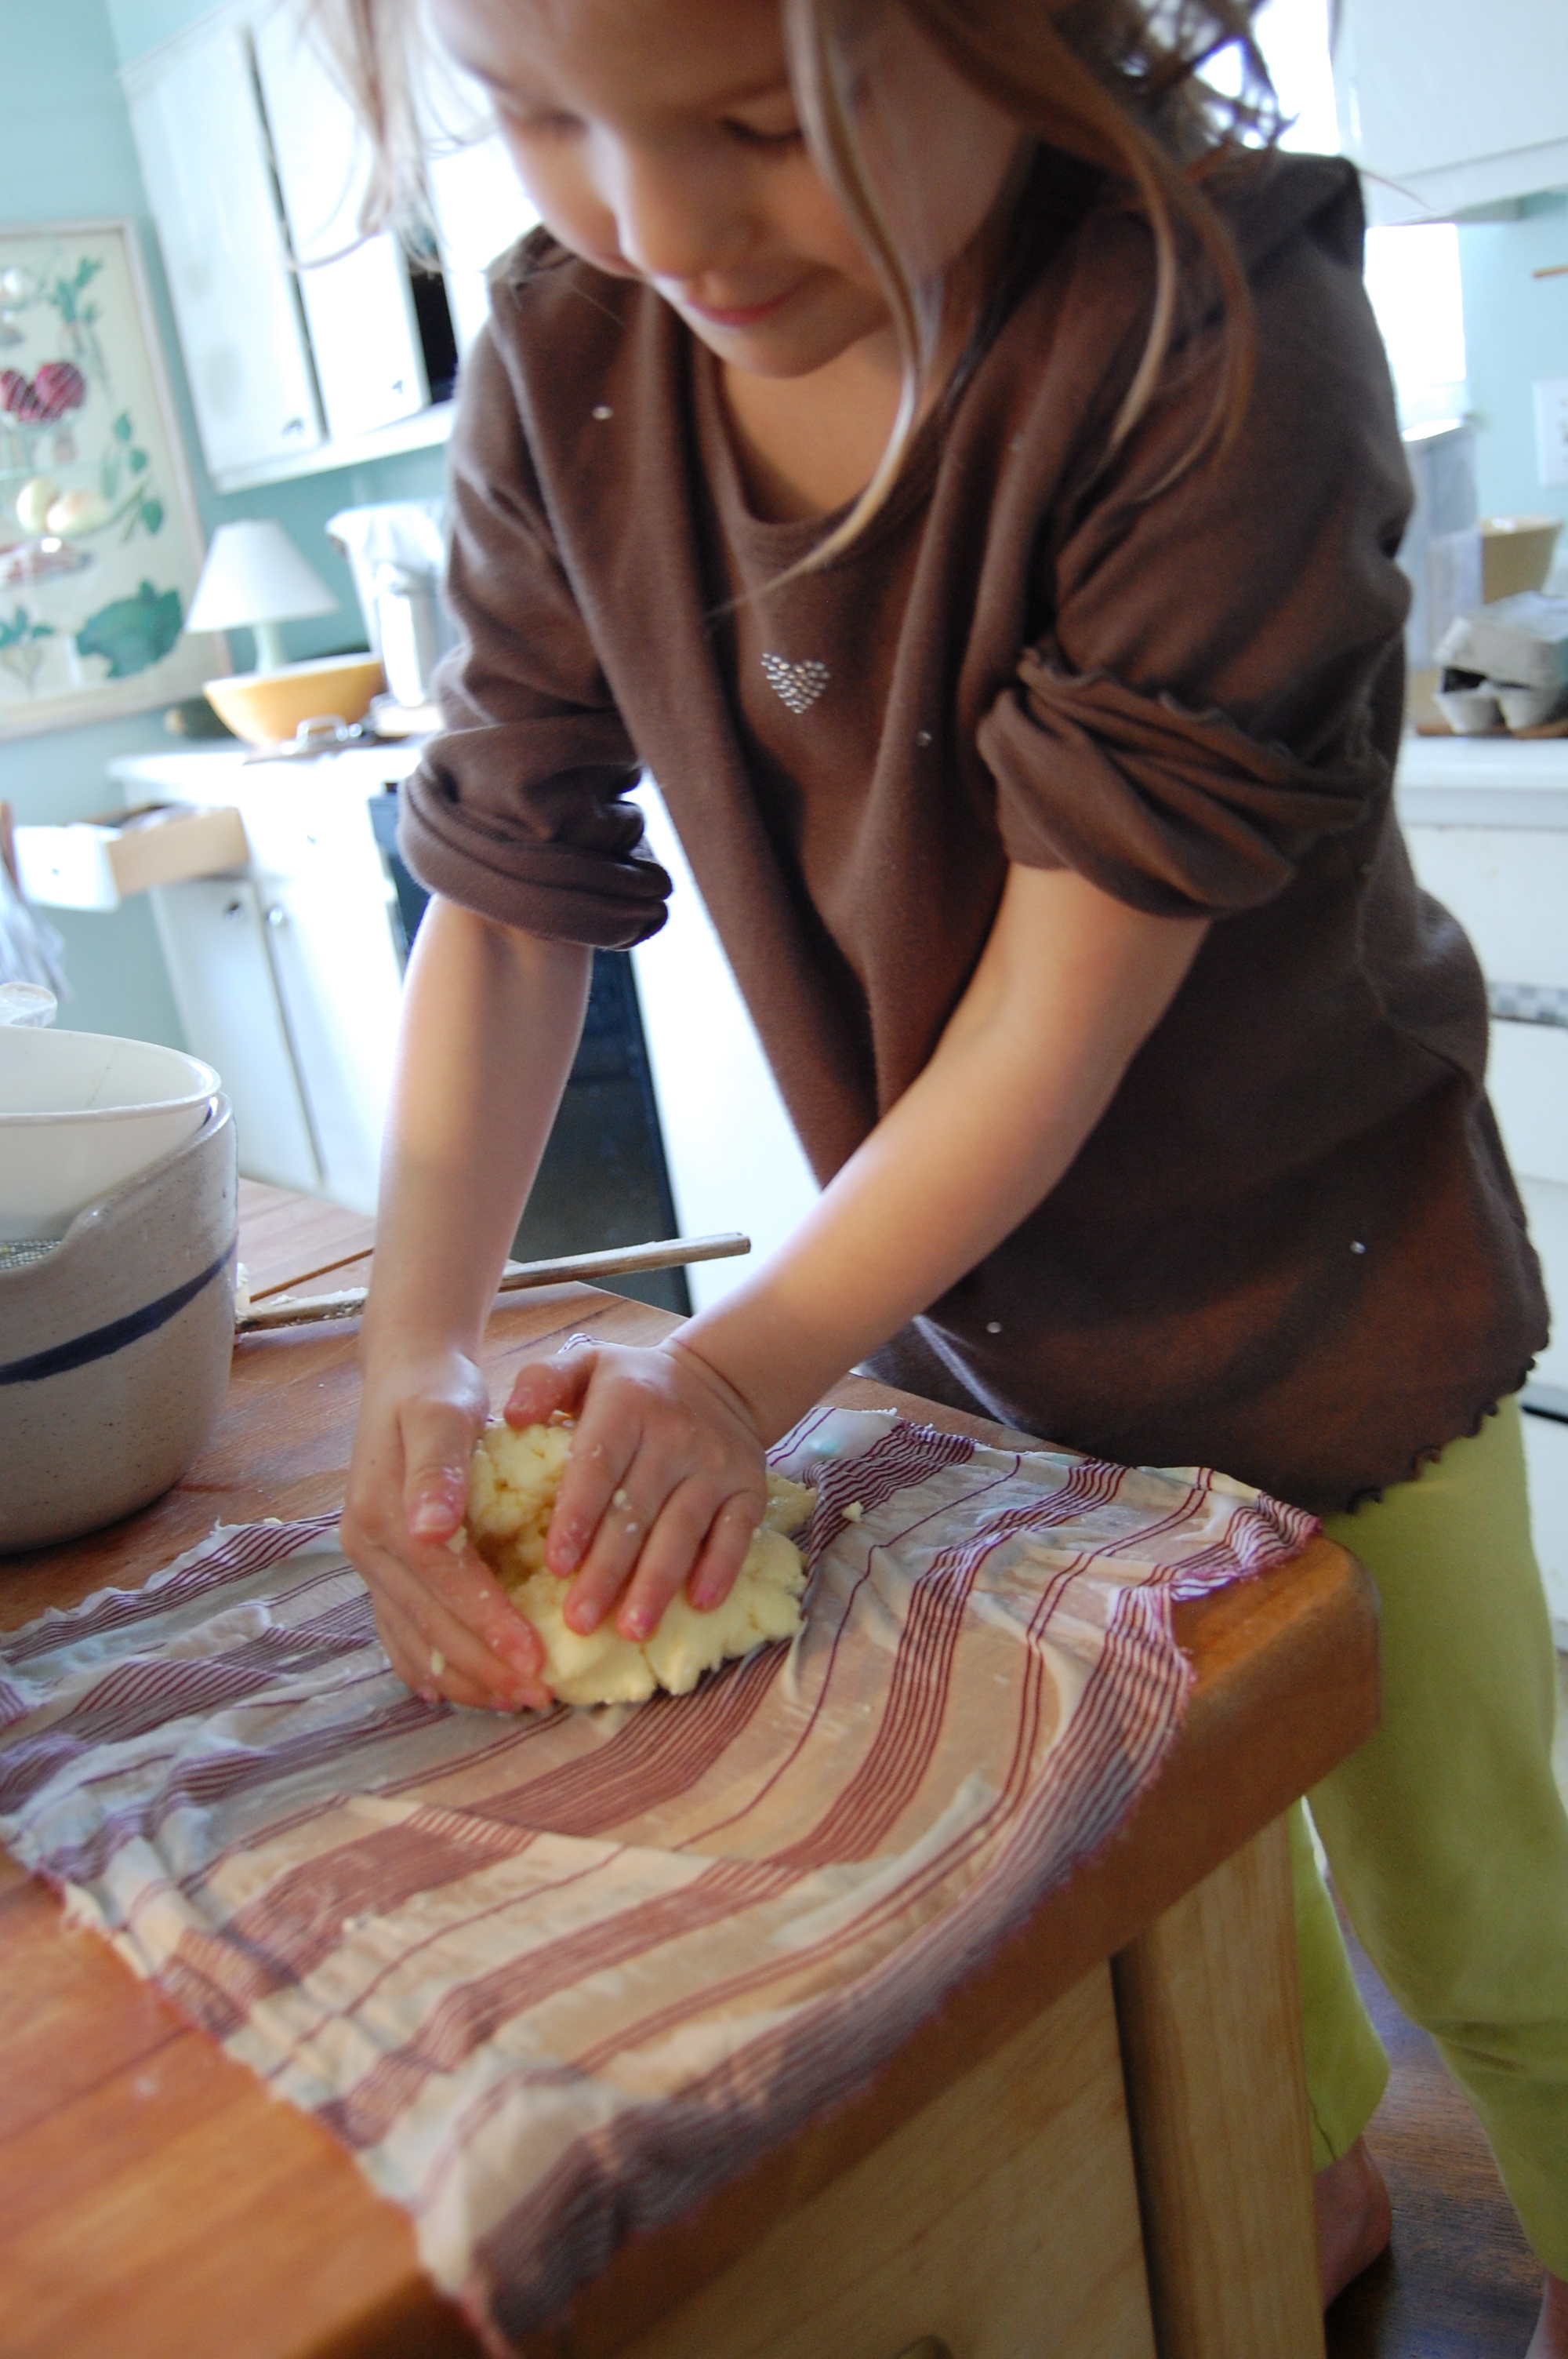
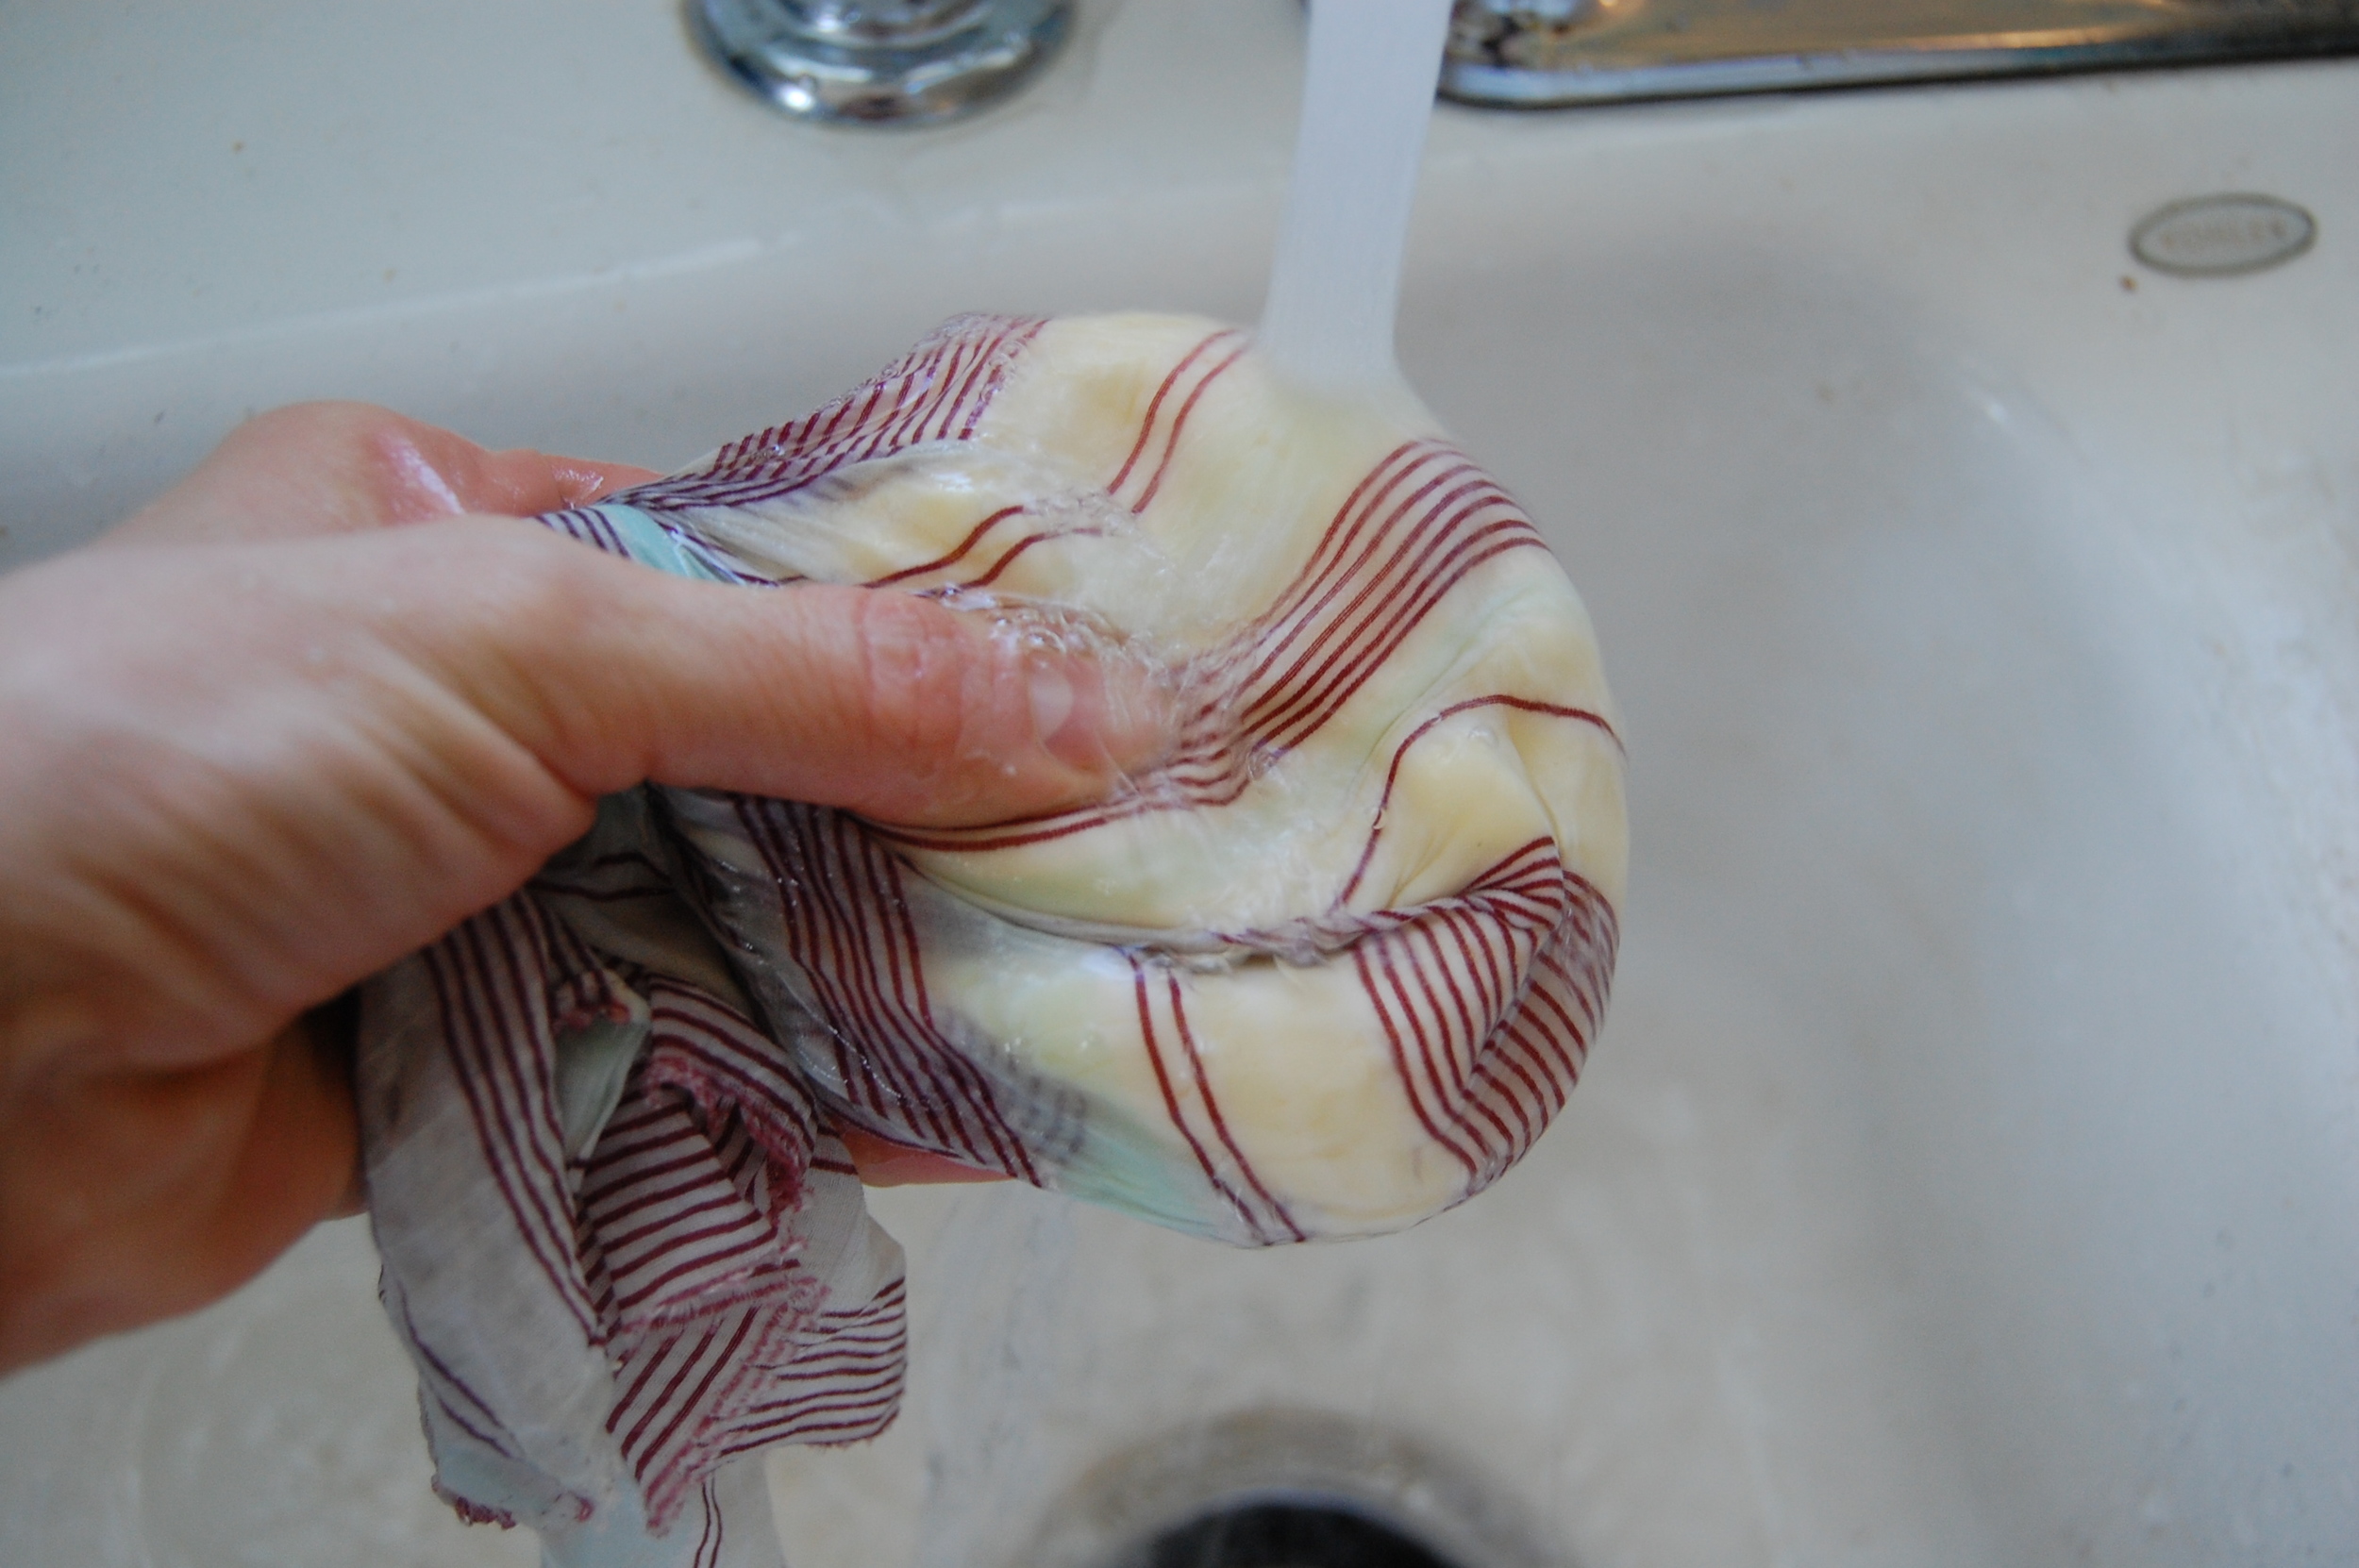
Next, rinse the butter (wrapped in the cloth) under cold water. Squeeze and press the butter until the water runs clear. This is just to rinse out all of that buttermilk.
You could stop here, but we like salted butter. Back into the mixer went the butter - and we added our salt.
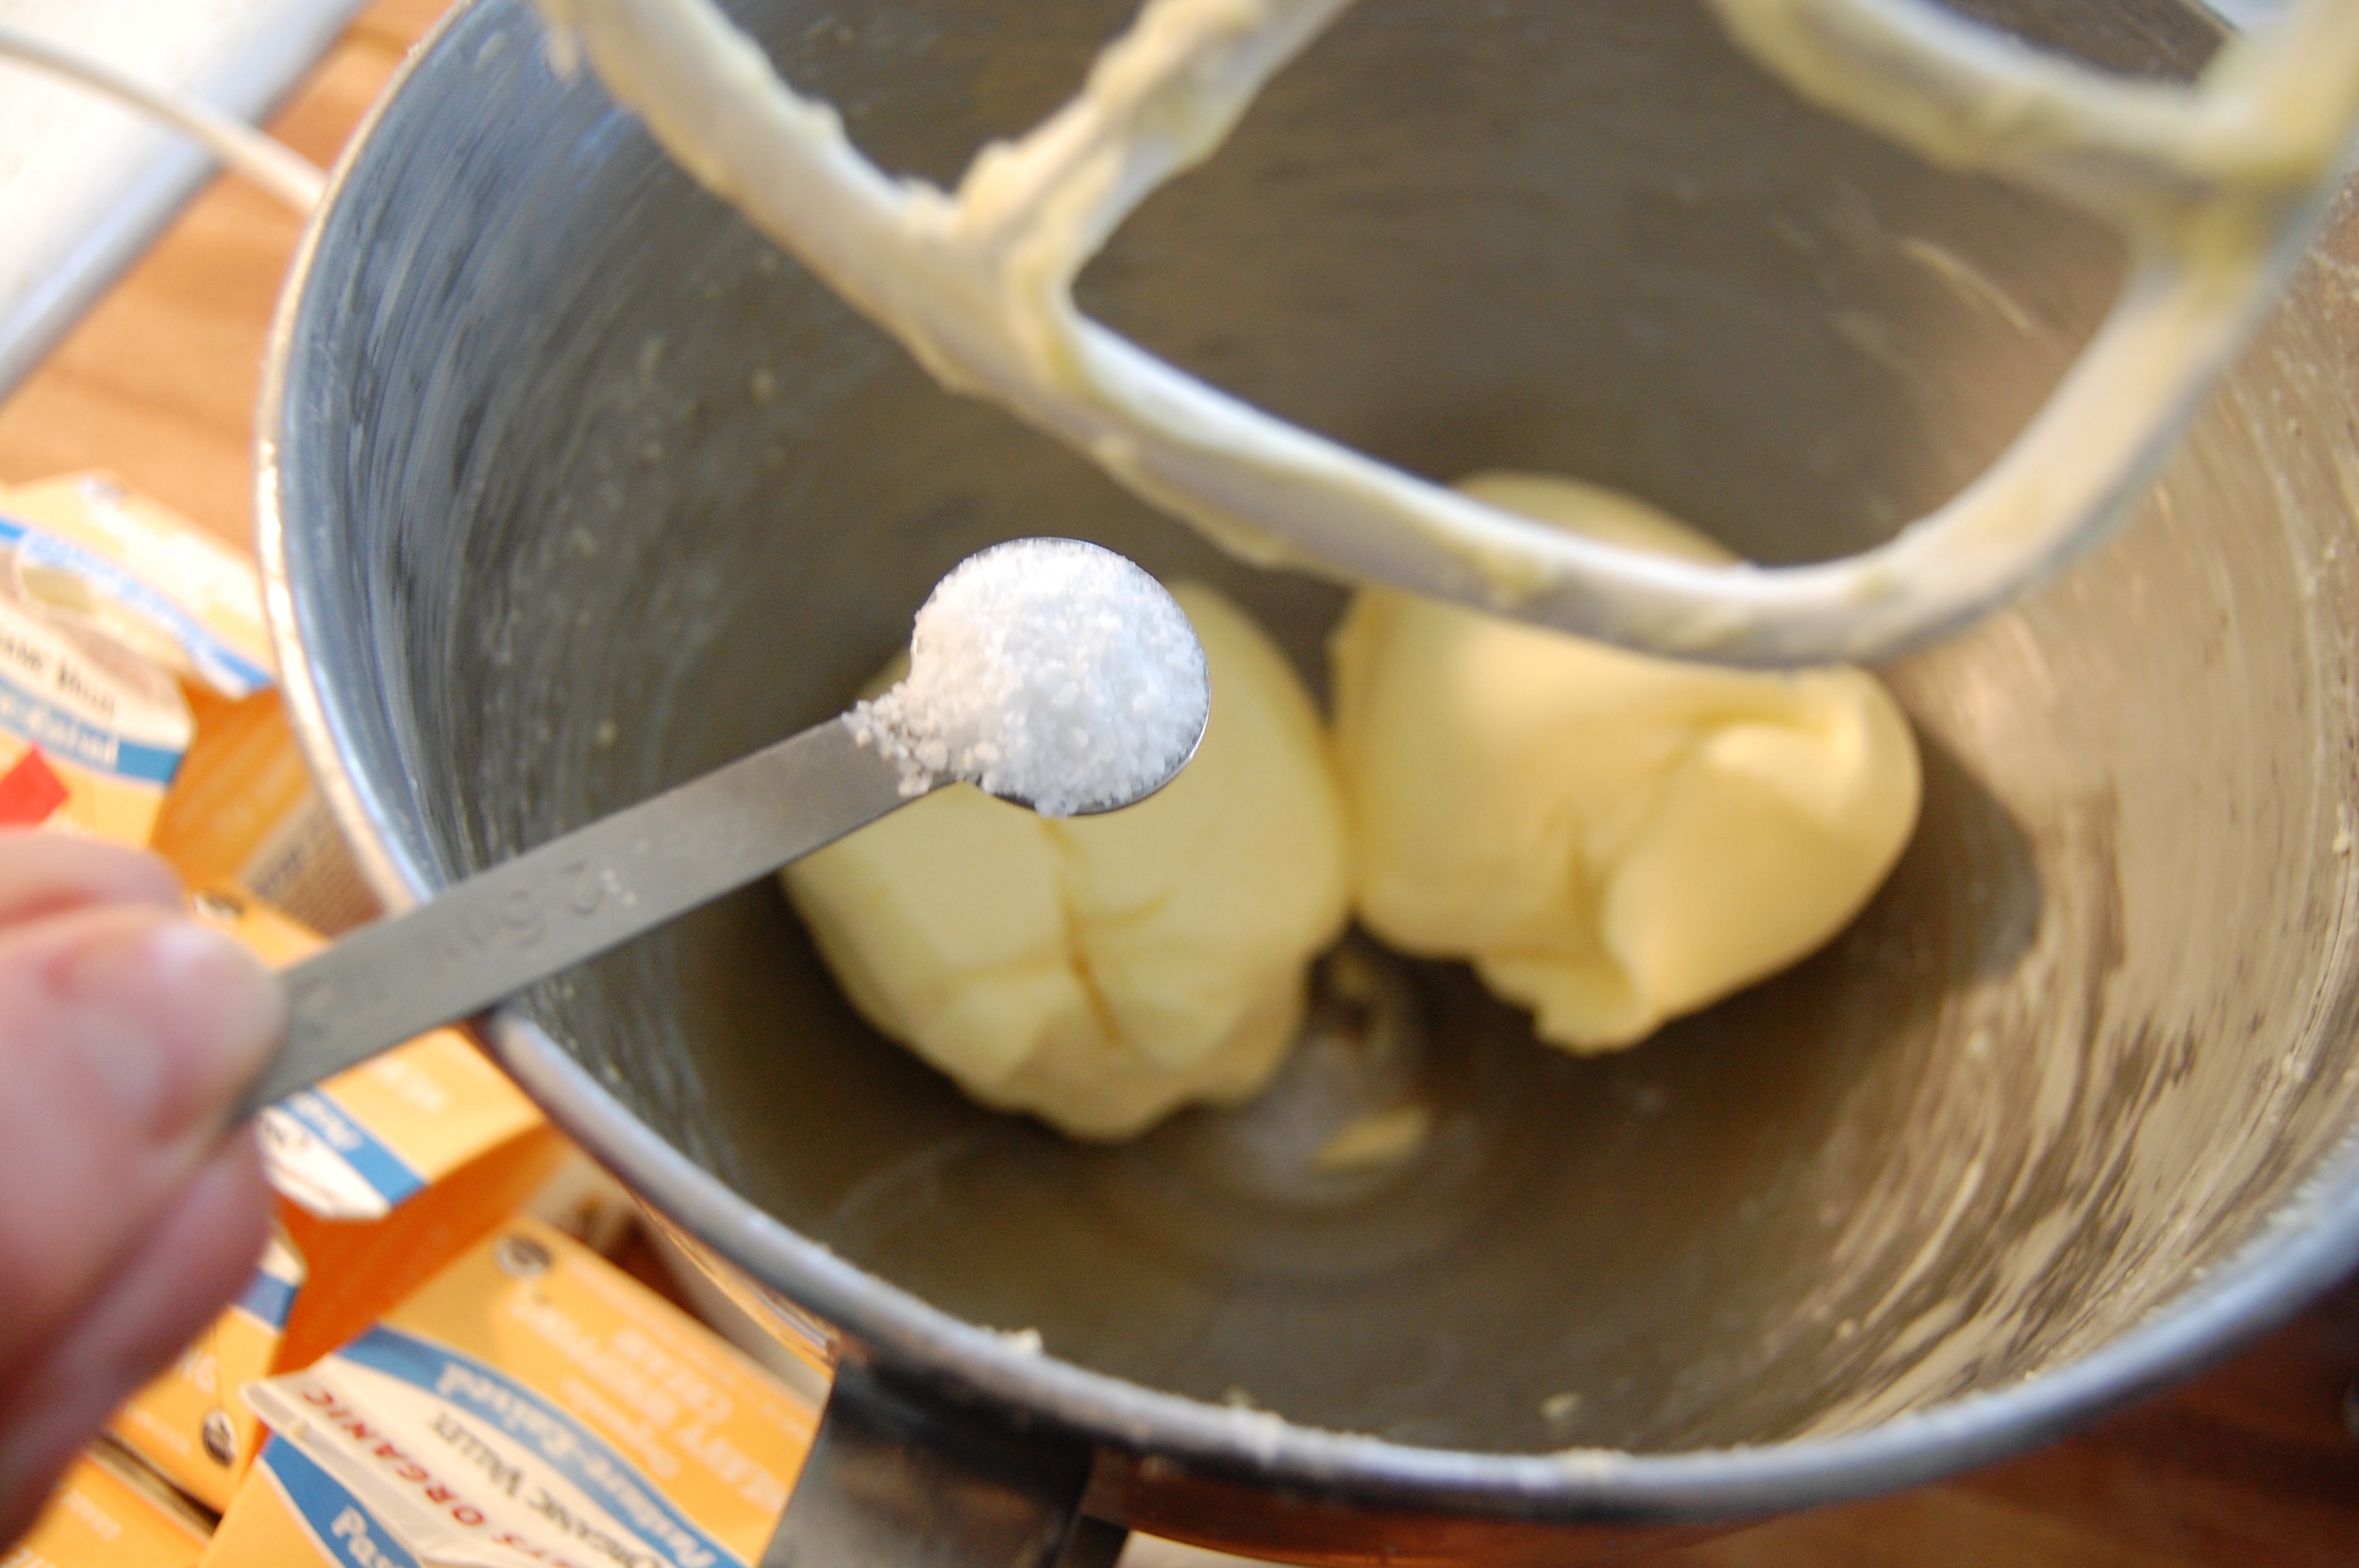
Mixed it in well:
NOW we were ready to put them into molds. It would be fun to collect some vintage wood butter molds, but since I didn't have any.. I just used these silicone muffin trays:
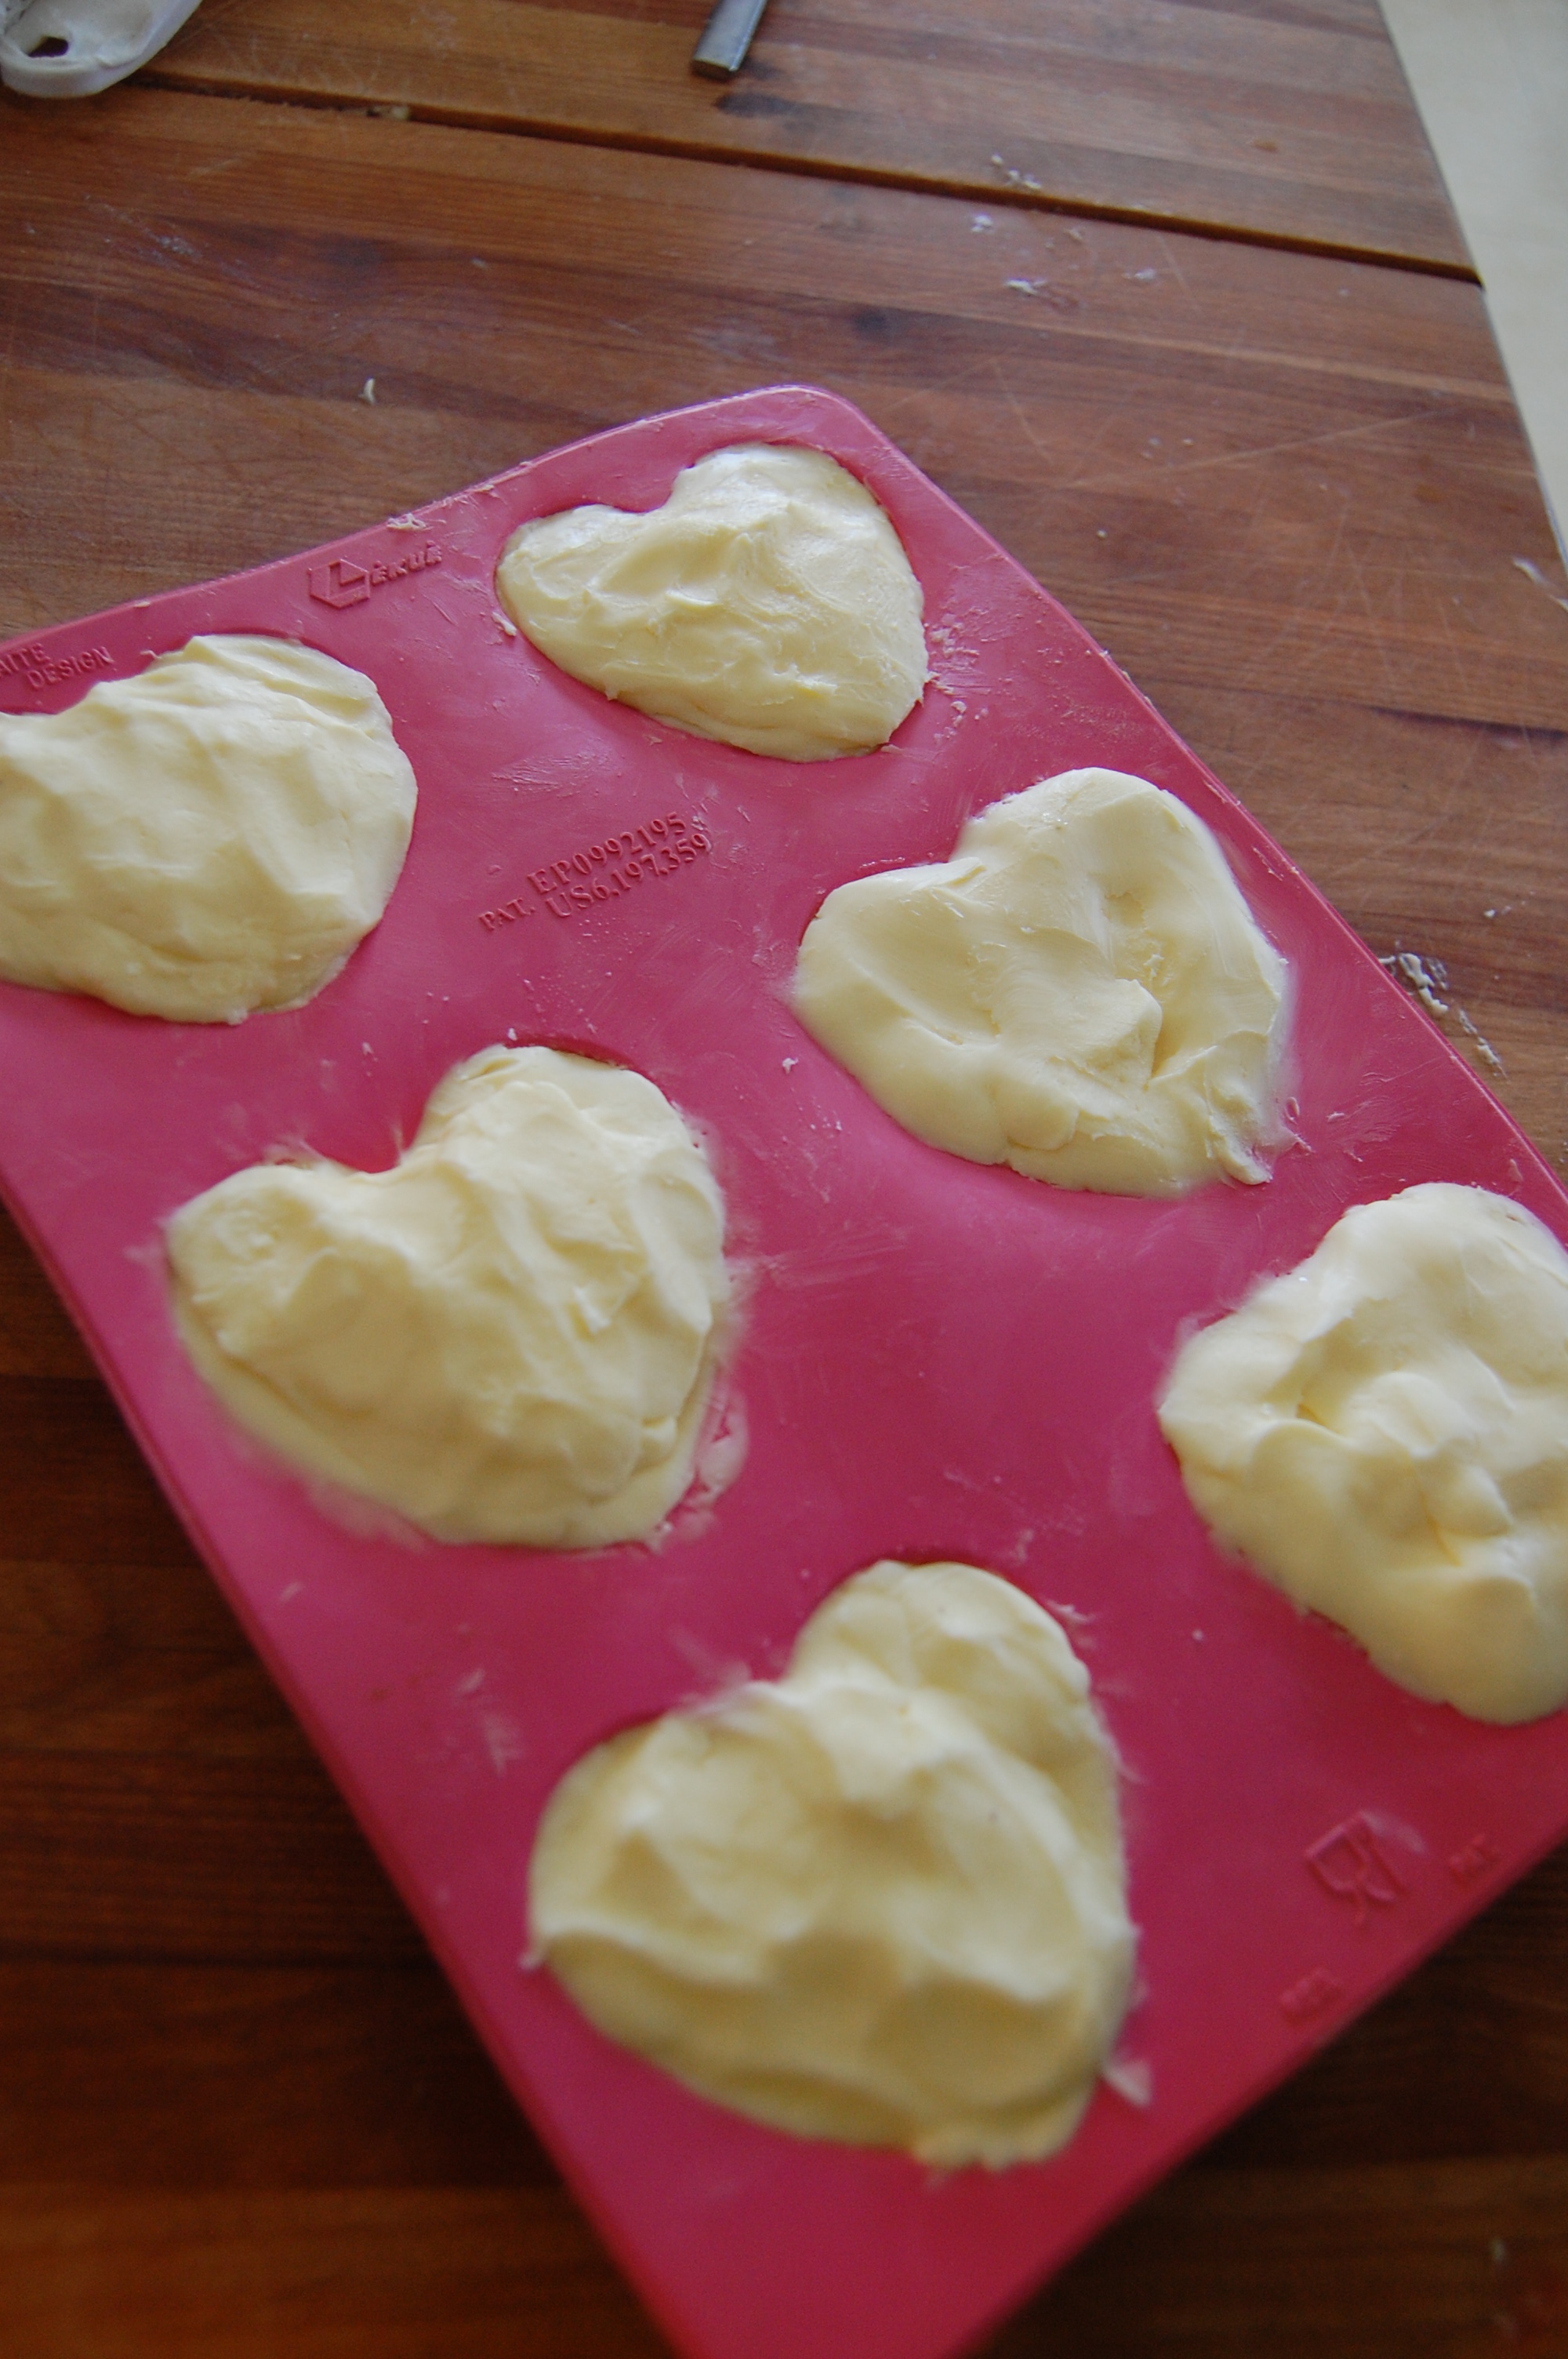
I can see why the wood ones work better. The silicone kind of moves too much - and the heart shapes got a bit wonky as I pressed the butter in hard. A wood press would allow you to compact the butter really well. We placed them in the fridge to get cold before we popped them out and wrapped them.

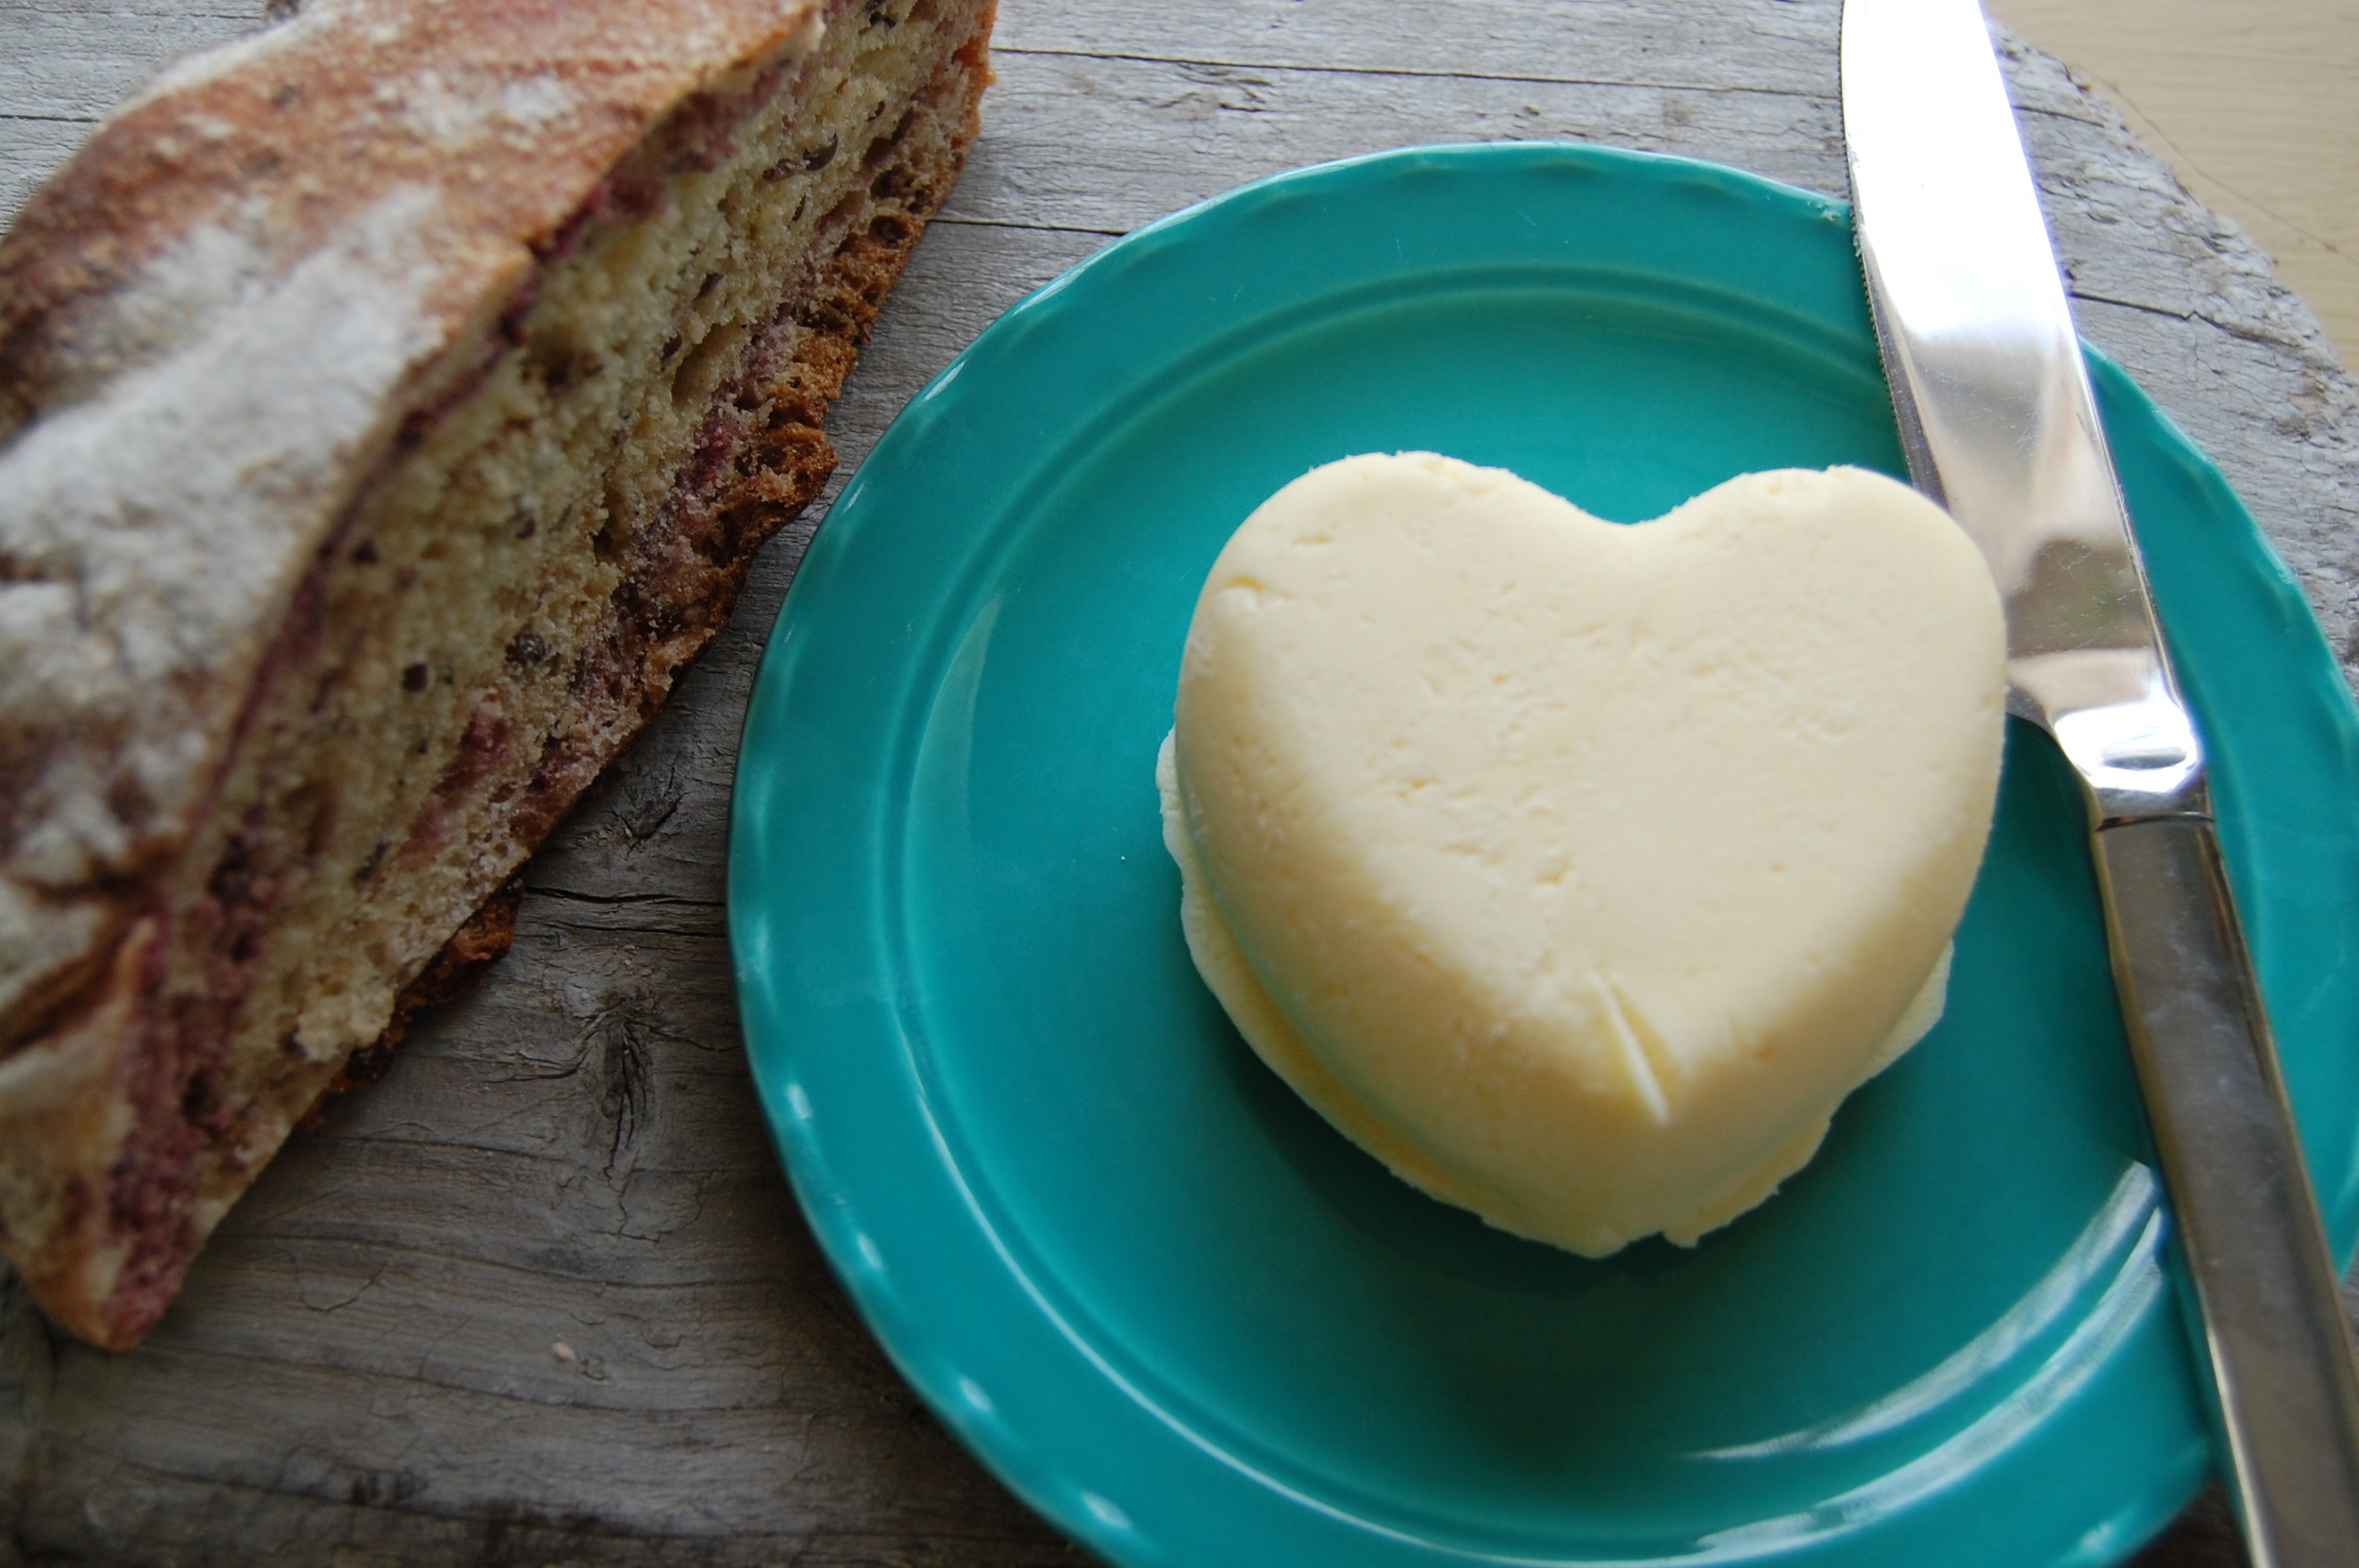
Each of these hearts was a tad bit larger than a usual stick of butter (I measured) - so all in all, I was able to make the equivalent of approx. 8 sticks of butter (2 lbs.) out of 8 cups of heavy whipping cream.

The containers were buy-one-get-one-free, at only $.79 each. I bought 8 of them (each contained about 1 cup of cream) so my total price was $3.16. I got 2 lbs. of butter and a whole pint of buttermilk out of the process - so that was quite a savings (being that organic butter is around $5 per pound!).
It was a fun process - took about an hour with cleanup - but my baby girl and I had a good time together. It's a fun educational experience to share with your kiddos - helping them to learn where their food comes from and how it was made in the old days. The very first time we did this, the girls and I looked up pictures of an old fashioned butter churn, and watched some videos on youtube about it.
So... next time you have some extra whipping cream around (or you see some on sale) give it a try!