Simple Scrumptous Sauerkraut
I was not raised eating this lovely food. My Italian momma's table was always brimming with veggies - but pickling cucumbers in the summer (canning with vinegar) was the closest I came to the tangy goodness of what I would later discover. One of my parent's favorite expressions while introducing new food to us was 'broaden your horizons!' The only sauerkraut experience I'd ever had was watching people pile it atop their hot dogs at a baseball game in the summer.... the sour smell mixing with the stale onions in the heat. Not too appealing - and so, the strange and slimy-looking condiment was never part of my horizon-broadening experience. Now. ERASE the image I just painted for you.
After tasting it myself - I will tell you it is NOT what I thought. It is refreshing and crisp. Tangy and salty. If you like pickles, you'll probably love sauerkraut.

I was amazed to learn that the concept of fermenting vegetables was a very common practice before industrialization (and the demand for mass quantities) changed the way that people preserved their food. I had heard of a 'pickle barrel' but never realized that those pickles could be kept in that barrel ( in a cellar for months on end ) - because they were being magically preserved in a brine... they had been fermented.
Once again - (the old me) - heard the word 'fermented' and thought of stinky cheese. Rotten leftovers in the fridge, left to putrefy. But actually, the process of lacto-fermentation is quite amazing. Adding lacto-bacilli (in the form of whey) to vegetables and allowing them to ferment, actually boosts the nutritional value of the vegetables themselves. It takes them beyond simply being preserved (which is great in itself) and turns them into a SUPERFOOD!
"The proliferation of lactobacilli in fermented vegetables enhances their digestibility and increases vitamin levels. These beneficial organisms produce numerous helpful enzymes as well as antibiotic and anticarcinogenic substances. Their main by-product, lactic acid, not only keeps vegetables and fruits in a state of perfect preservation but also promotes the growth of healthy flora throughout the intestine." (get more in-depth here)
If that's not enough to get you excited - here is another great link with MORE reasons why.
You may already love sauerkraut. Sadly, the sauerkraut you can buy on a store shelf is NOT loaded with any of this superfood-ish goodness. Most of it gets it's flavor from vinegar and has been pasteurized (heated) which kills any beneficial enzymes and friendly bacteria. Never fear! I am about to show you how easy it is to make your own.
This lovely fermented vegetable is one of the easiest and most gratifying fermented foods I've made.
All you need are a few very simple ingredients:
- Fresh organic cabbage - 1 medium/large head
- Whey from organic yogurt - 1/2 cup
- Salt (kosher or sea salt - non-iodized) - 2 tbls.
- a bowl for mixing
- a potato masher (or any other bashing tool)
- a large jar for fermenting, with a lid
- a small ziploc-style baggie (or save a large outer leaf of the cabbage)

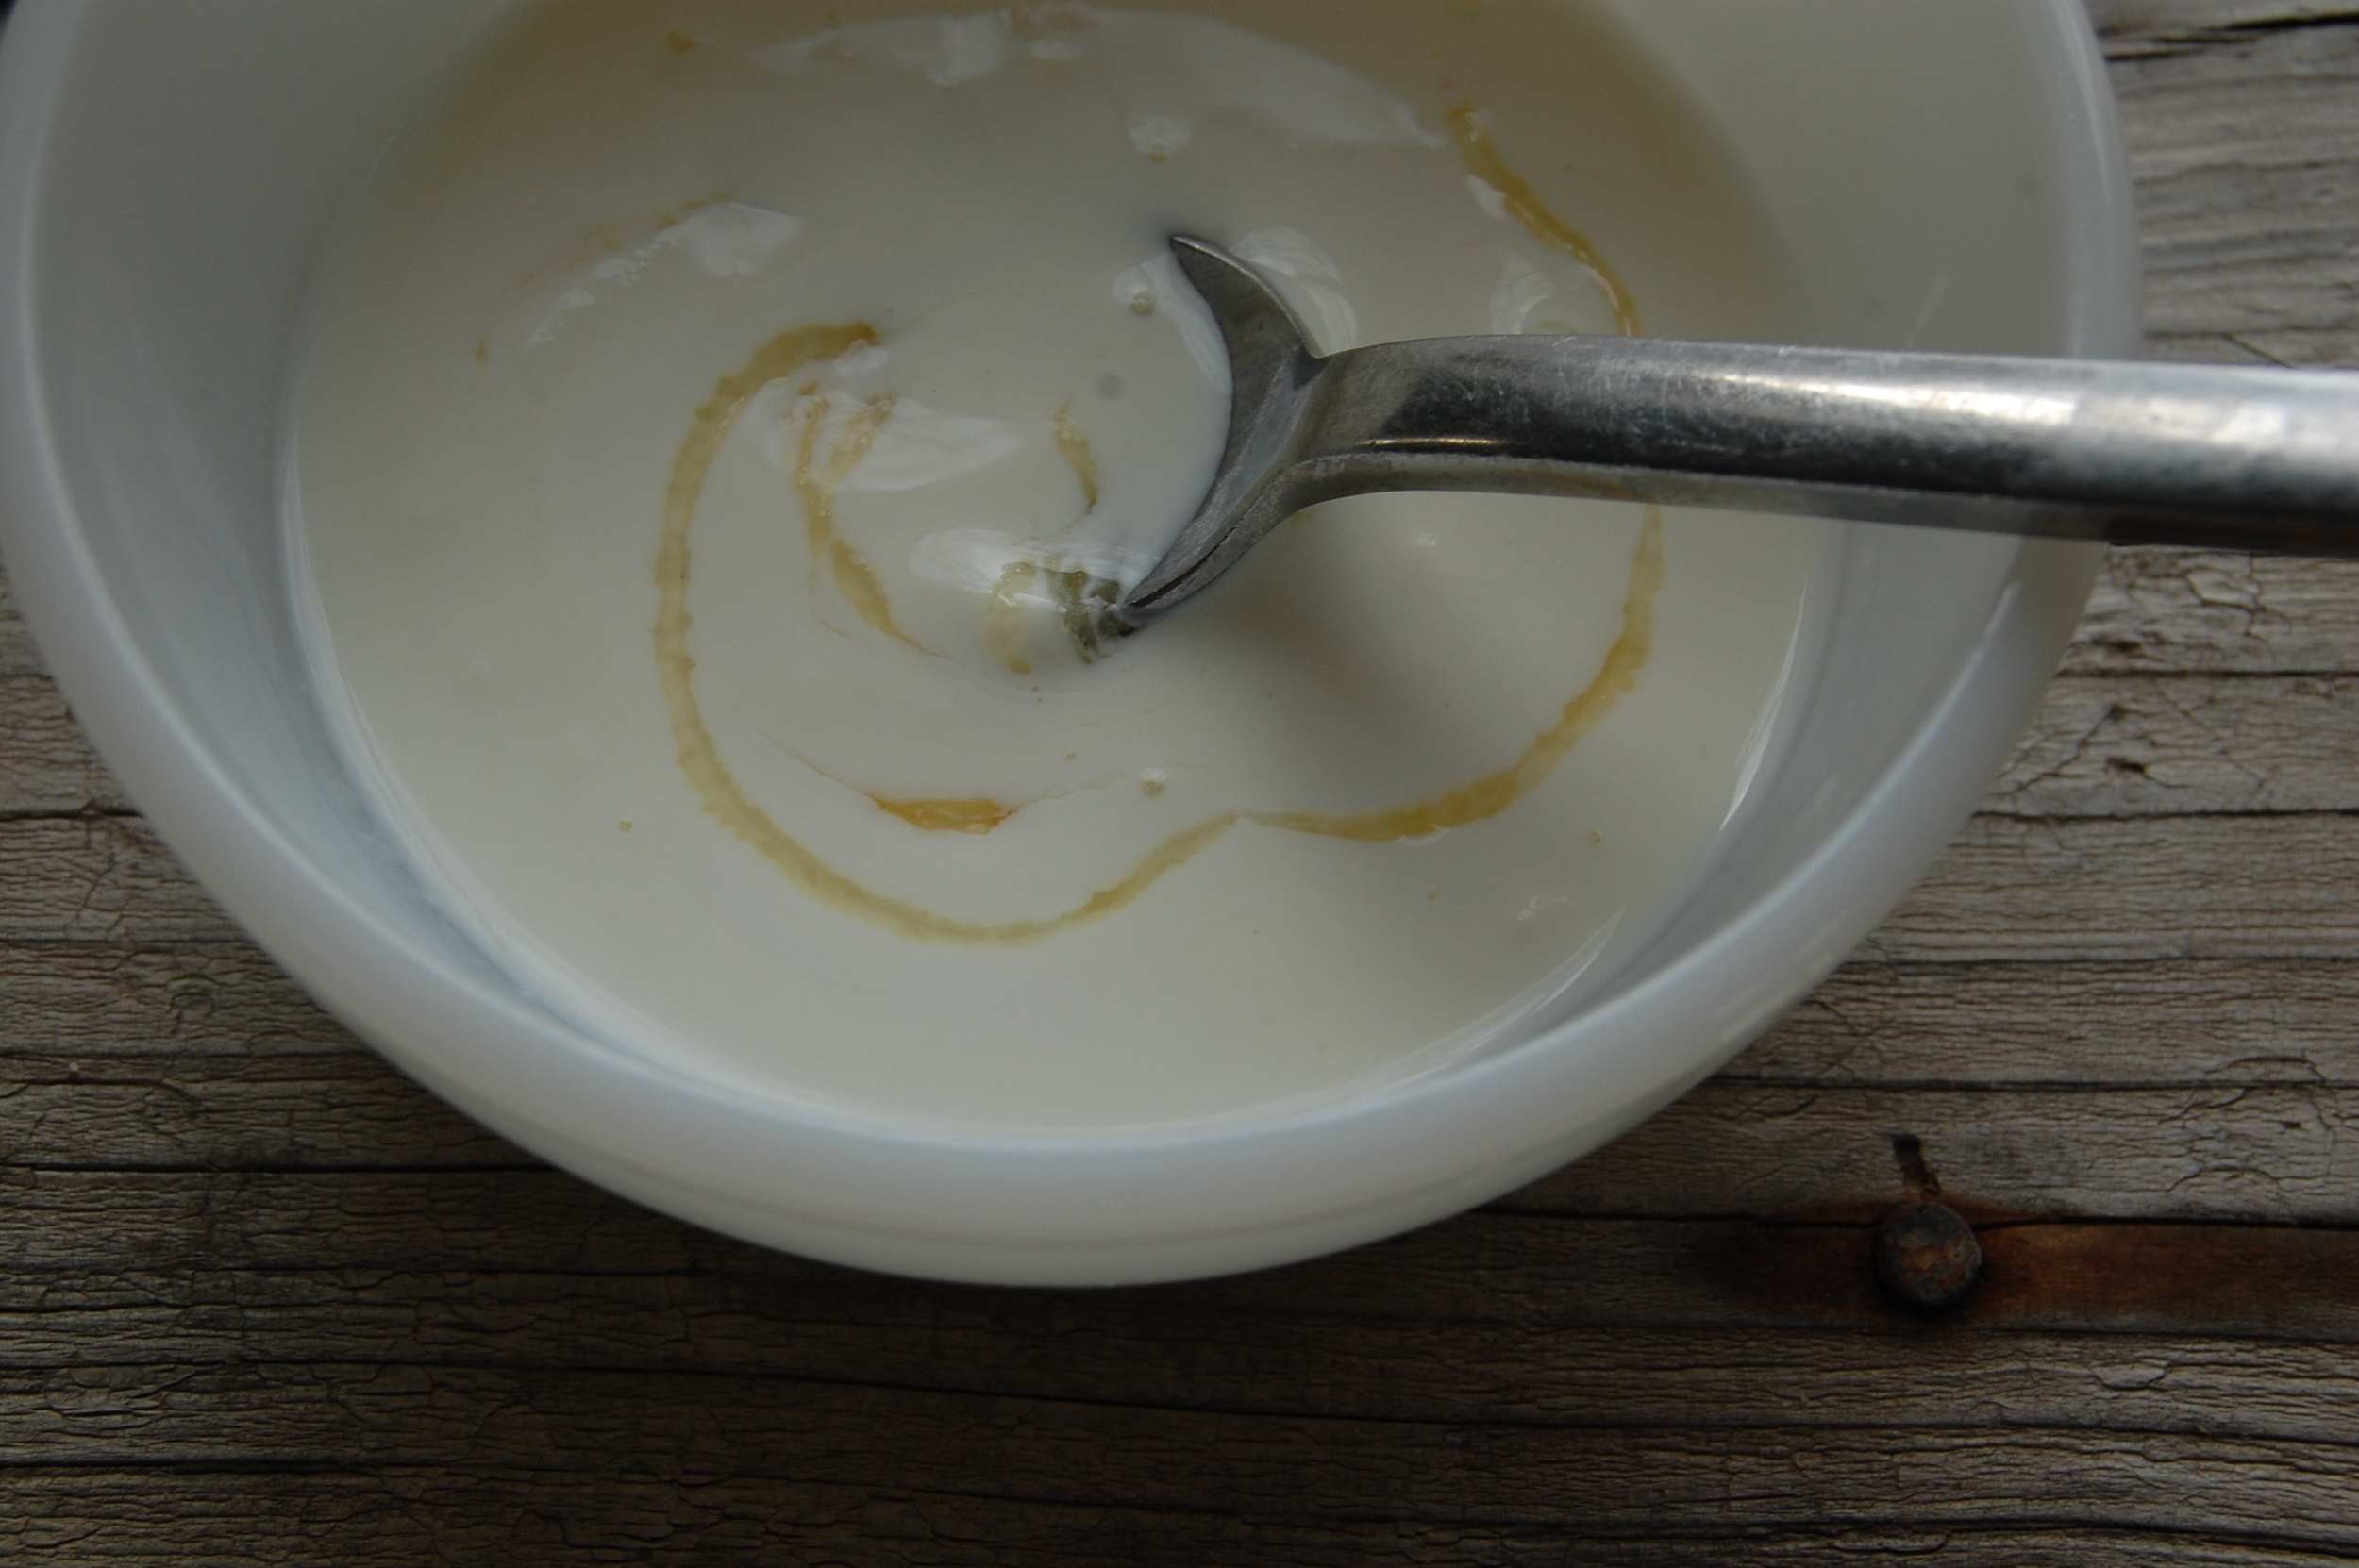
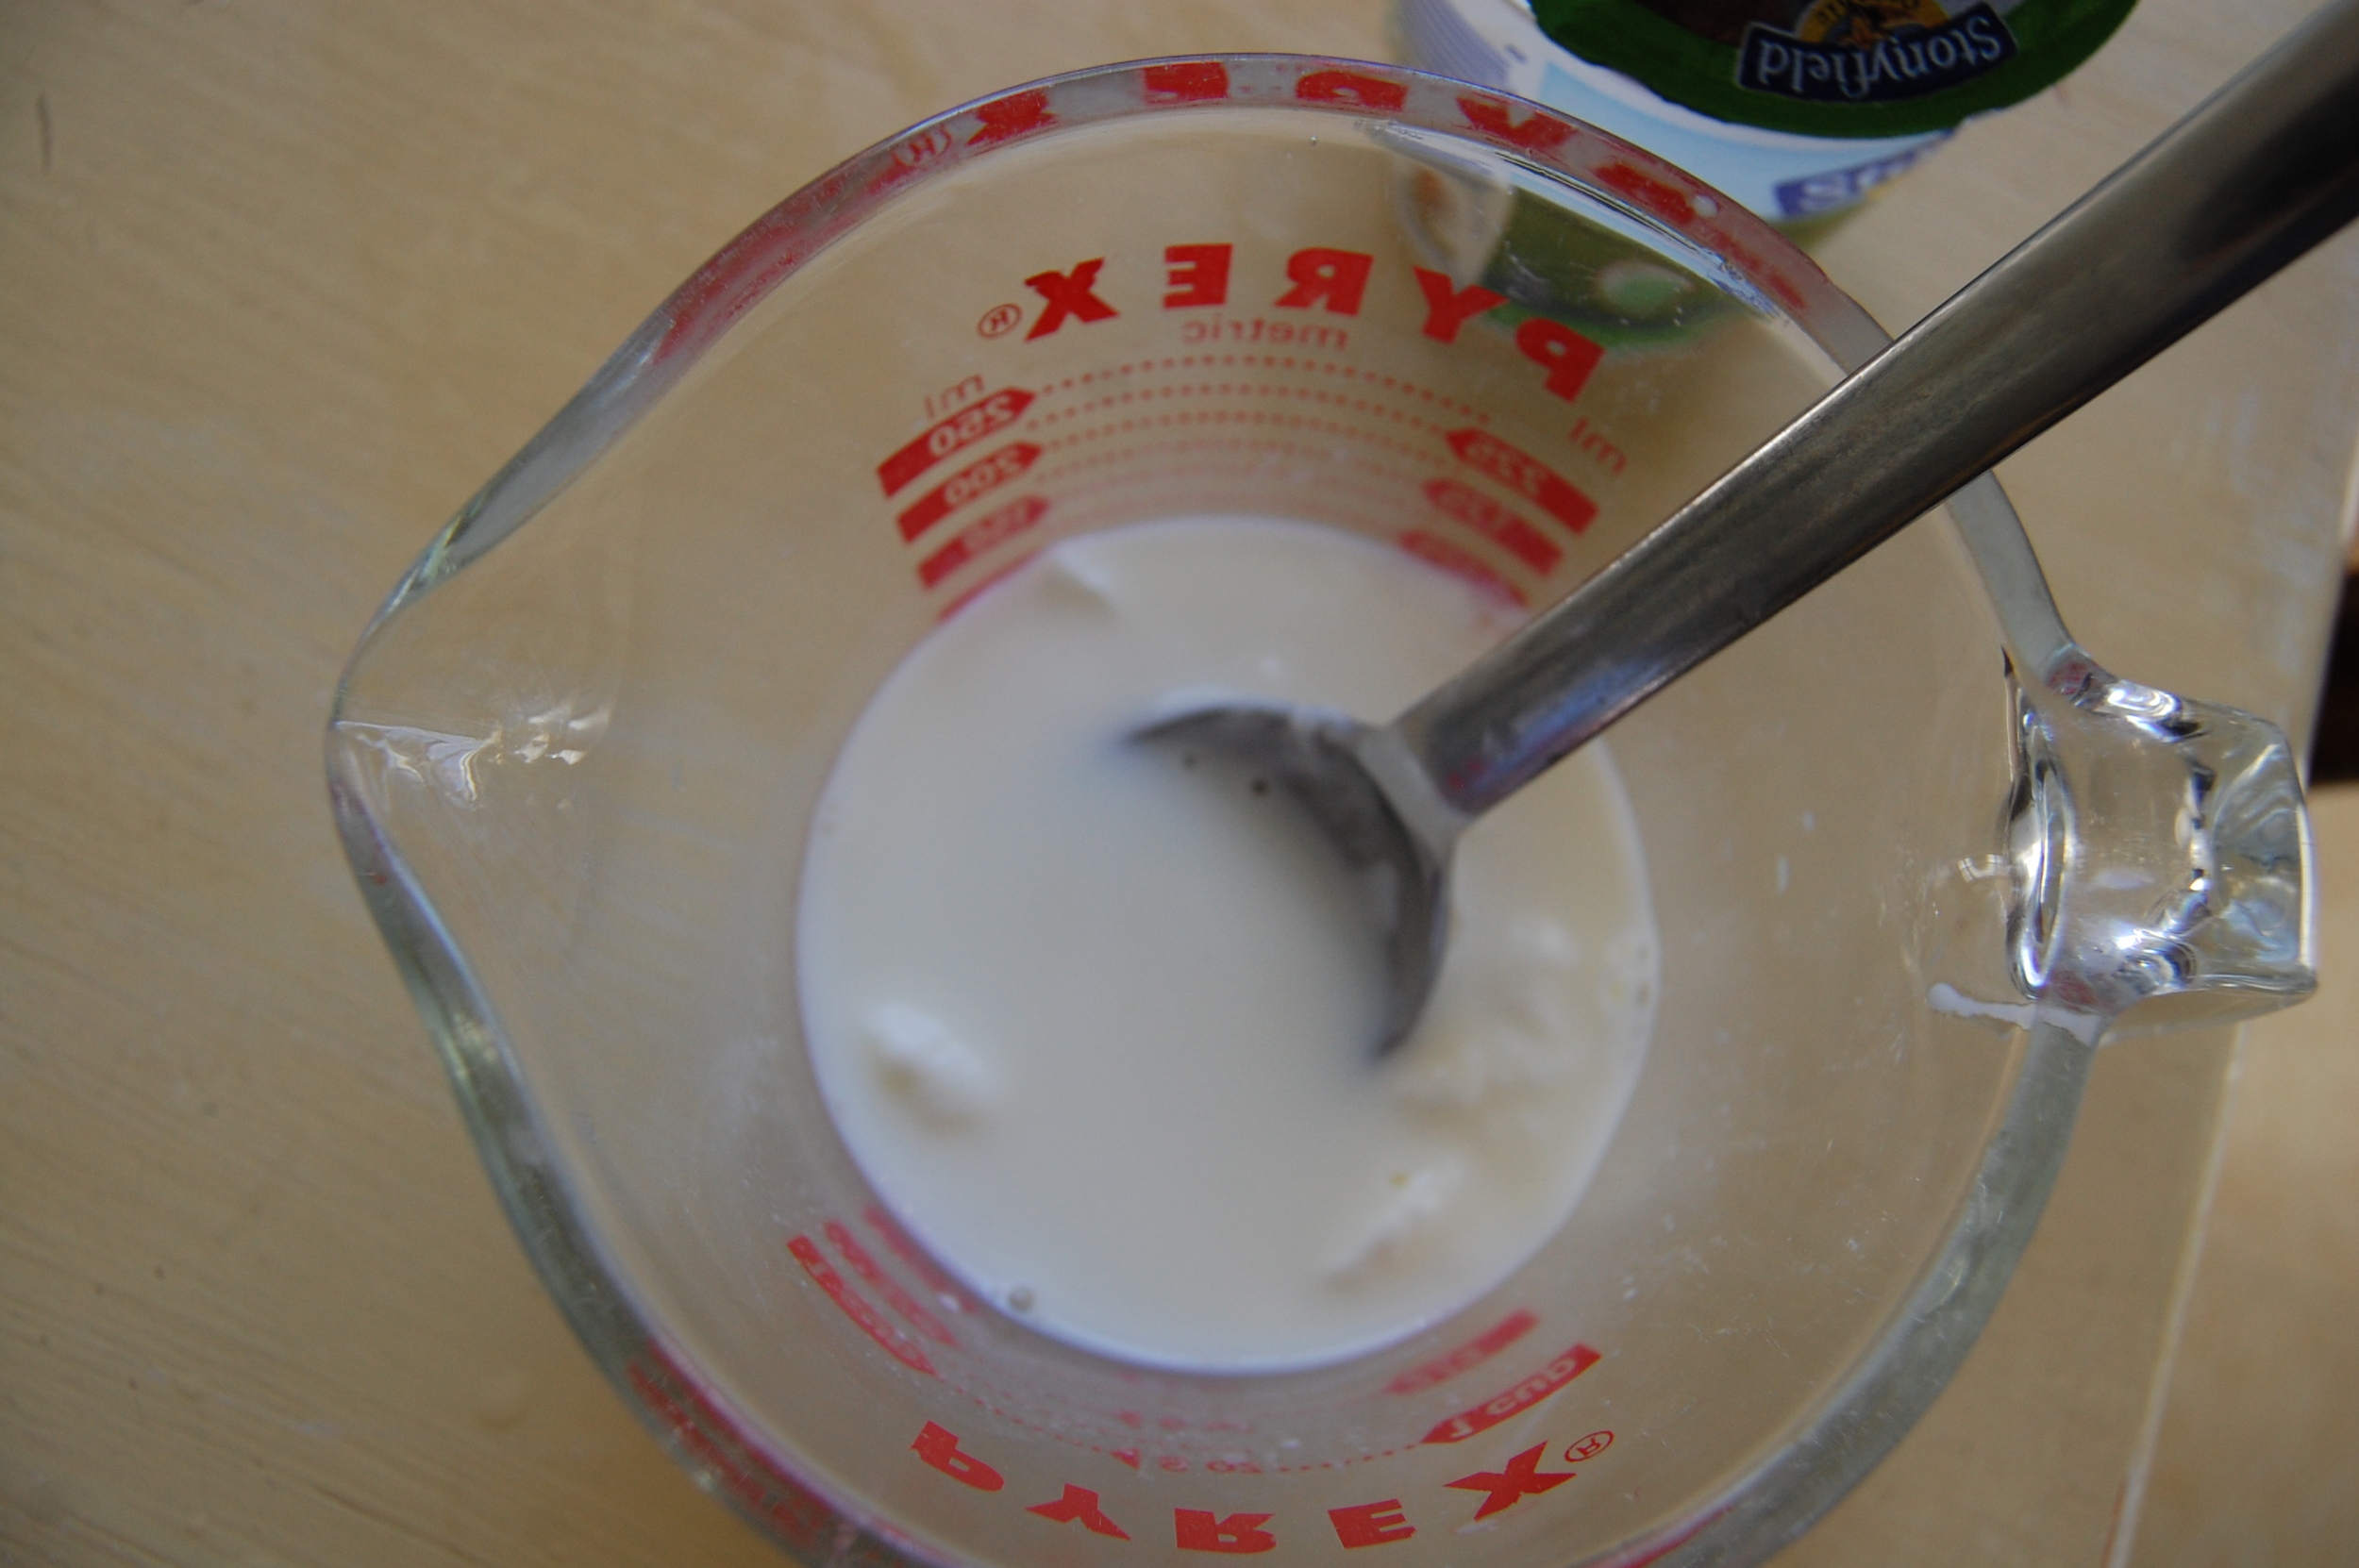
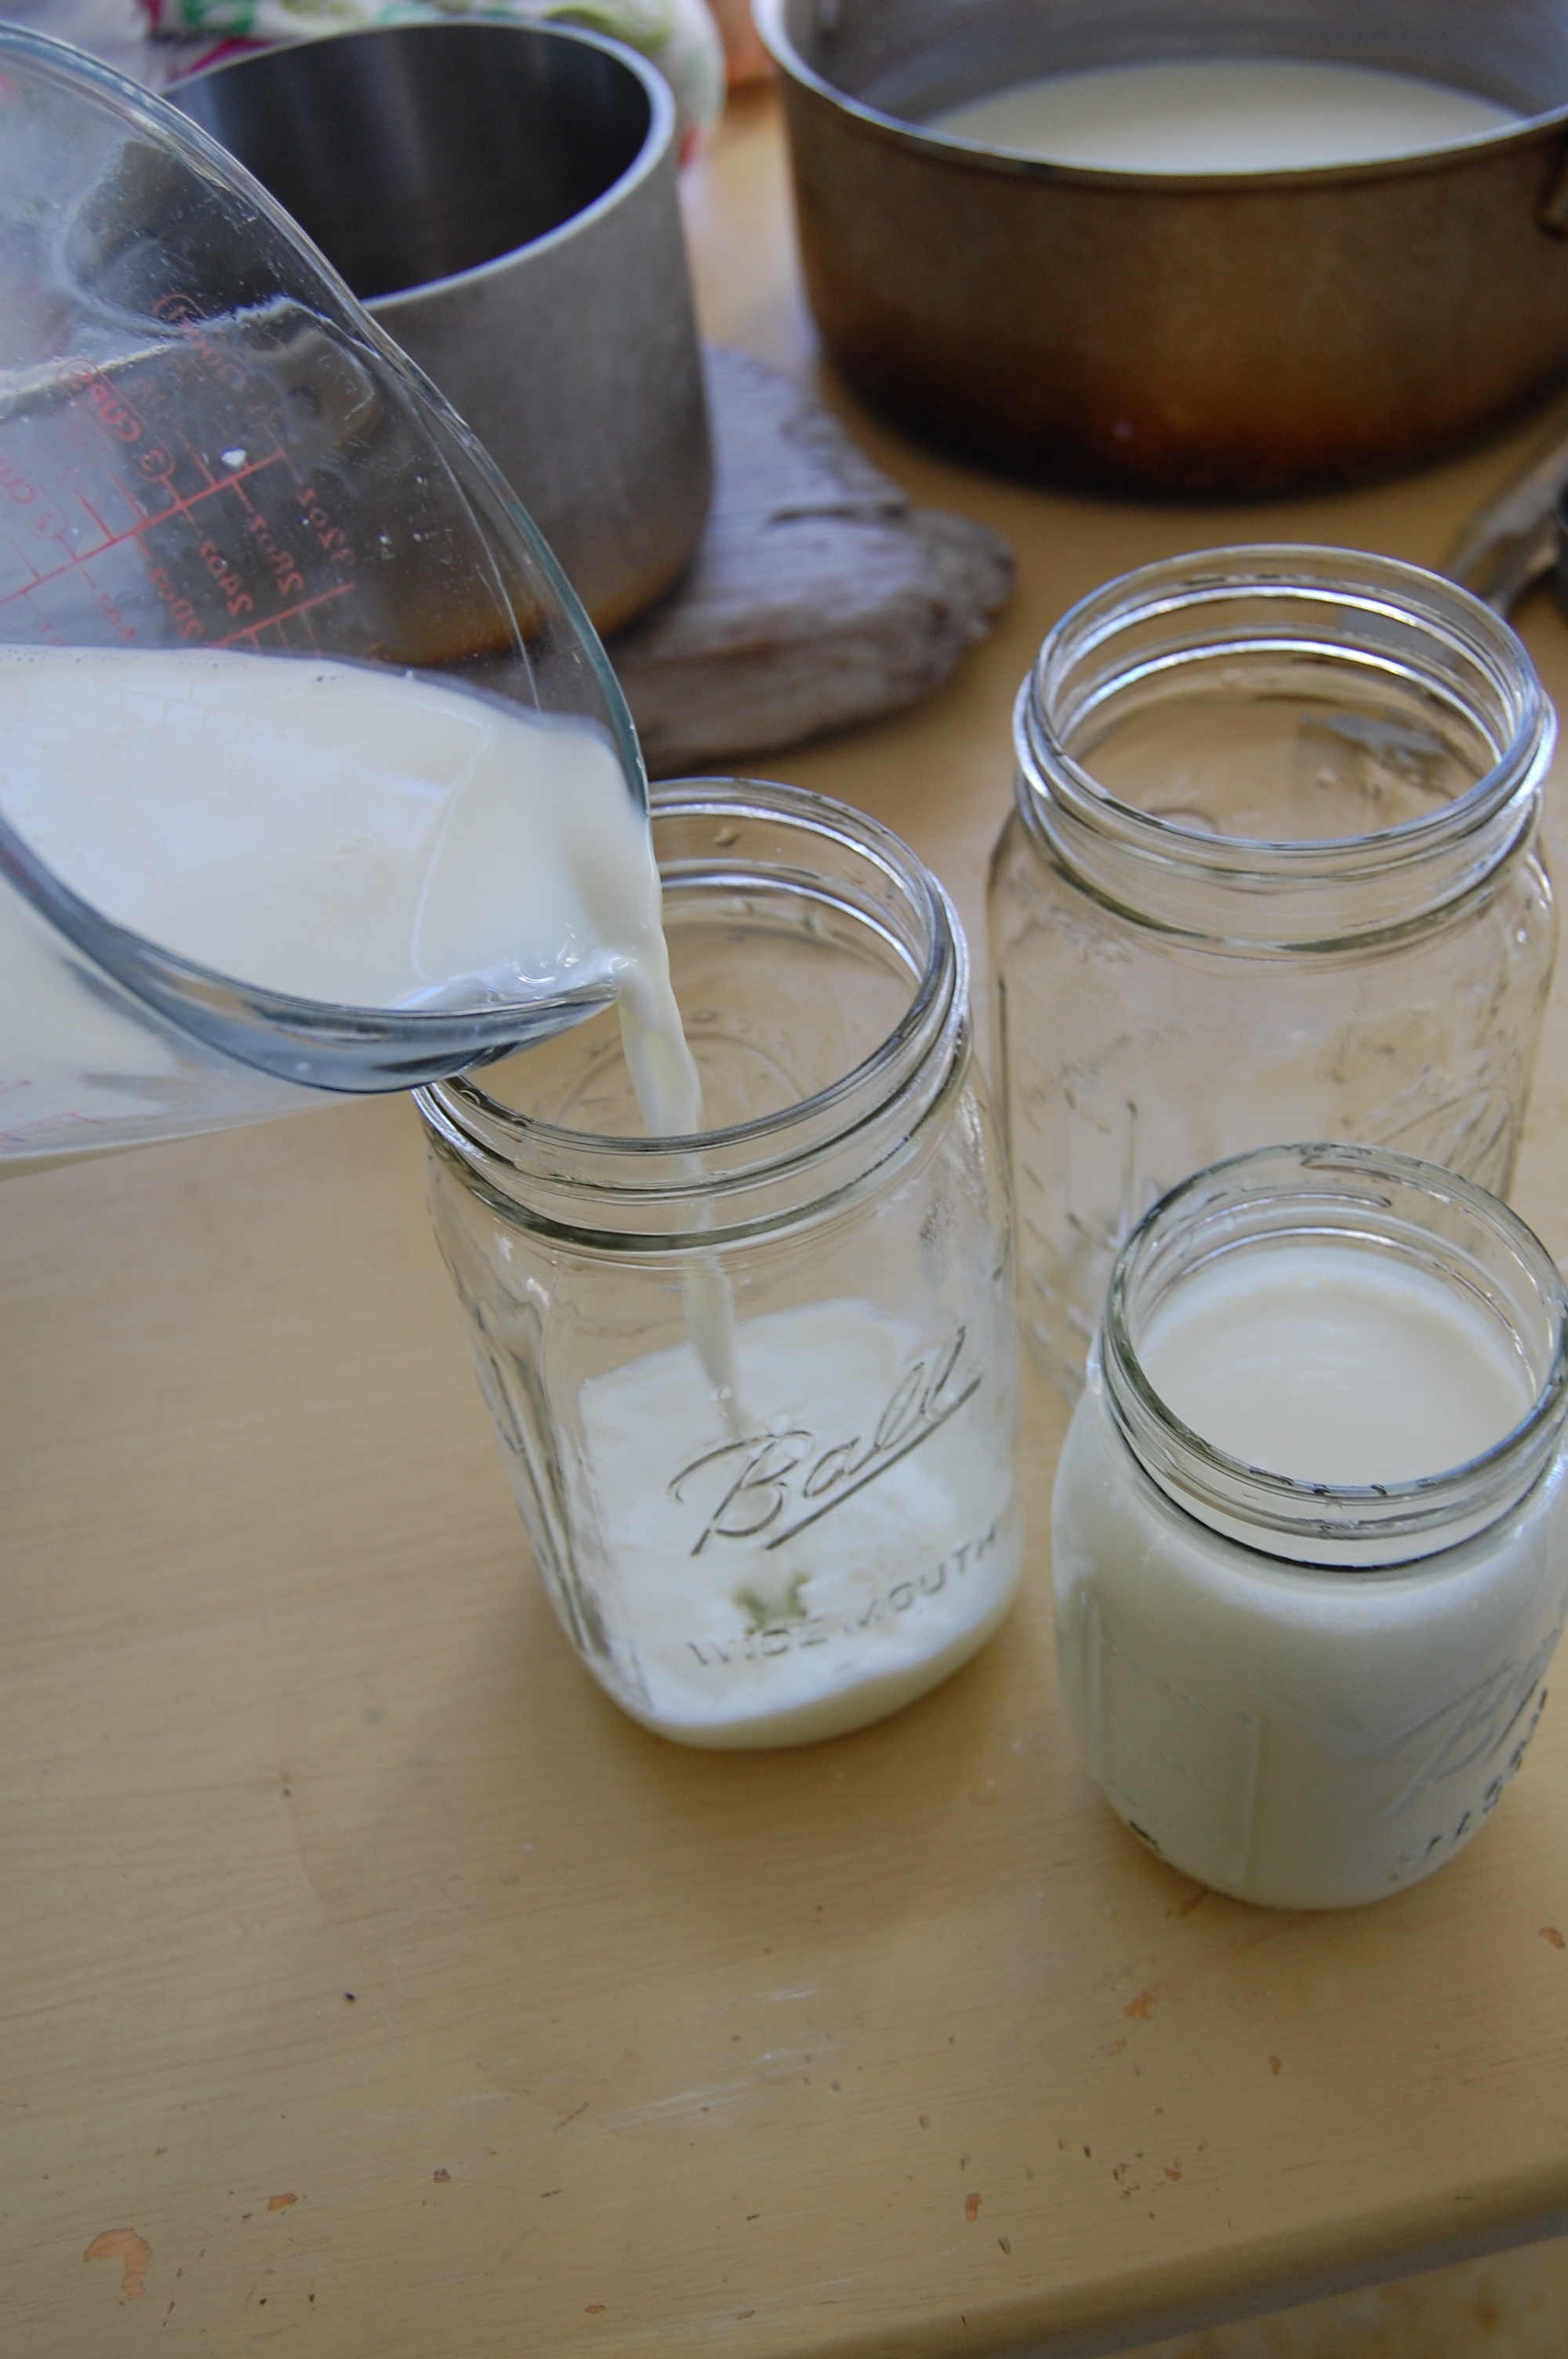
First things first. You can read my post here about how to make your own yogurt. If you want to skip that step - you can purchase some organic plain yogurt and get the whey out of that. Don't use Greek yogurt, though (since the whey has been drained out already). You've probably seen whey before, though you may not have known it. Whey is that clear-ish, yellow-ish liquid that you may have seen right on top when you open a tub of yogurt. It is a byproduct of culturing milk (you've heard of curds and whey... well, the yogurt can be called curds in this example, and the clear liquid is the whey).
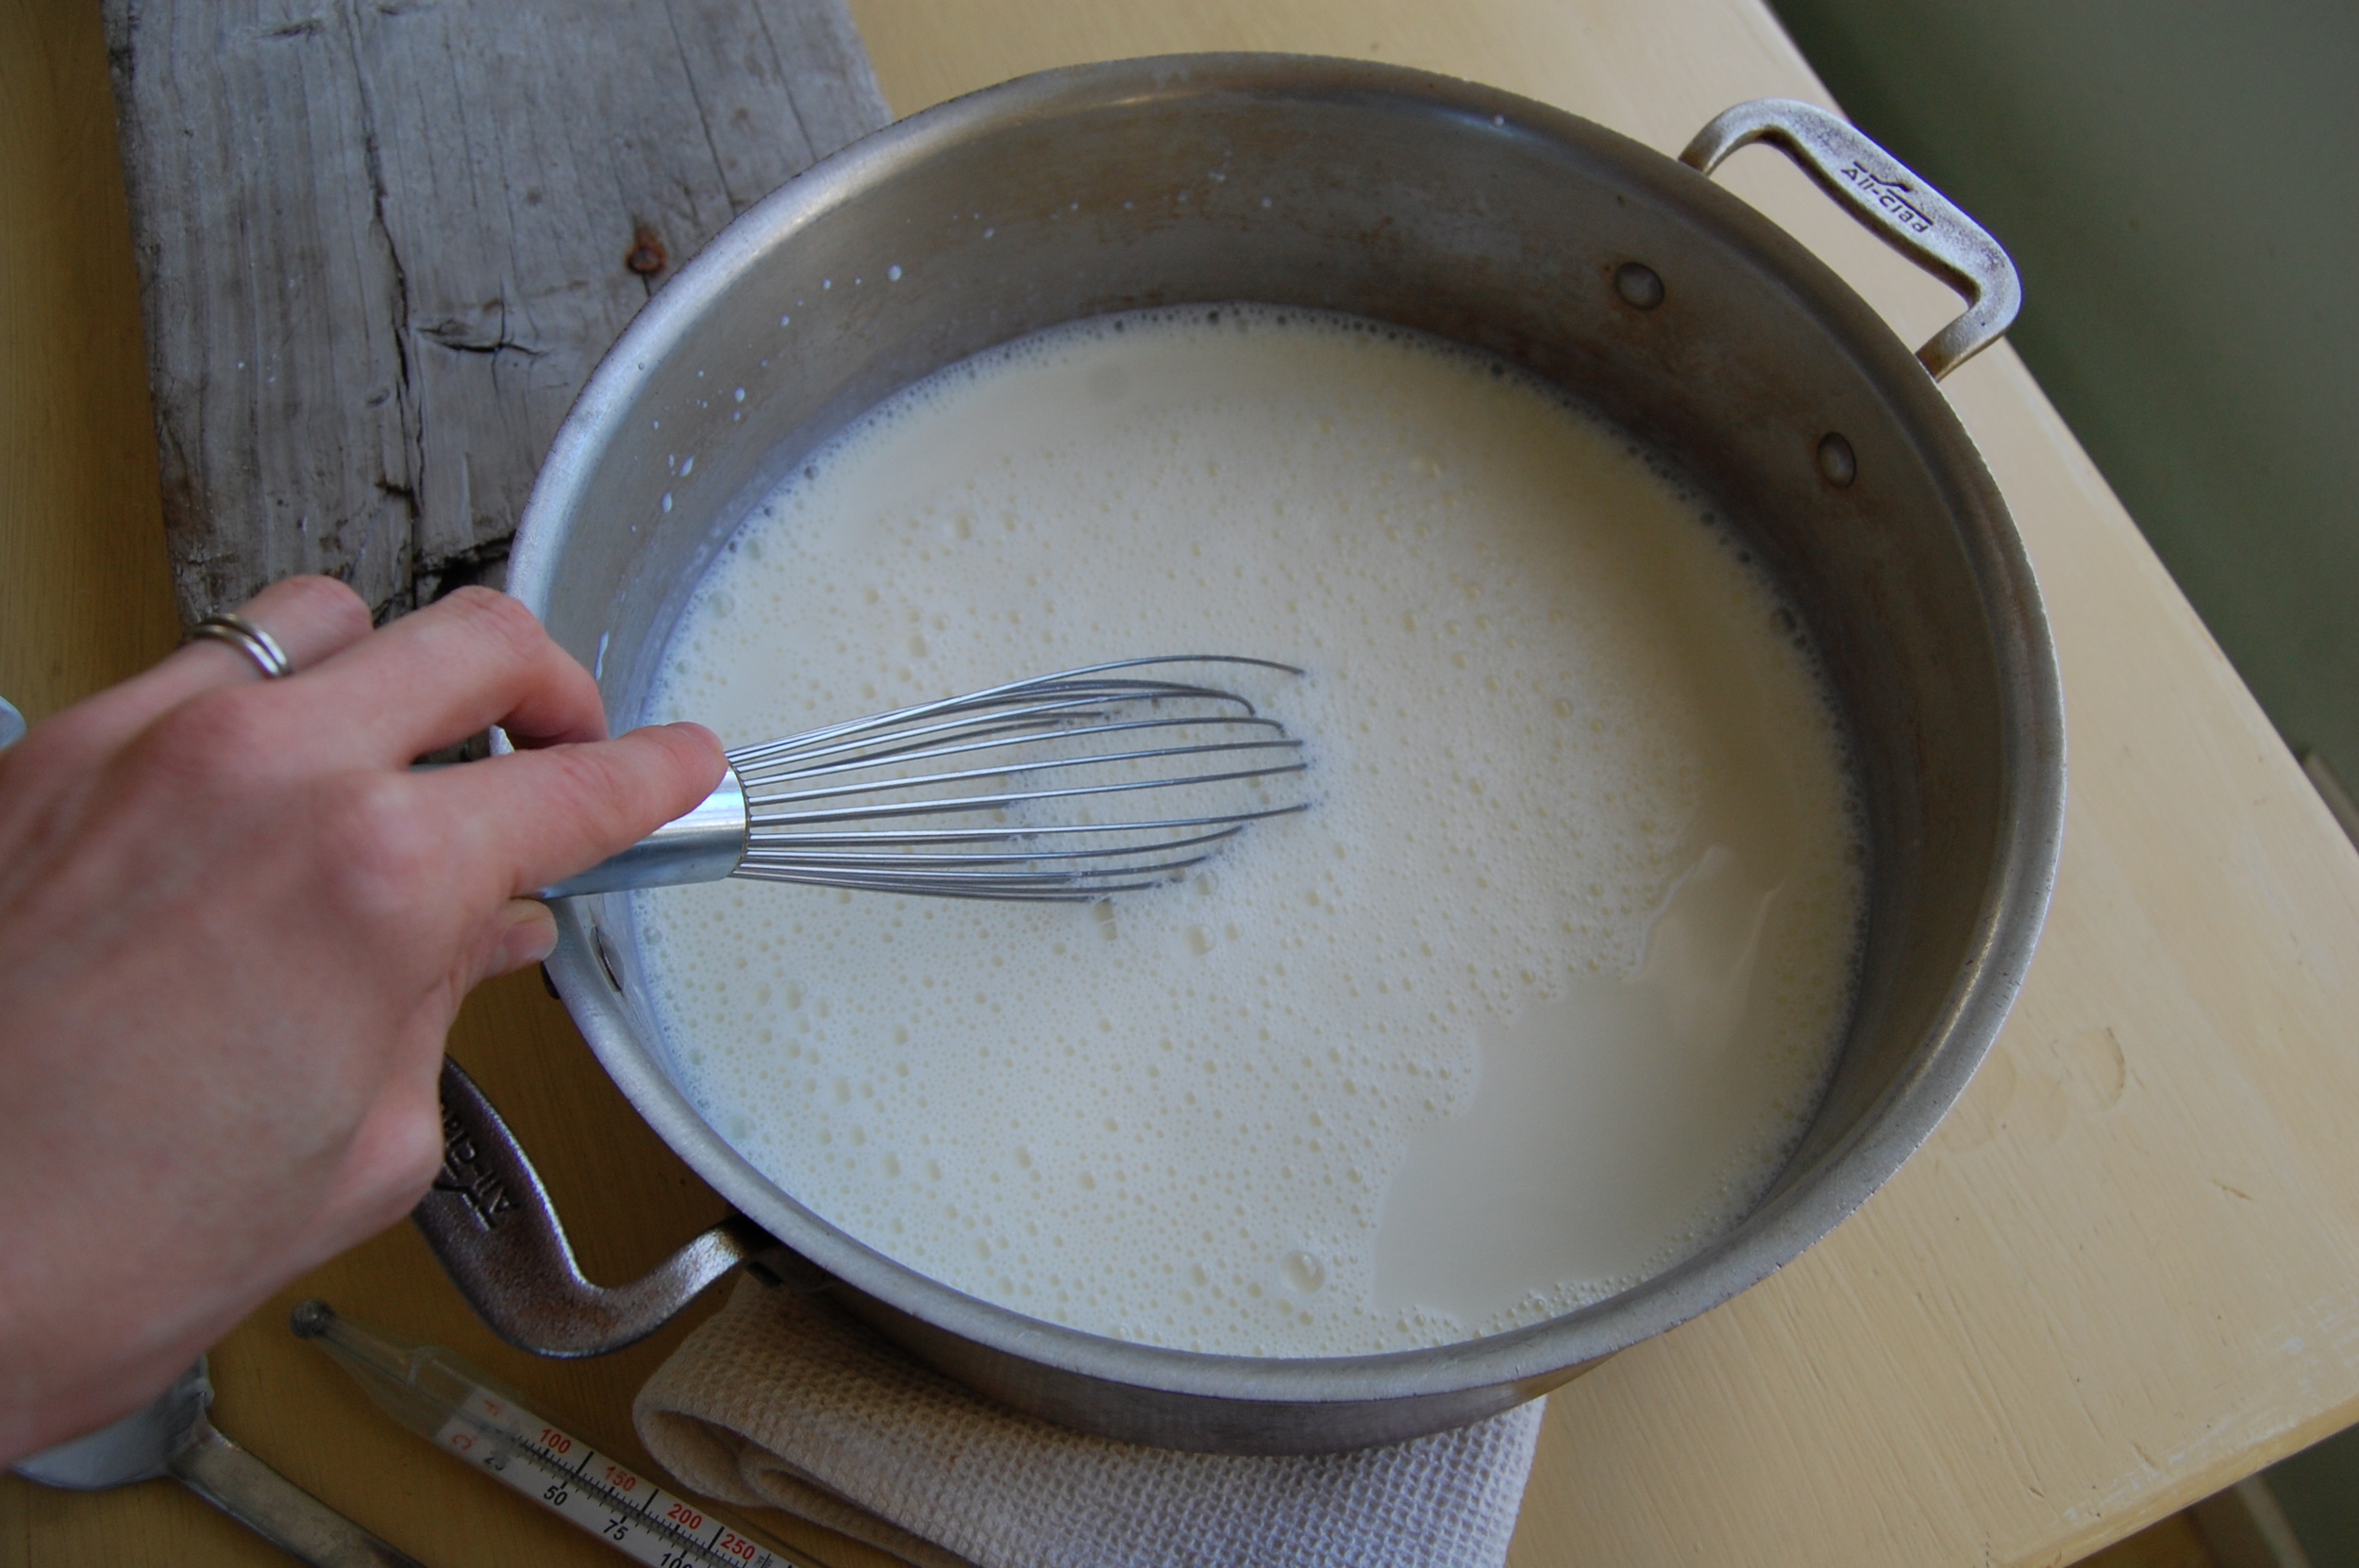
Get a strainer or sieve and place a piece of cheesecloth (if you have it) or a clean piece of smooth cotton fabric, or even a large coffee filter inside of the strainer. Pour your yogurt into this and let it drain. You should be able to get 1/2 cup of whey out of 16 oz of yogurt. Any extra whey can be kept in the fridge and will last for months and months as long as it is well strained.
Slice your cabbage into thin pieces or shreds. You might find a food processor helpful, but I find it still has to be re-chopped a bit, since it doesn't always slice evenly. I also find hand chopping therapeutic. TIP: If you don't have a nice, non-serrated knife - get one.

Once your cabbage is shredded, put it into a mixing bowl and add your salt and whey.


Now for the fun part. Start bashing and smashing that cabbage, mixing the salt and whey in as you go. You are releasing the juices from the cabbage and beginning the process of breaking down the cells of the cabbage. I've tried skipping this step (not smashing ) - and it takes longer for the kraut to be ready to eat. I believe this speeds the process. You should smash and bash for at least 10 minutes - up to 30. It's good stress relief.

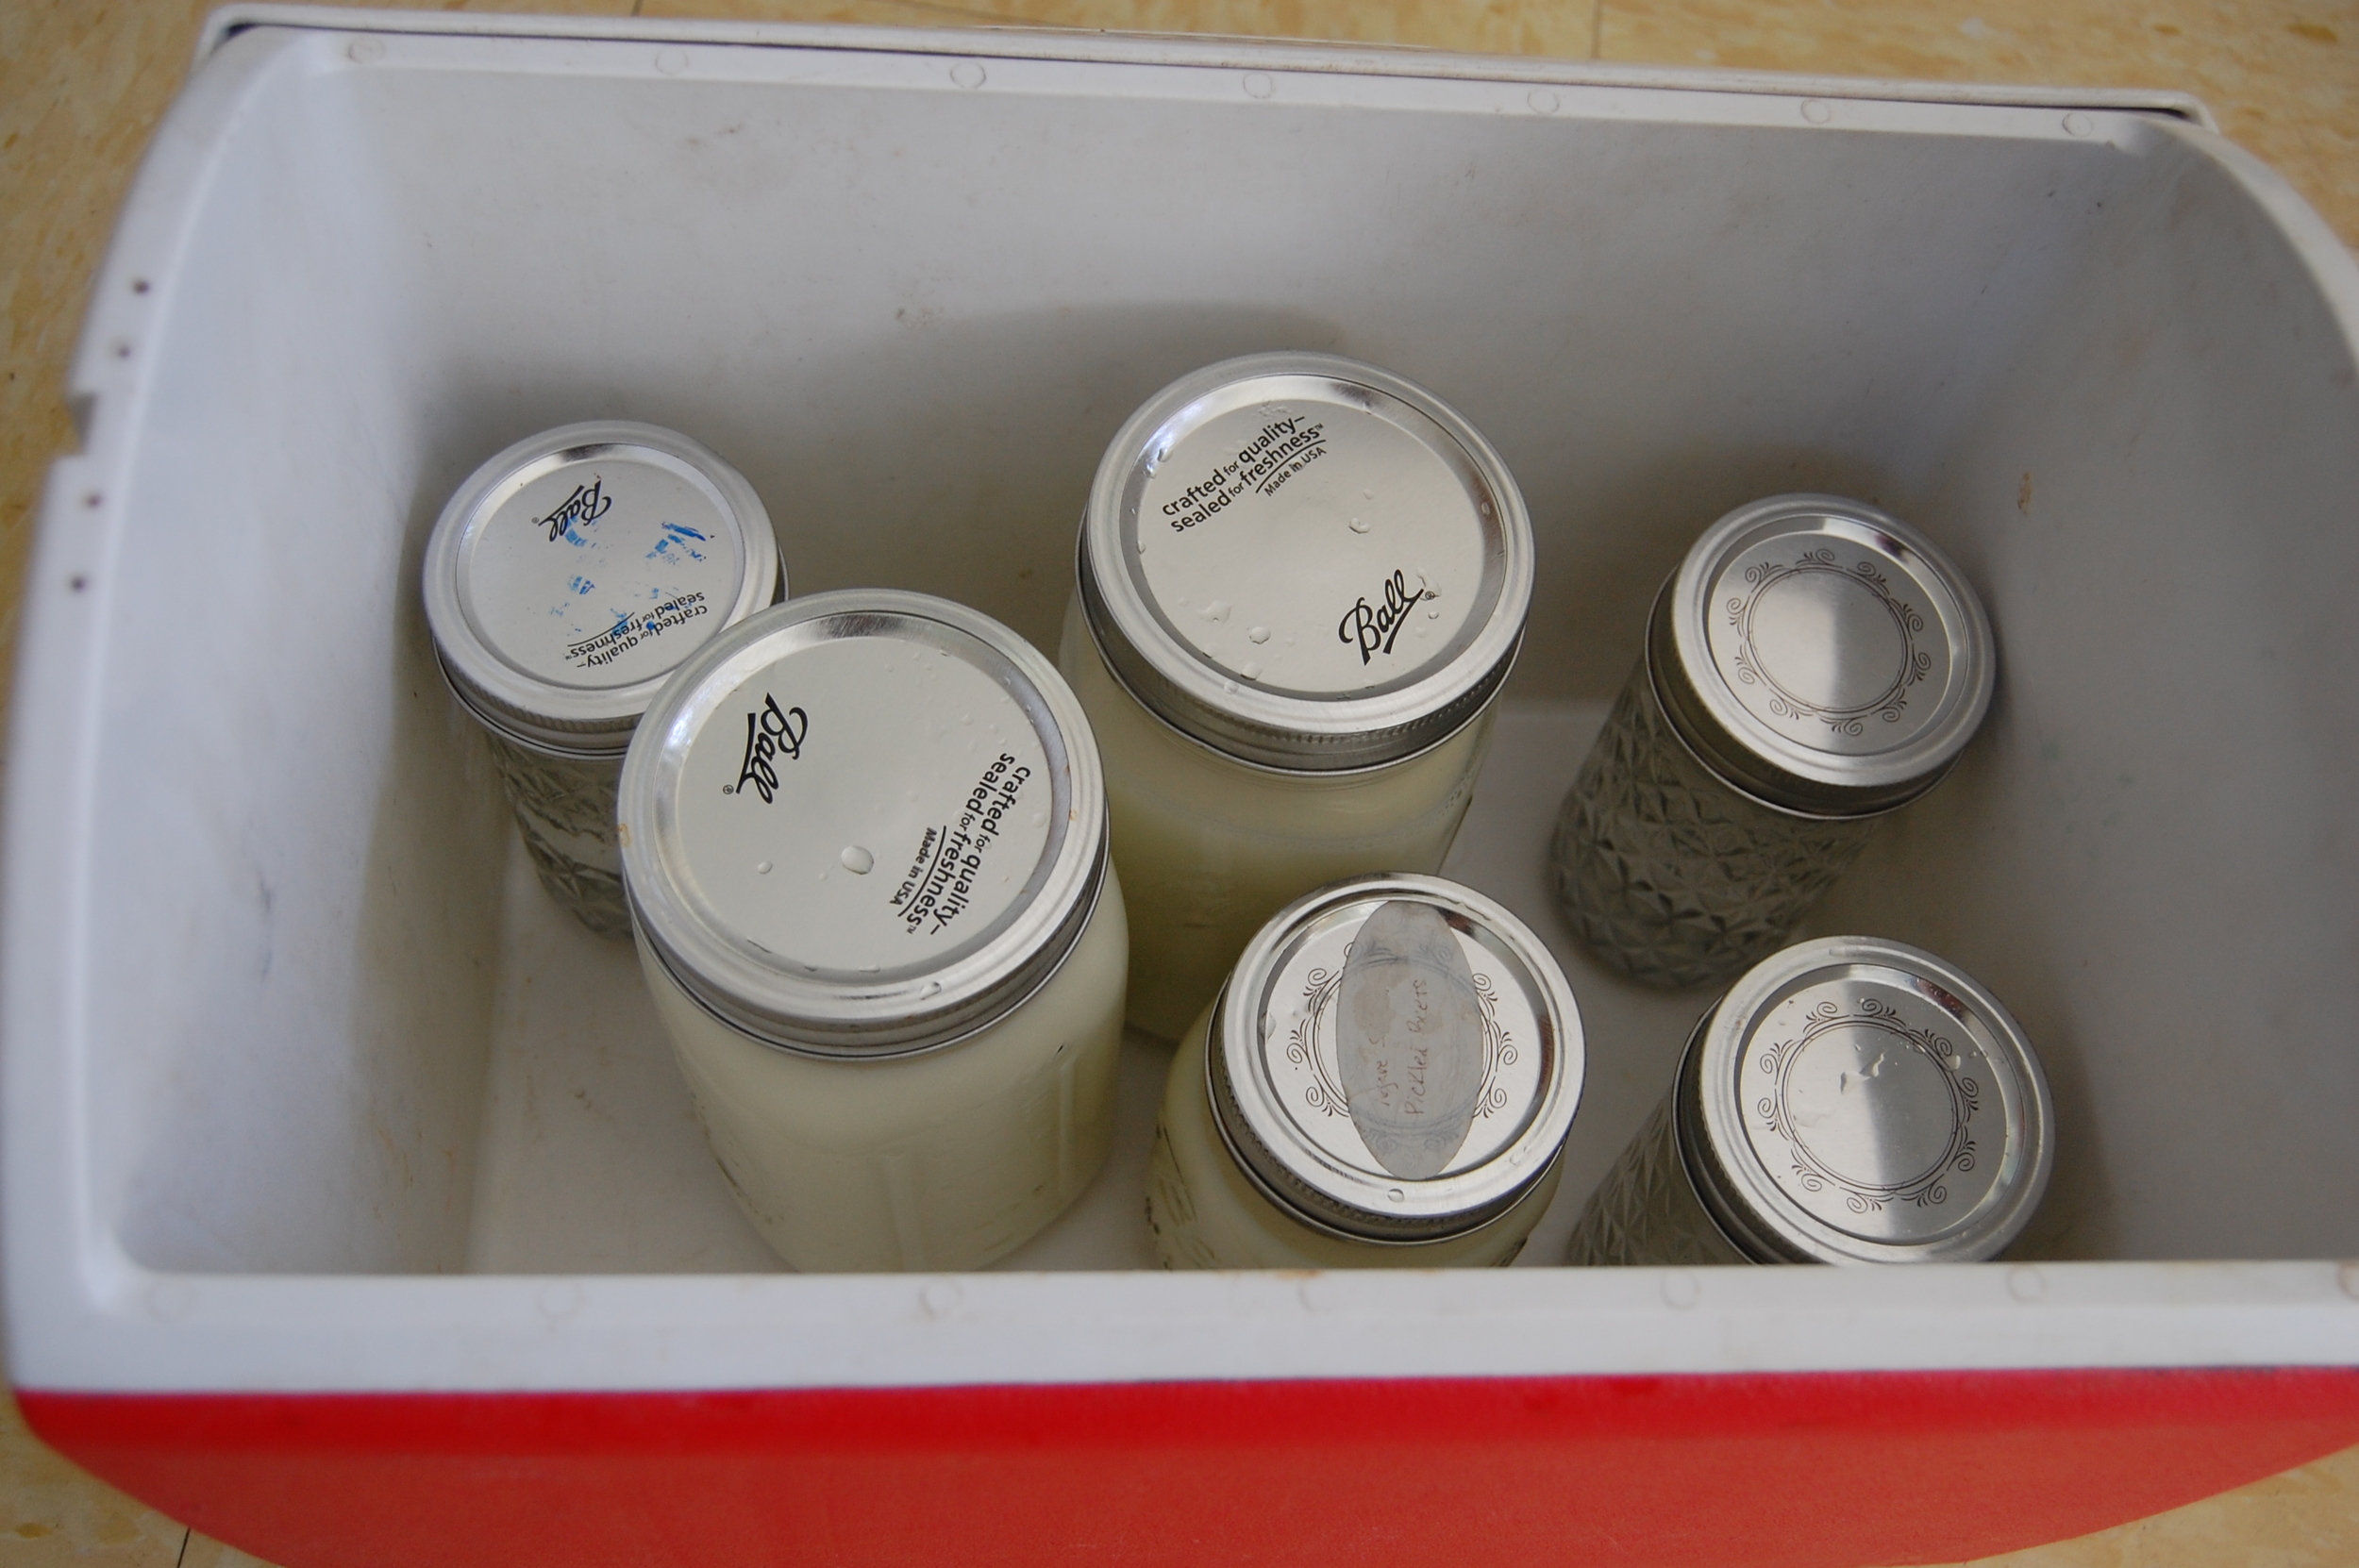
Next, begin spooning your kraut mixture into a large jar ( I use 1/2 gallon mason jars) packing it in tightly. You'll want to only fill it 3/4 of the way full, so you have room to weigh it down at the top.


You then need to pour in some filtered water, enough to completely cover your cabbage. Any cabbage left floating above the surface may get moldy. The salt and whey are what keep the cabbage fermenting safely, and free from any nasties.

Then, open the baggie and fold down over the jar's edge, and screw on the lid.


Don't screw the lid on too tight (air will need to escape a bit) and keep in mind that the cabbage is going to expand. Set your jar on top of a plate of some kind to catch any overflowing brine.
Place your beautiful jar of lovely fermentation in a dark place (fermented food does best in the dark). It will ferment best at 64 -70 degrees. You really could eat it right away, but the flavor will get better with time. I like mine best after 5 days of fermentation. Once you taste it and are happy with where it's at - transfer to the fridge. The flavor will continue to get better, but the cooler temp will slow the process way down. Ours doesn't last long enough to be concerned with it sitting too long, but it should last at least 6 months or more in the fridge.


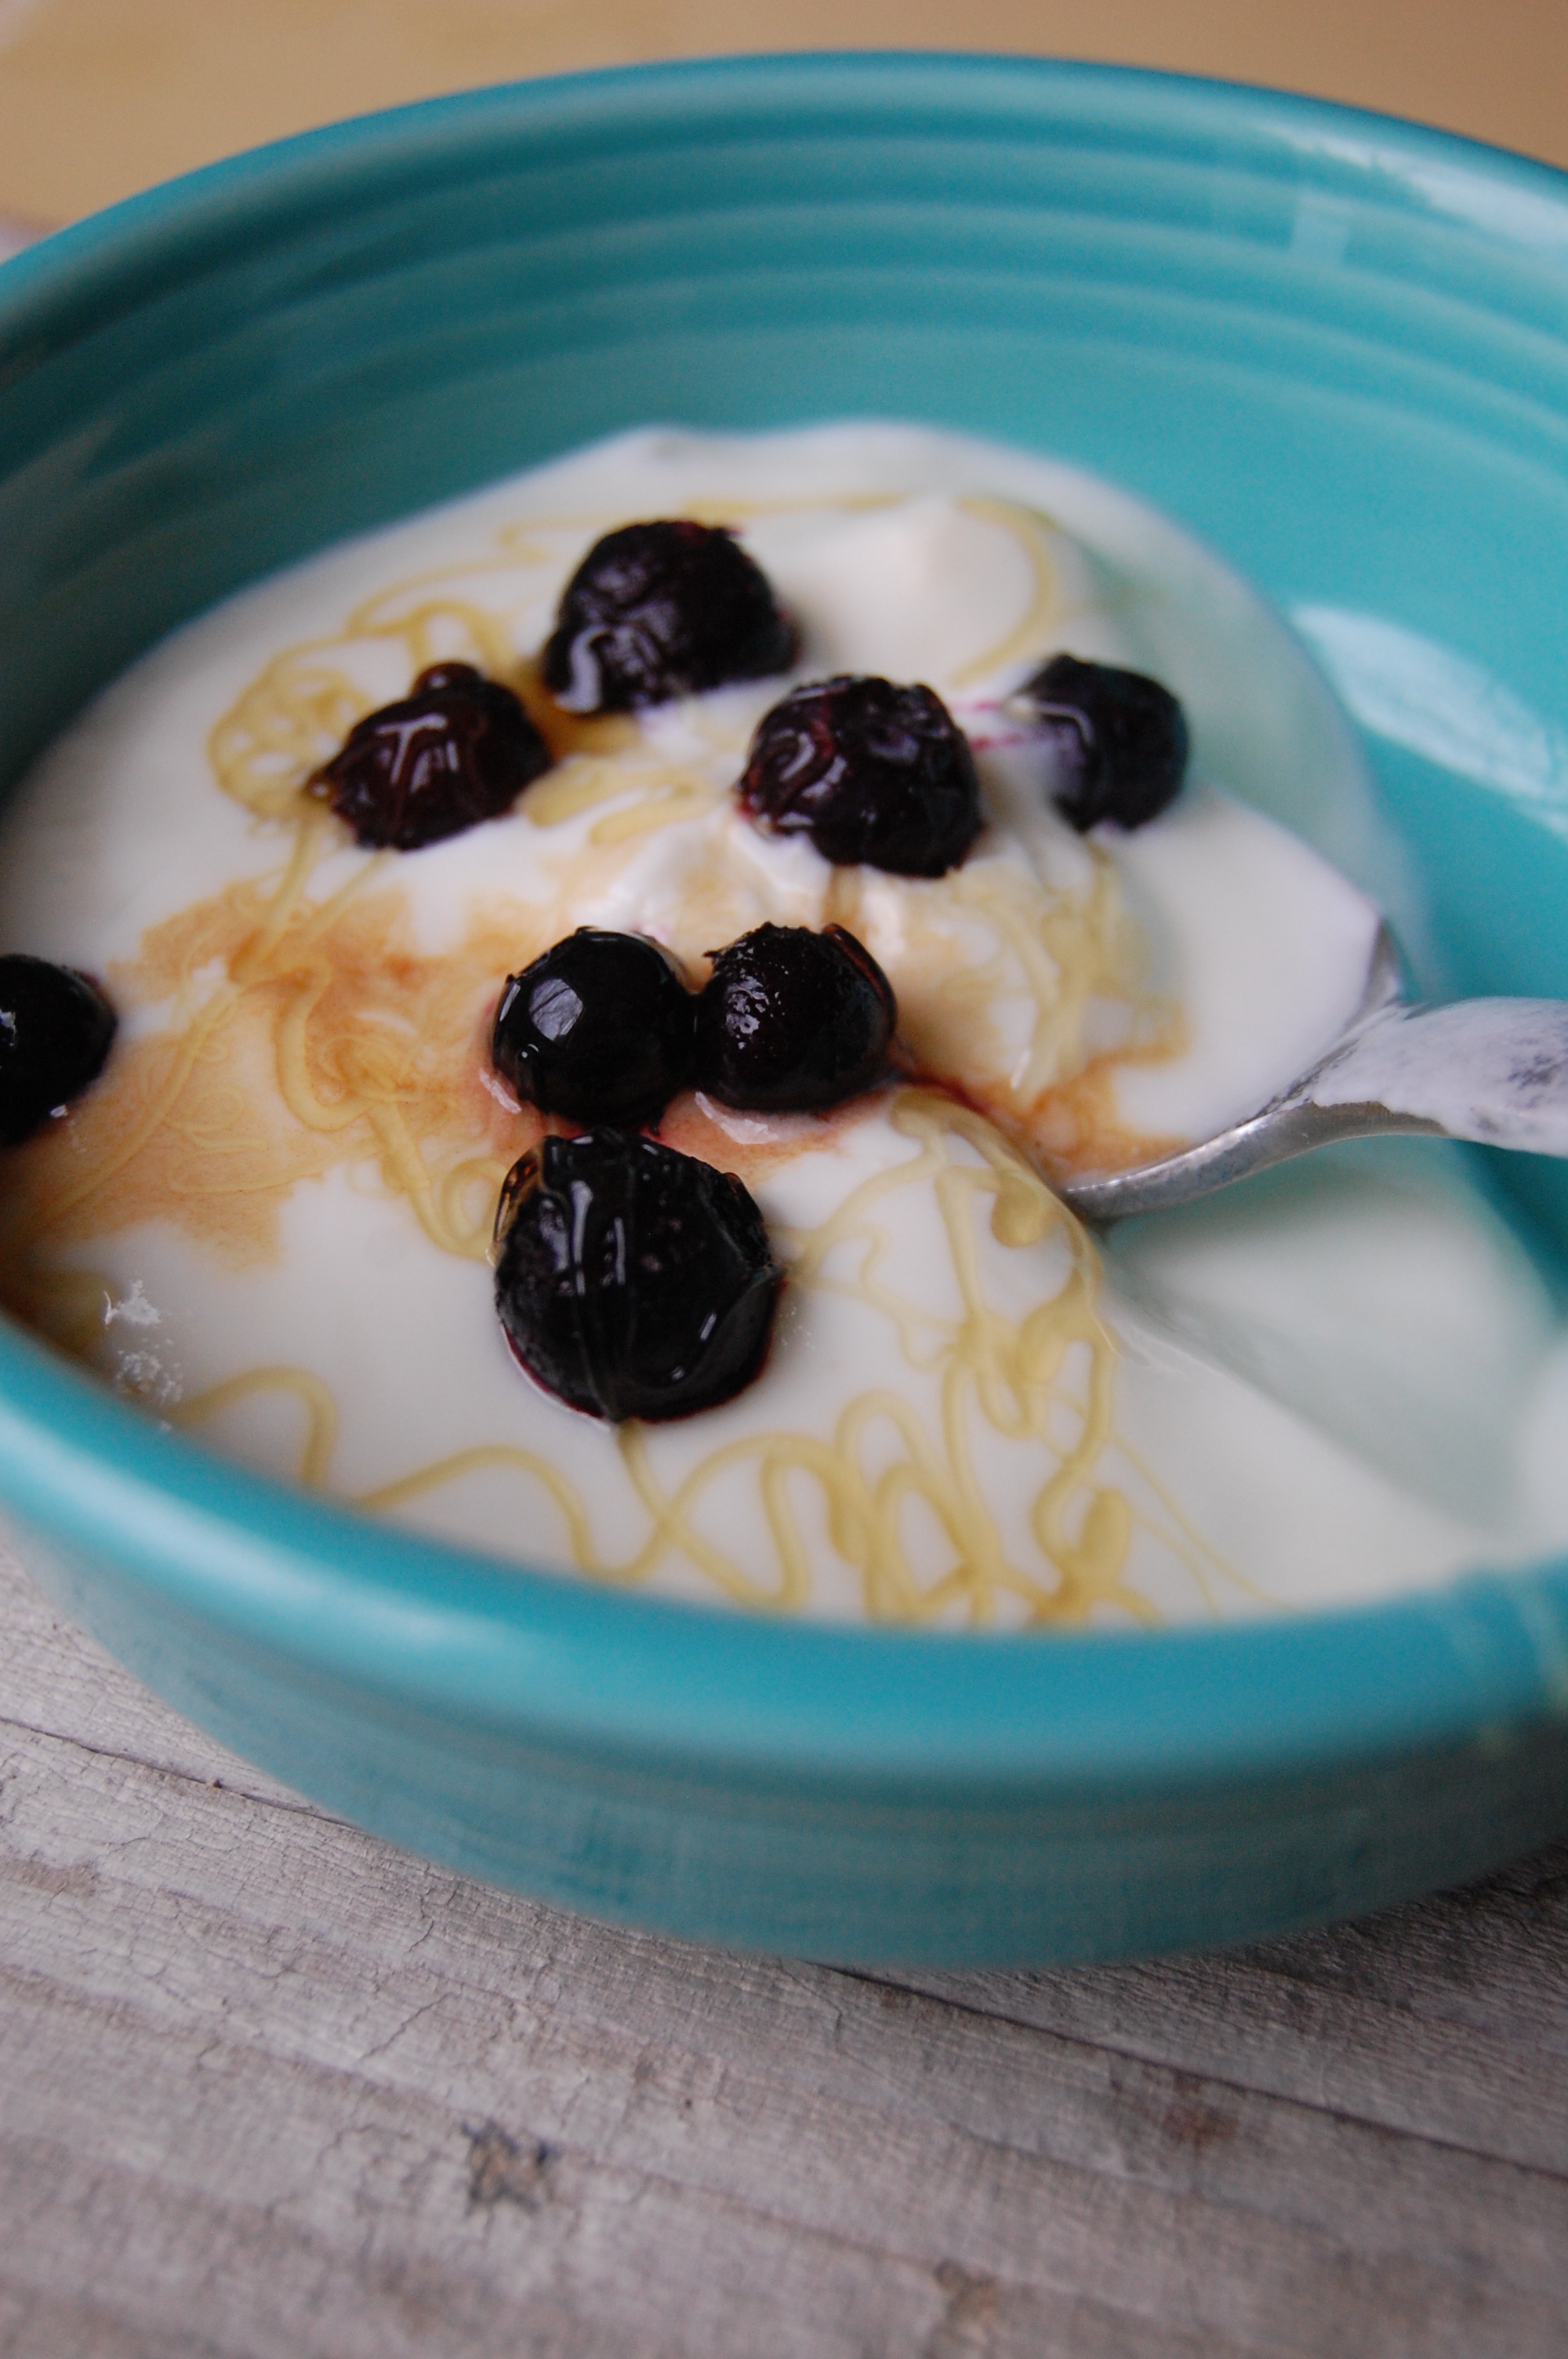
All of my girls (ages 4, 6, 8, 10) love the sauerkraut! We'll have it as a snack with a hard-boiled egg, or as a side dish with a sandwich. It's delicious with grilled sausage, any meat or fish. We toss it into our salads, too. The other day I ended up with this delicious, quick snack: I slathered a slice of sourdough bread with some home-made hummus, then put a layer of sauerkraut and topped it with sprouts and some salt & pepper. YUM!

As with any fermented food, you will want to give your system some time to get used to the new friendly bacteria. Don't go and eat a heaping bowlful your first time. Trust me, I wanted to when I first tasted mine! You may even experience some mild gas or bloating if you eat too much at first. Let yourself get used to it - and as your system starts to build up and become colonized with these friendly bacteria, you'll be able to eat more with no problem. That said, sauerkraut is meant to be condiment, not a main dish!
Once you get in the sauerkraut groove - a whole WORLD of other fermented veggies awaits you!! You can ferment pretty much ANYTHING. You can add spices like mustard or fennel seed, garlic, onion slices to flavor your veggies. I want to try fermented salsas next. Do a google search for 'fermented vegetables' and you'll find so many others to try. Here are my two new faves:
Sweet lacto-fermented beets, and ginger carrots:

Because of my daughter's MRSA battle - I absolutely LOVE this quote - and it is fitting to leave you with these words from Sally Fallon's Nourishing Traditions book:
"Scientists and doctors today are mystified by the proliferation of new viruses--not only the deadly AIDS virus but the whole gamut of human viruses that seem to be associated with everything from chronic fatigue to cancer and arthritis. They are equally mystified by recent increases in the incidence of intestinal parasites and pathogenic yeasts, even among those whose sanitary practices are faultless. Could it be that in abandoning the ancient practice of lacto-fermentation and in our insistence on a diet in which everything has been pasteurized, we have compromised the health of our intestinal flora and made ourselves vulnerable to legions of pathogenic microorganisms? If so, the cure for these diseases will be found not in vaccinations, drugs or antibiotics but in a restored partnership with the many varieties of lactobacilli, our symbionts of the microscopic world."
So go ahead people... 'BROADEN YOUR HORIZONS!' Try something new (or old - depending on how you look at it!) your body will thank you.
-Sarah