Making your own yogurt is easy. REALLY!
Did you know you DON'T need a yogurt maker to make amazing yogurt? I didn't.
When I first decided to try and incorporate more probiotic foods into our diet, it was because of my daughter's battle with MRSA, as well as my husband's battle with his own health issues regarding yeast/fungal overgrowth. After learning more about the immune system - it amazed me that the intestinal tract is directly linked to overall immune system health. It also put me on the fast track to finding ways I could incorporate the healthy bacteria we needed!
Yogurt was the first thing I started making. Probably because it was the most easy to introduce (yogurt wasn't as intimidating as sauerkraut or kefir).
There are a TON of how-to's online for making home made yogurt. Each of them will be a bit different, but in my tutorial - I want to stress SIMPLICITY. To be honest, I was a bit nervous about the idea of leaving milk without refrigeration for 6 hours. Would it really be edible? Would it stink or taste sour? This was because I didn't understand how fermentation works. What protects the milk from the bad bacteria which could potentially grow in it, is the good bacteria that you are introducing in the form of the starter culture. I've never had a batch stink or turn funky while culturing!
Here's a simple recipe you can make at home - with some pretty basic tools:
You'll need:
- 1 half gallon organic milk (I prefer whole)
- a pot to heat the milk in (preferably heavy-bottomed)
- 1/2 cup of organic plain yogurt - (this is your starter culture)
- a candy thermometer (usually around $5 in any grocery store baking aisle)
- whisk
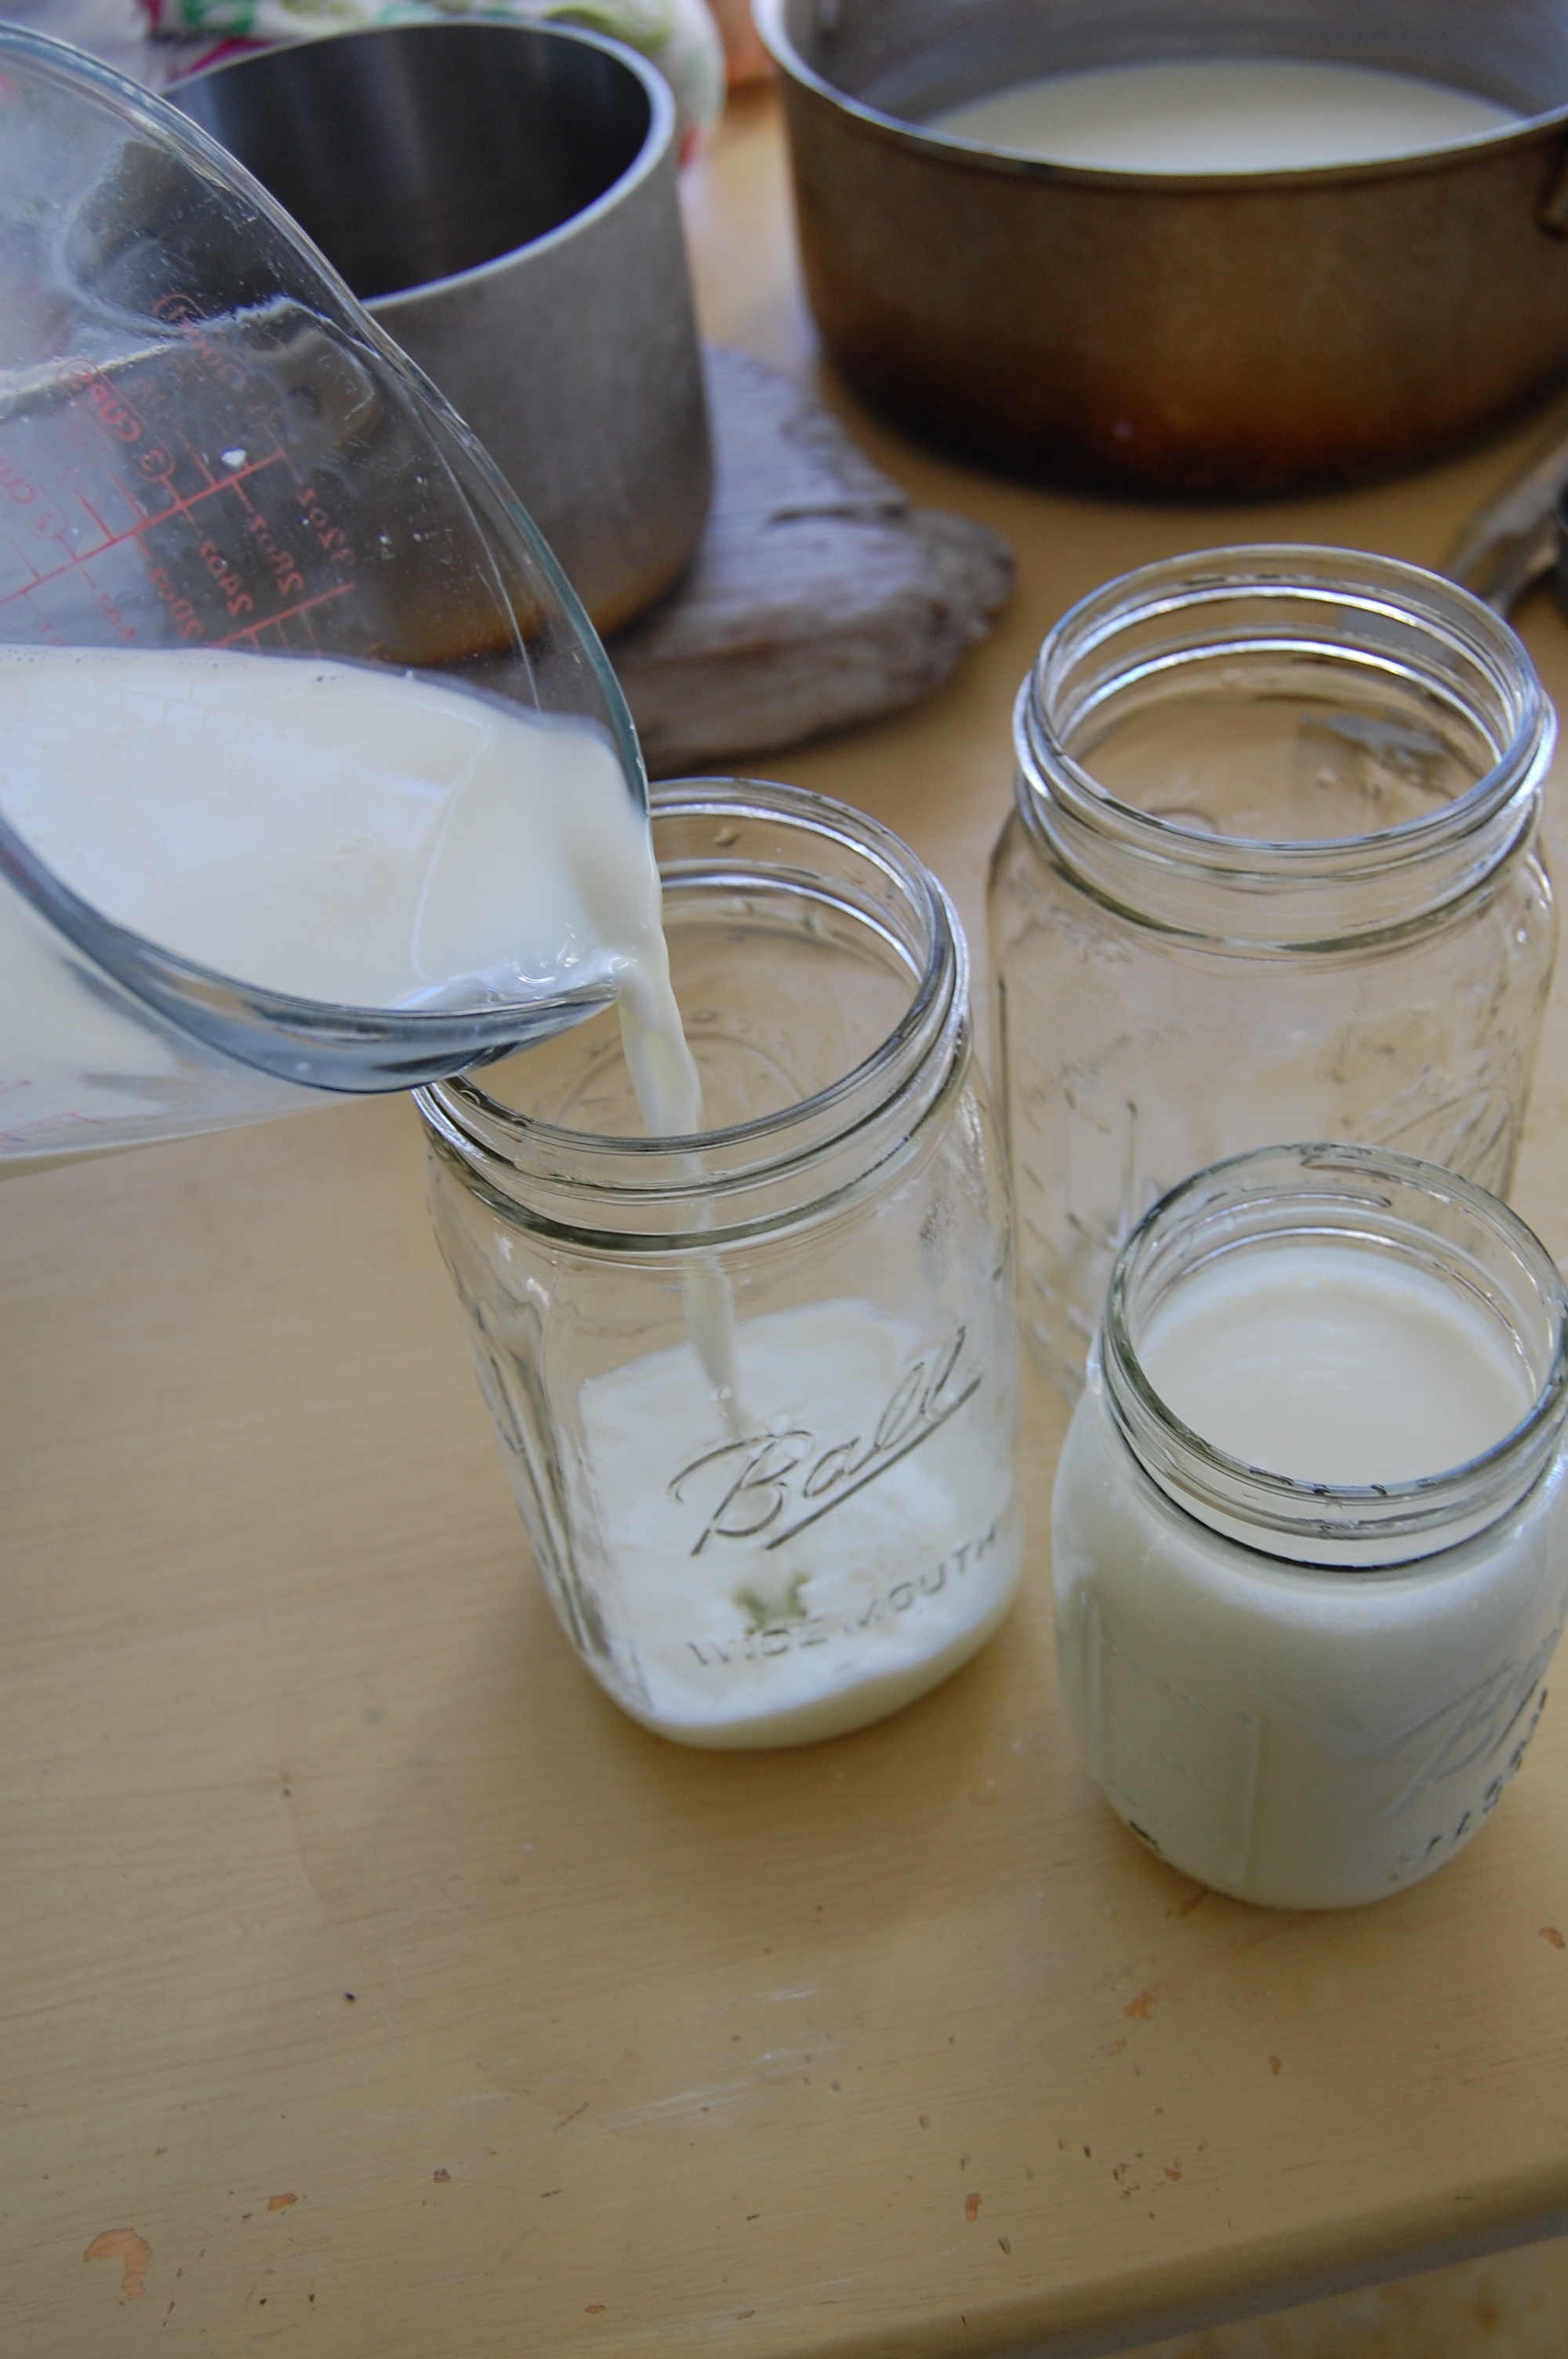
- sterilized glass jars or containers (to fill with your yogurt)
- a cooler/ice box
STEP 1: Heat milk until it reaches at least 180 degrees. ( and just starts boiling... be careful it doesn't boil over!) Then remove from heat and set aside to cool.
STEP 2: Sterilize whisk and glass jars or containers by submerging them in boiling water for a couple minutes.
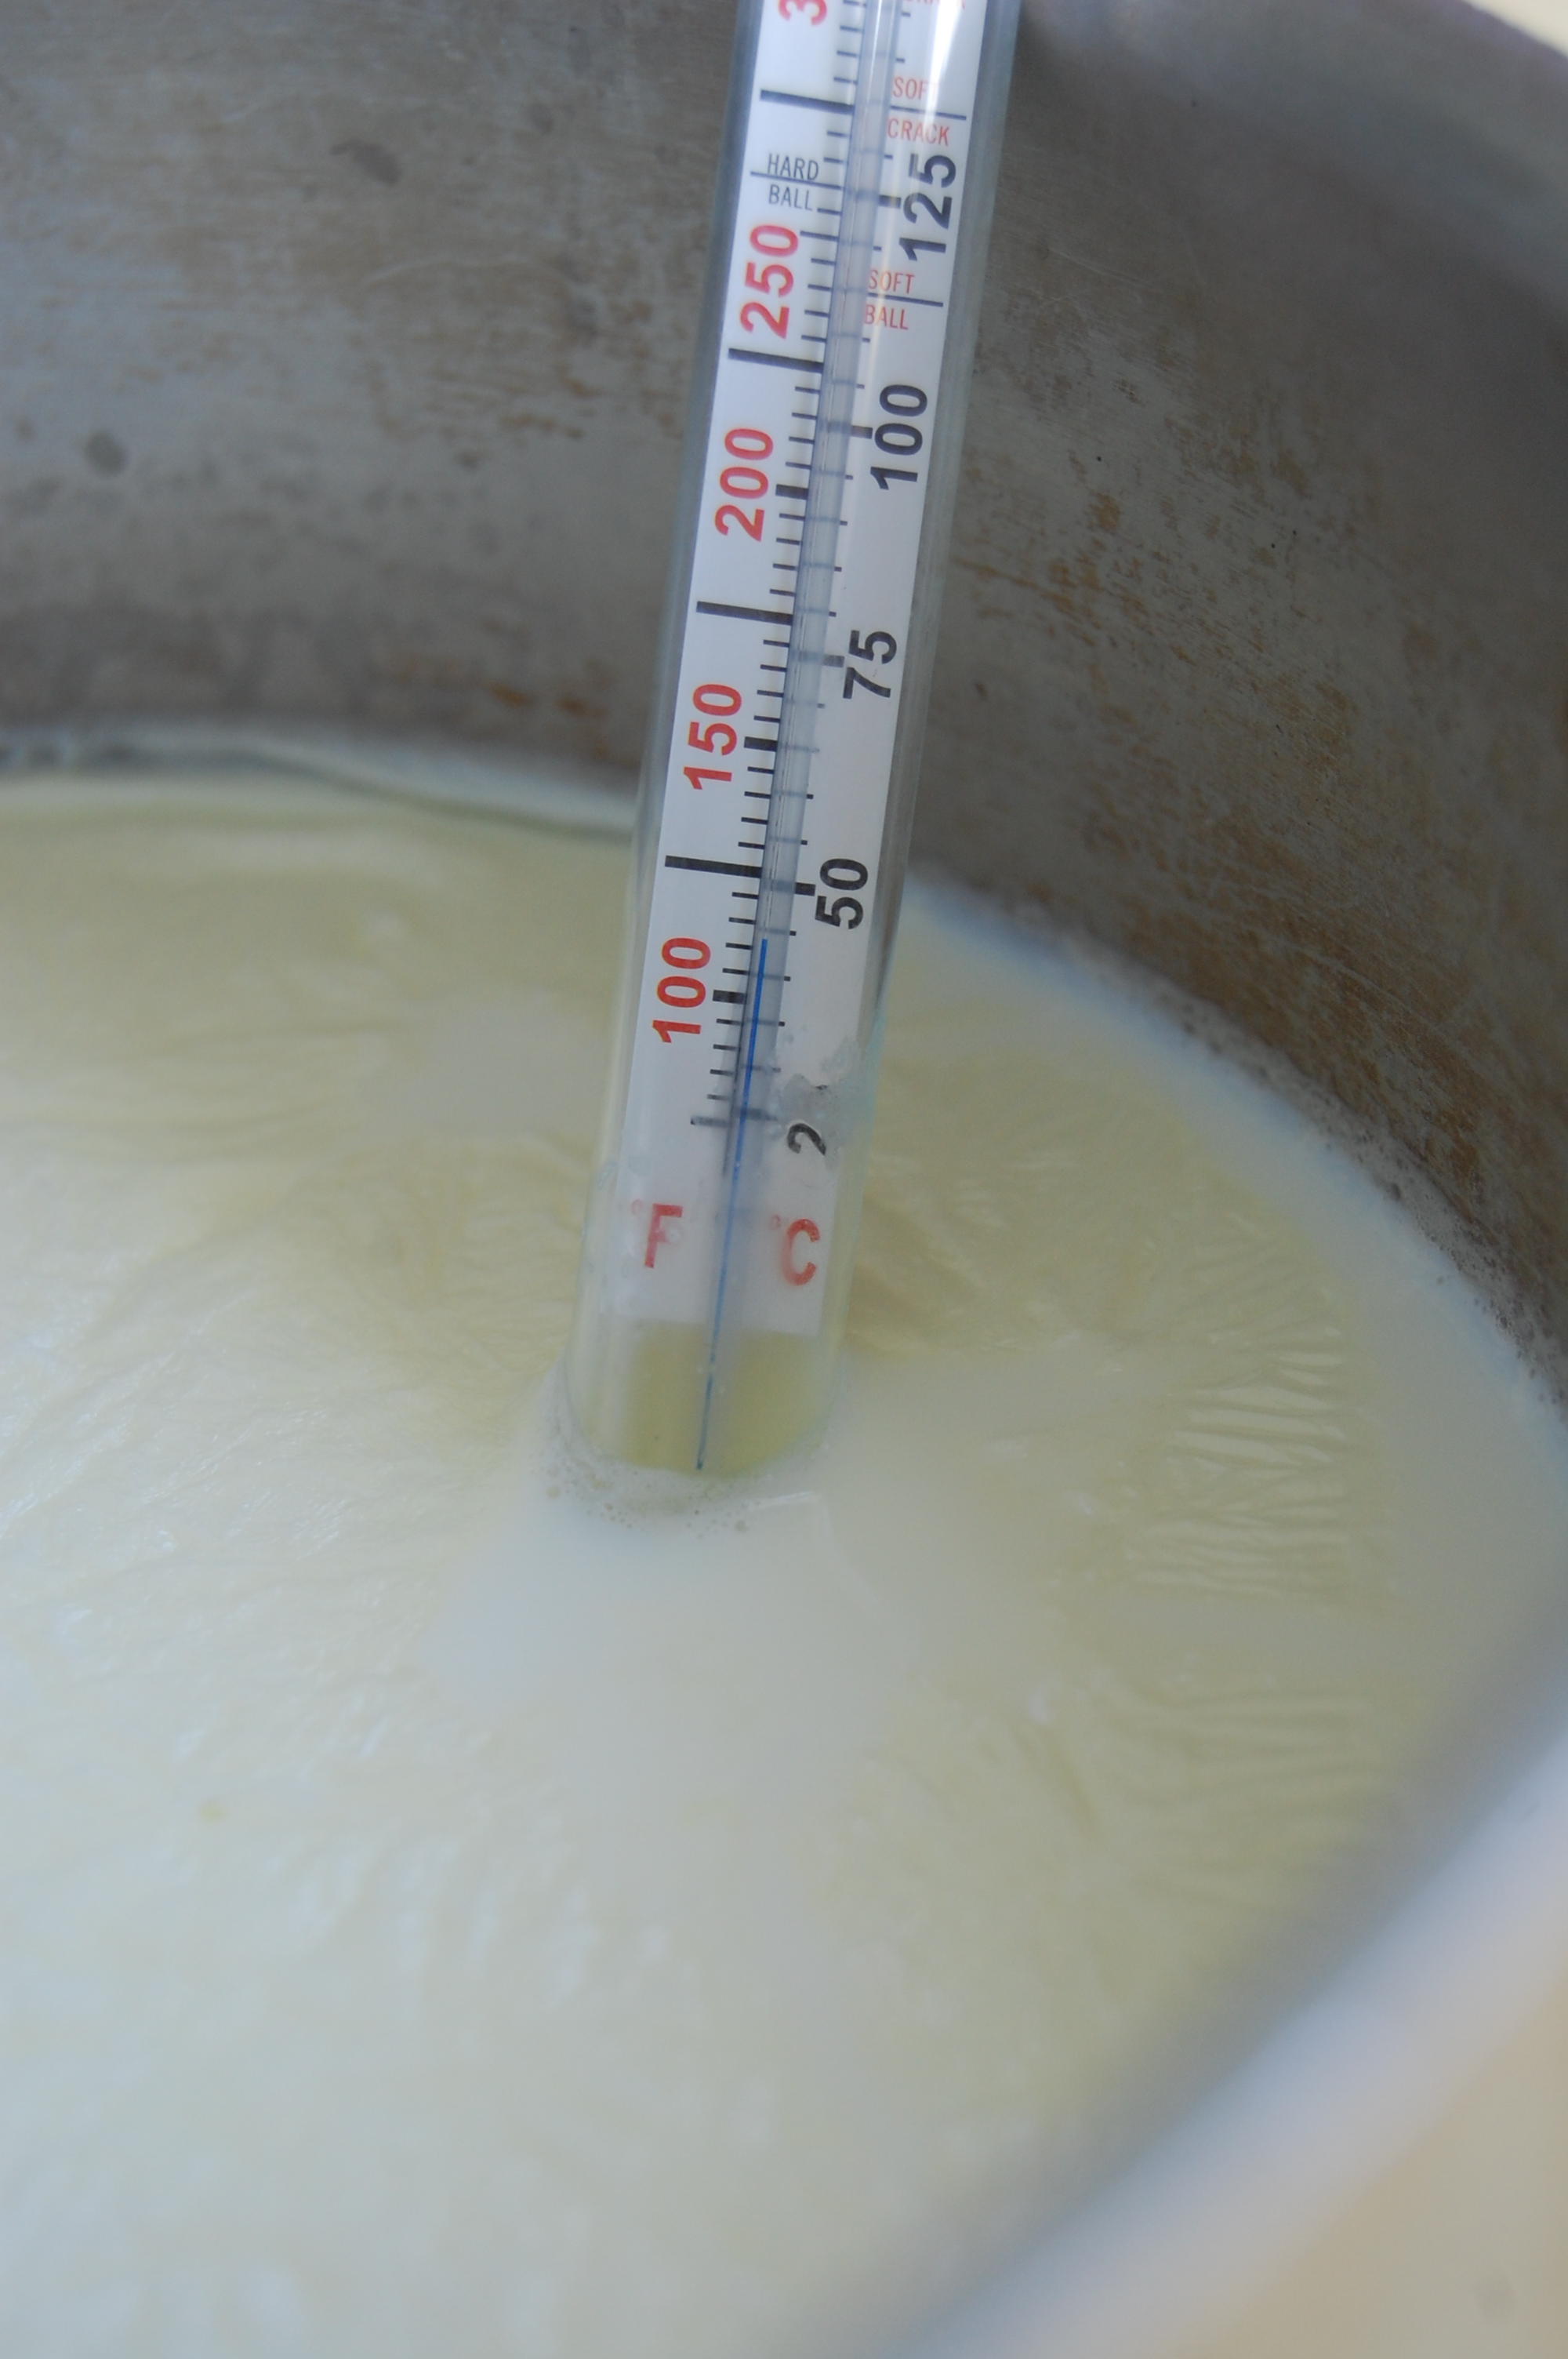
*(important!) Don't add your yogurt starter until the milk has cooled down to at least 110 degrees, otherwise the heat will kill the starter culture, and the milk won't thicken into yogurt.
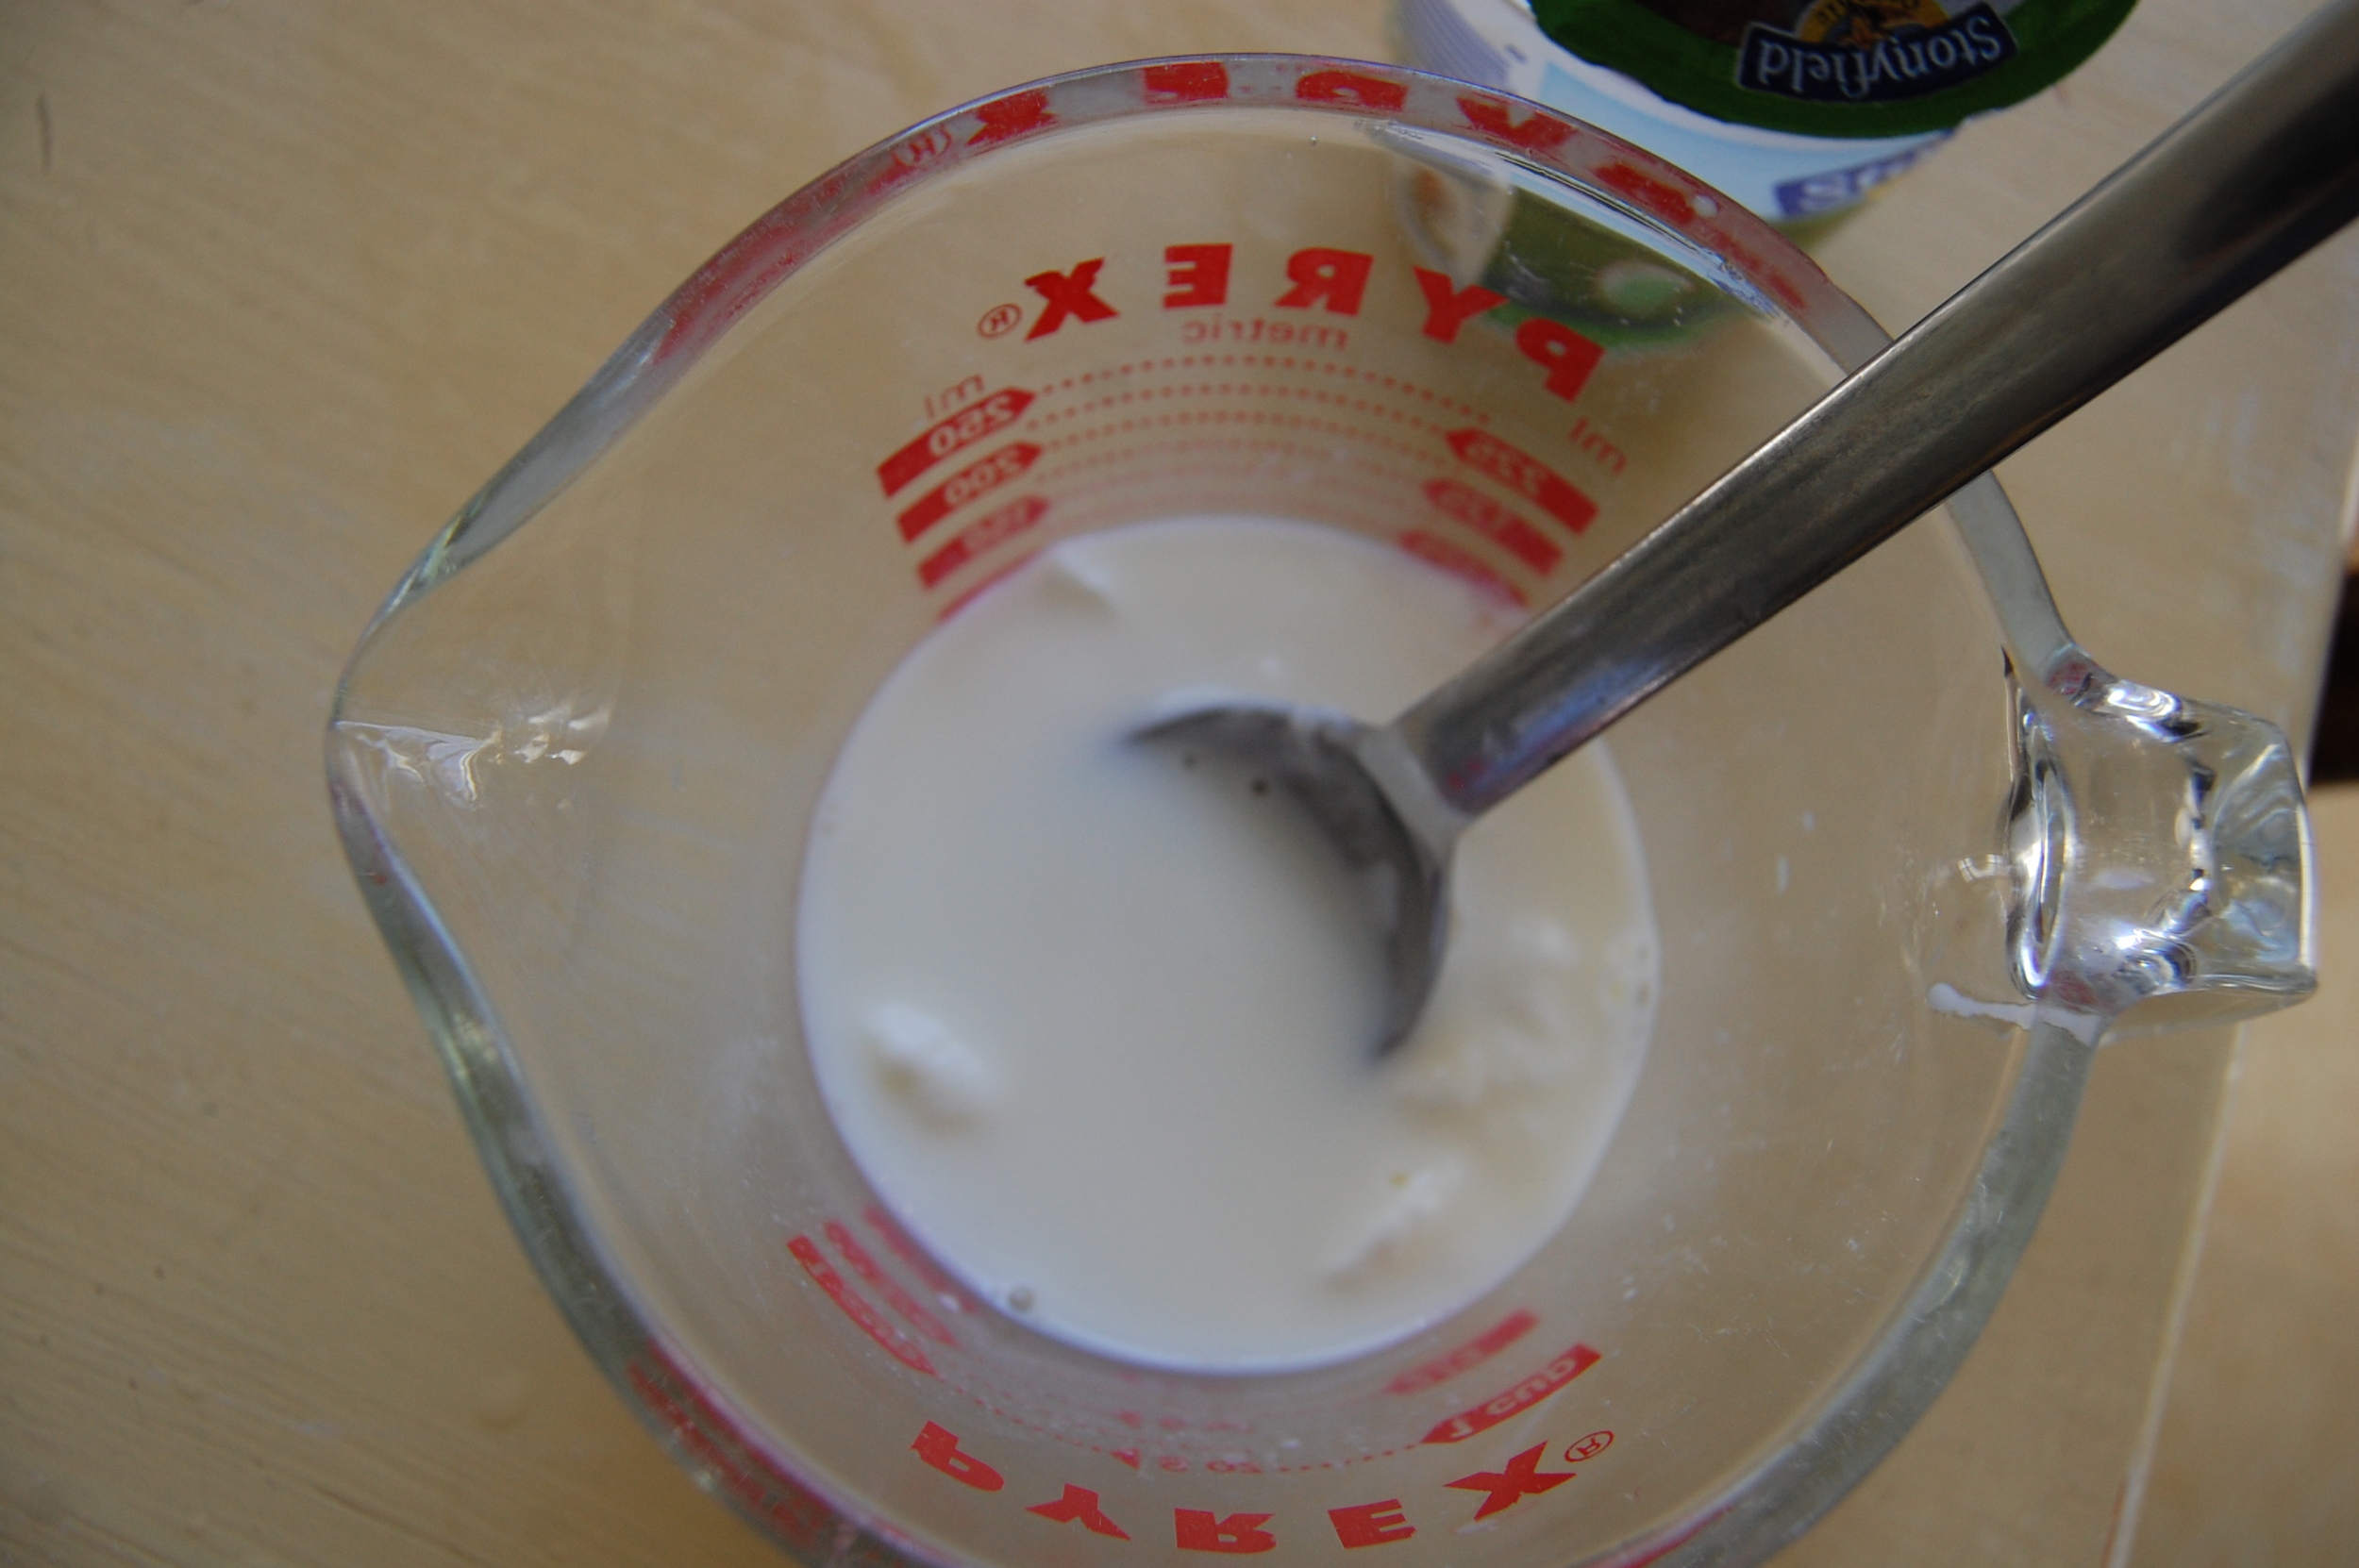
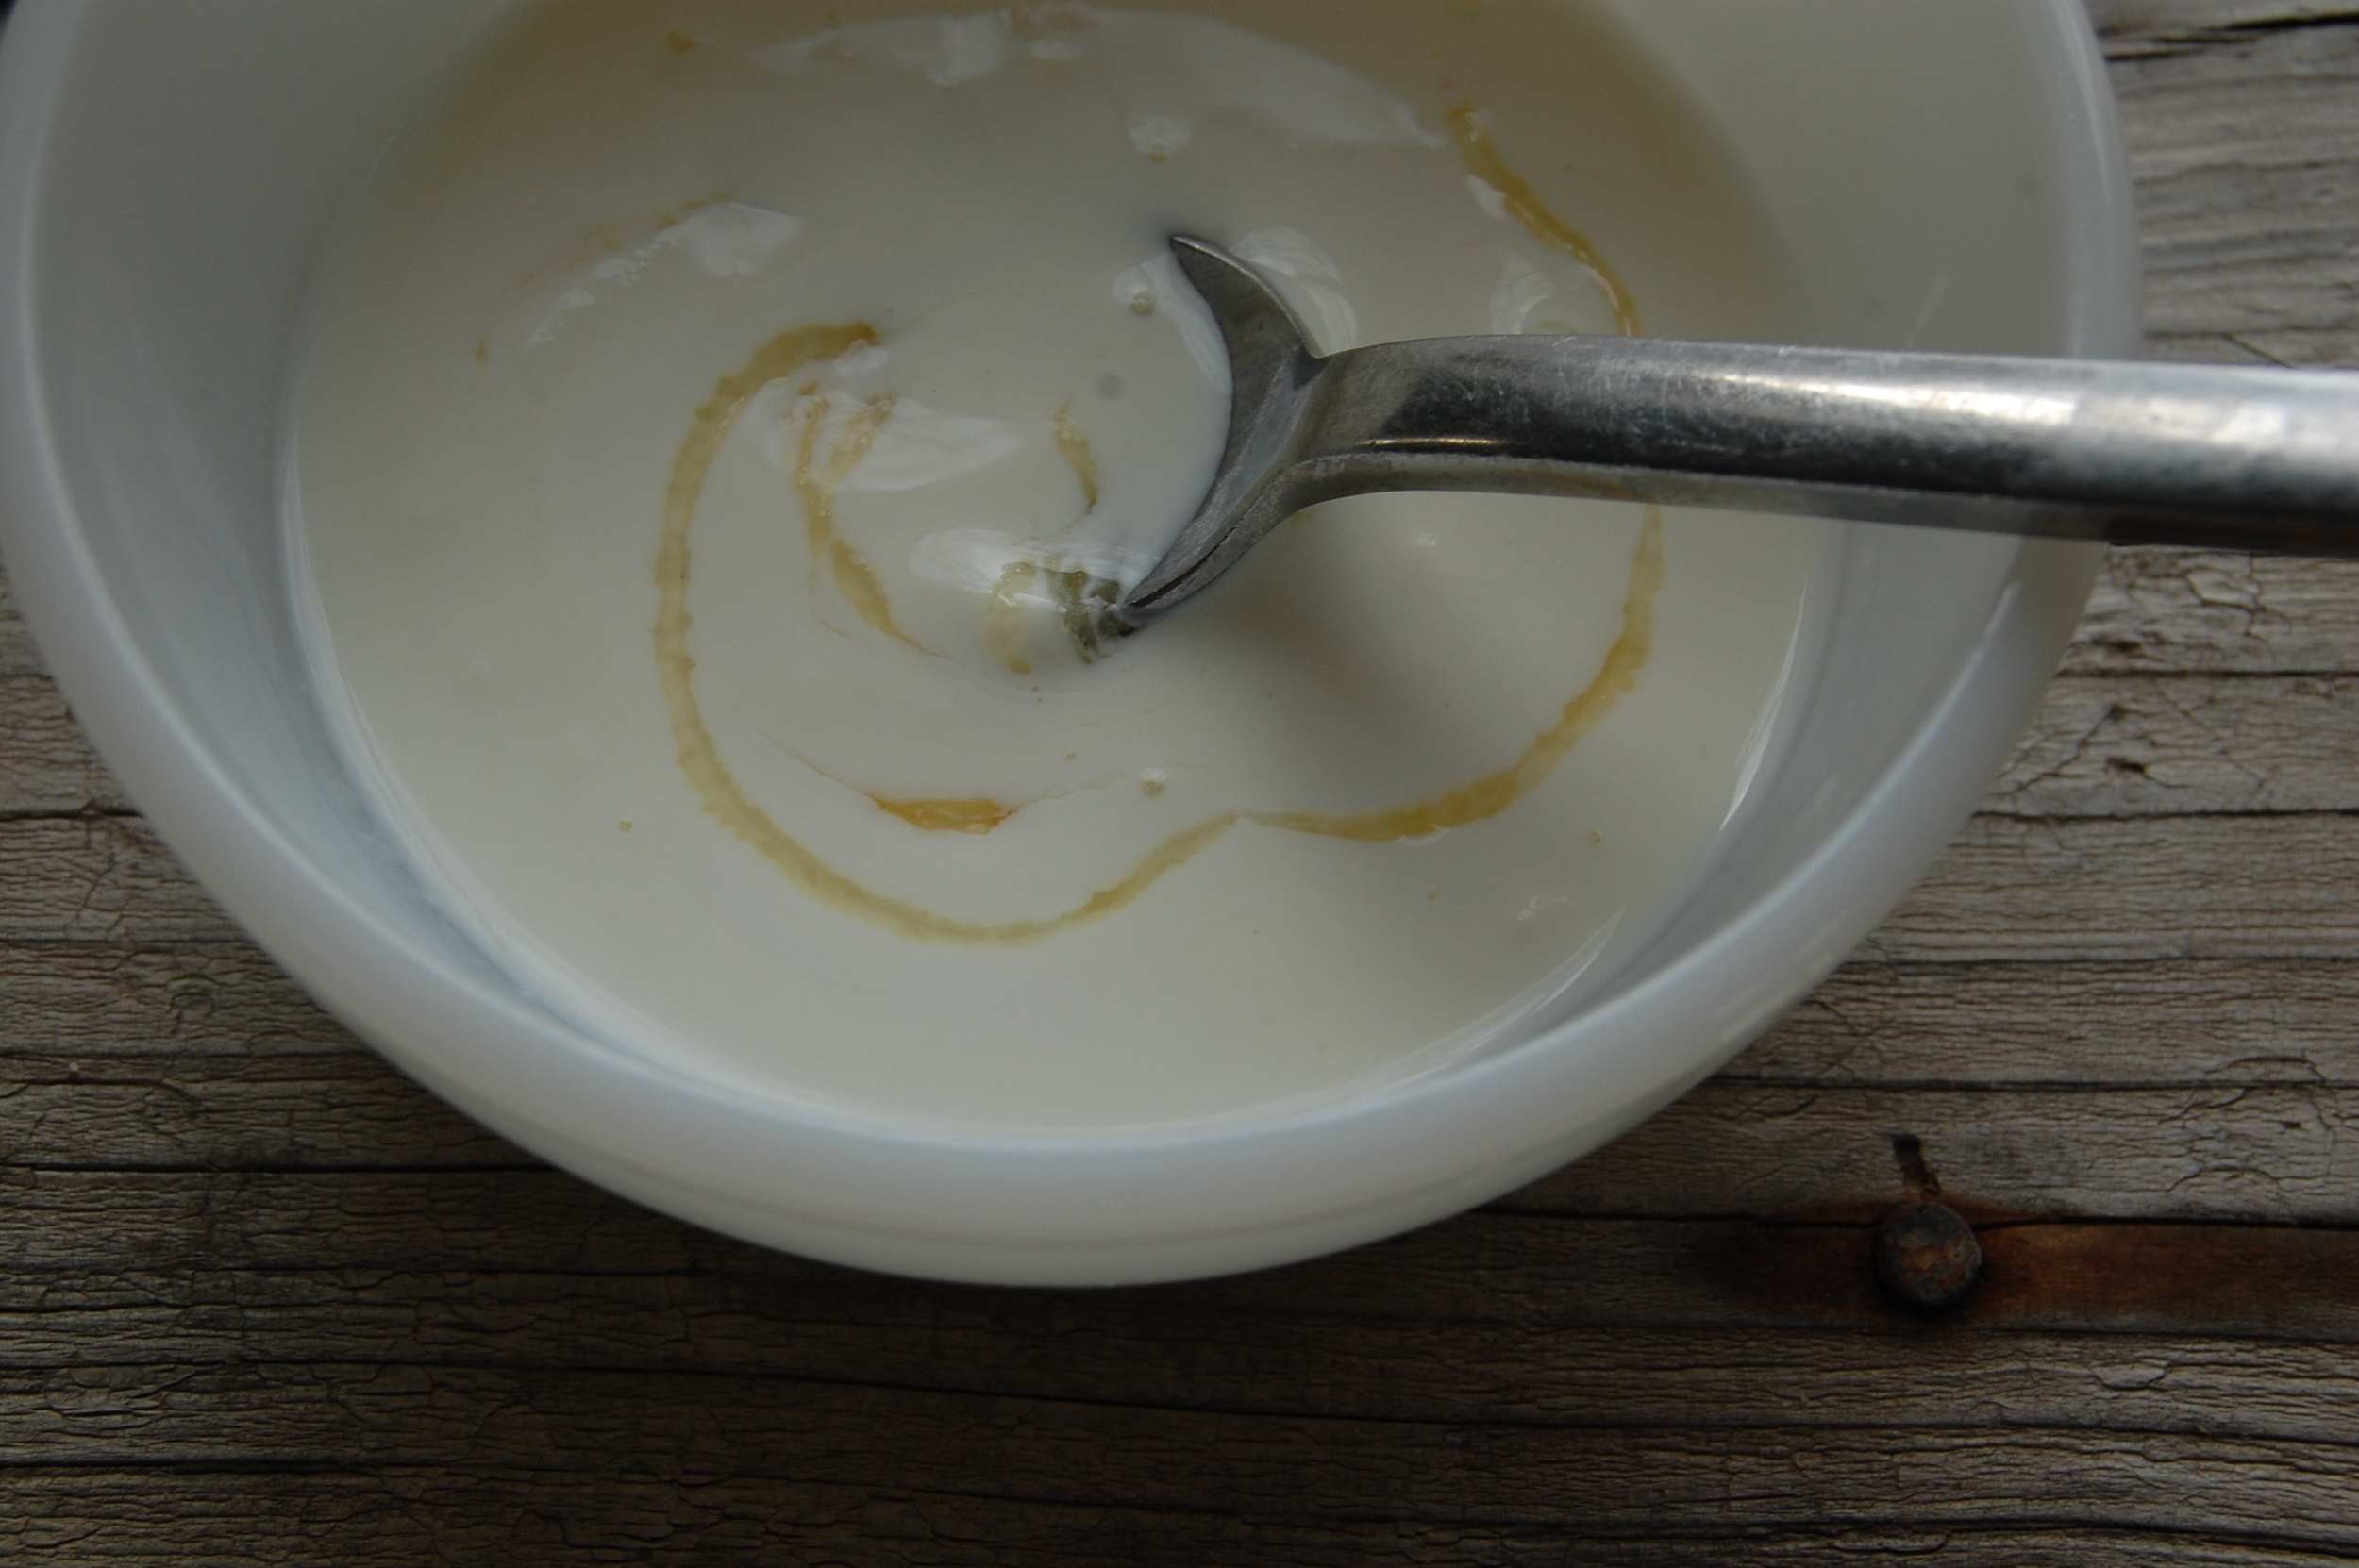
STEP 3: Dilute your plain yogurt (starter) with a bit of milk - then whisk into the rest of the warm milk.
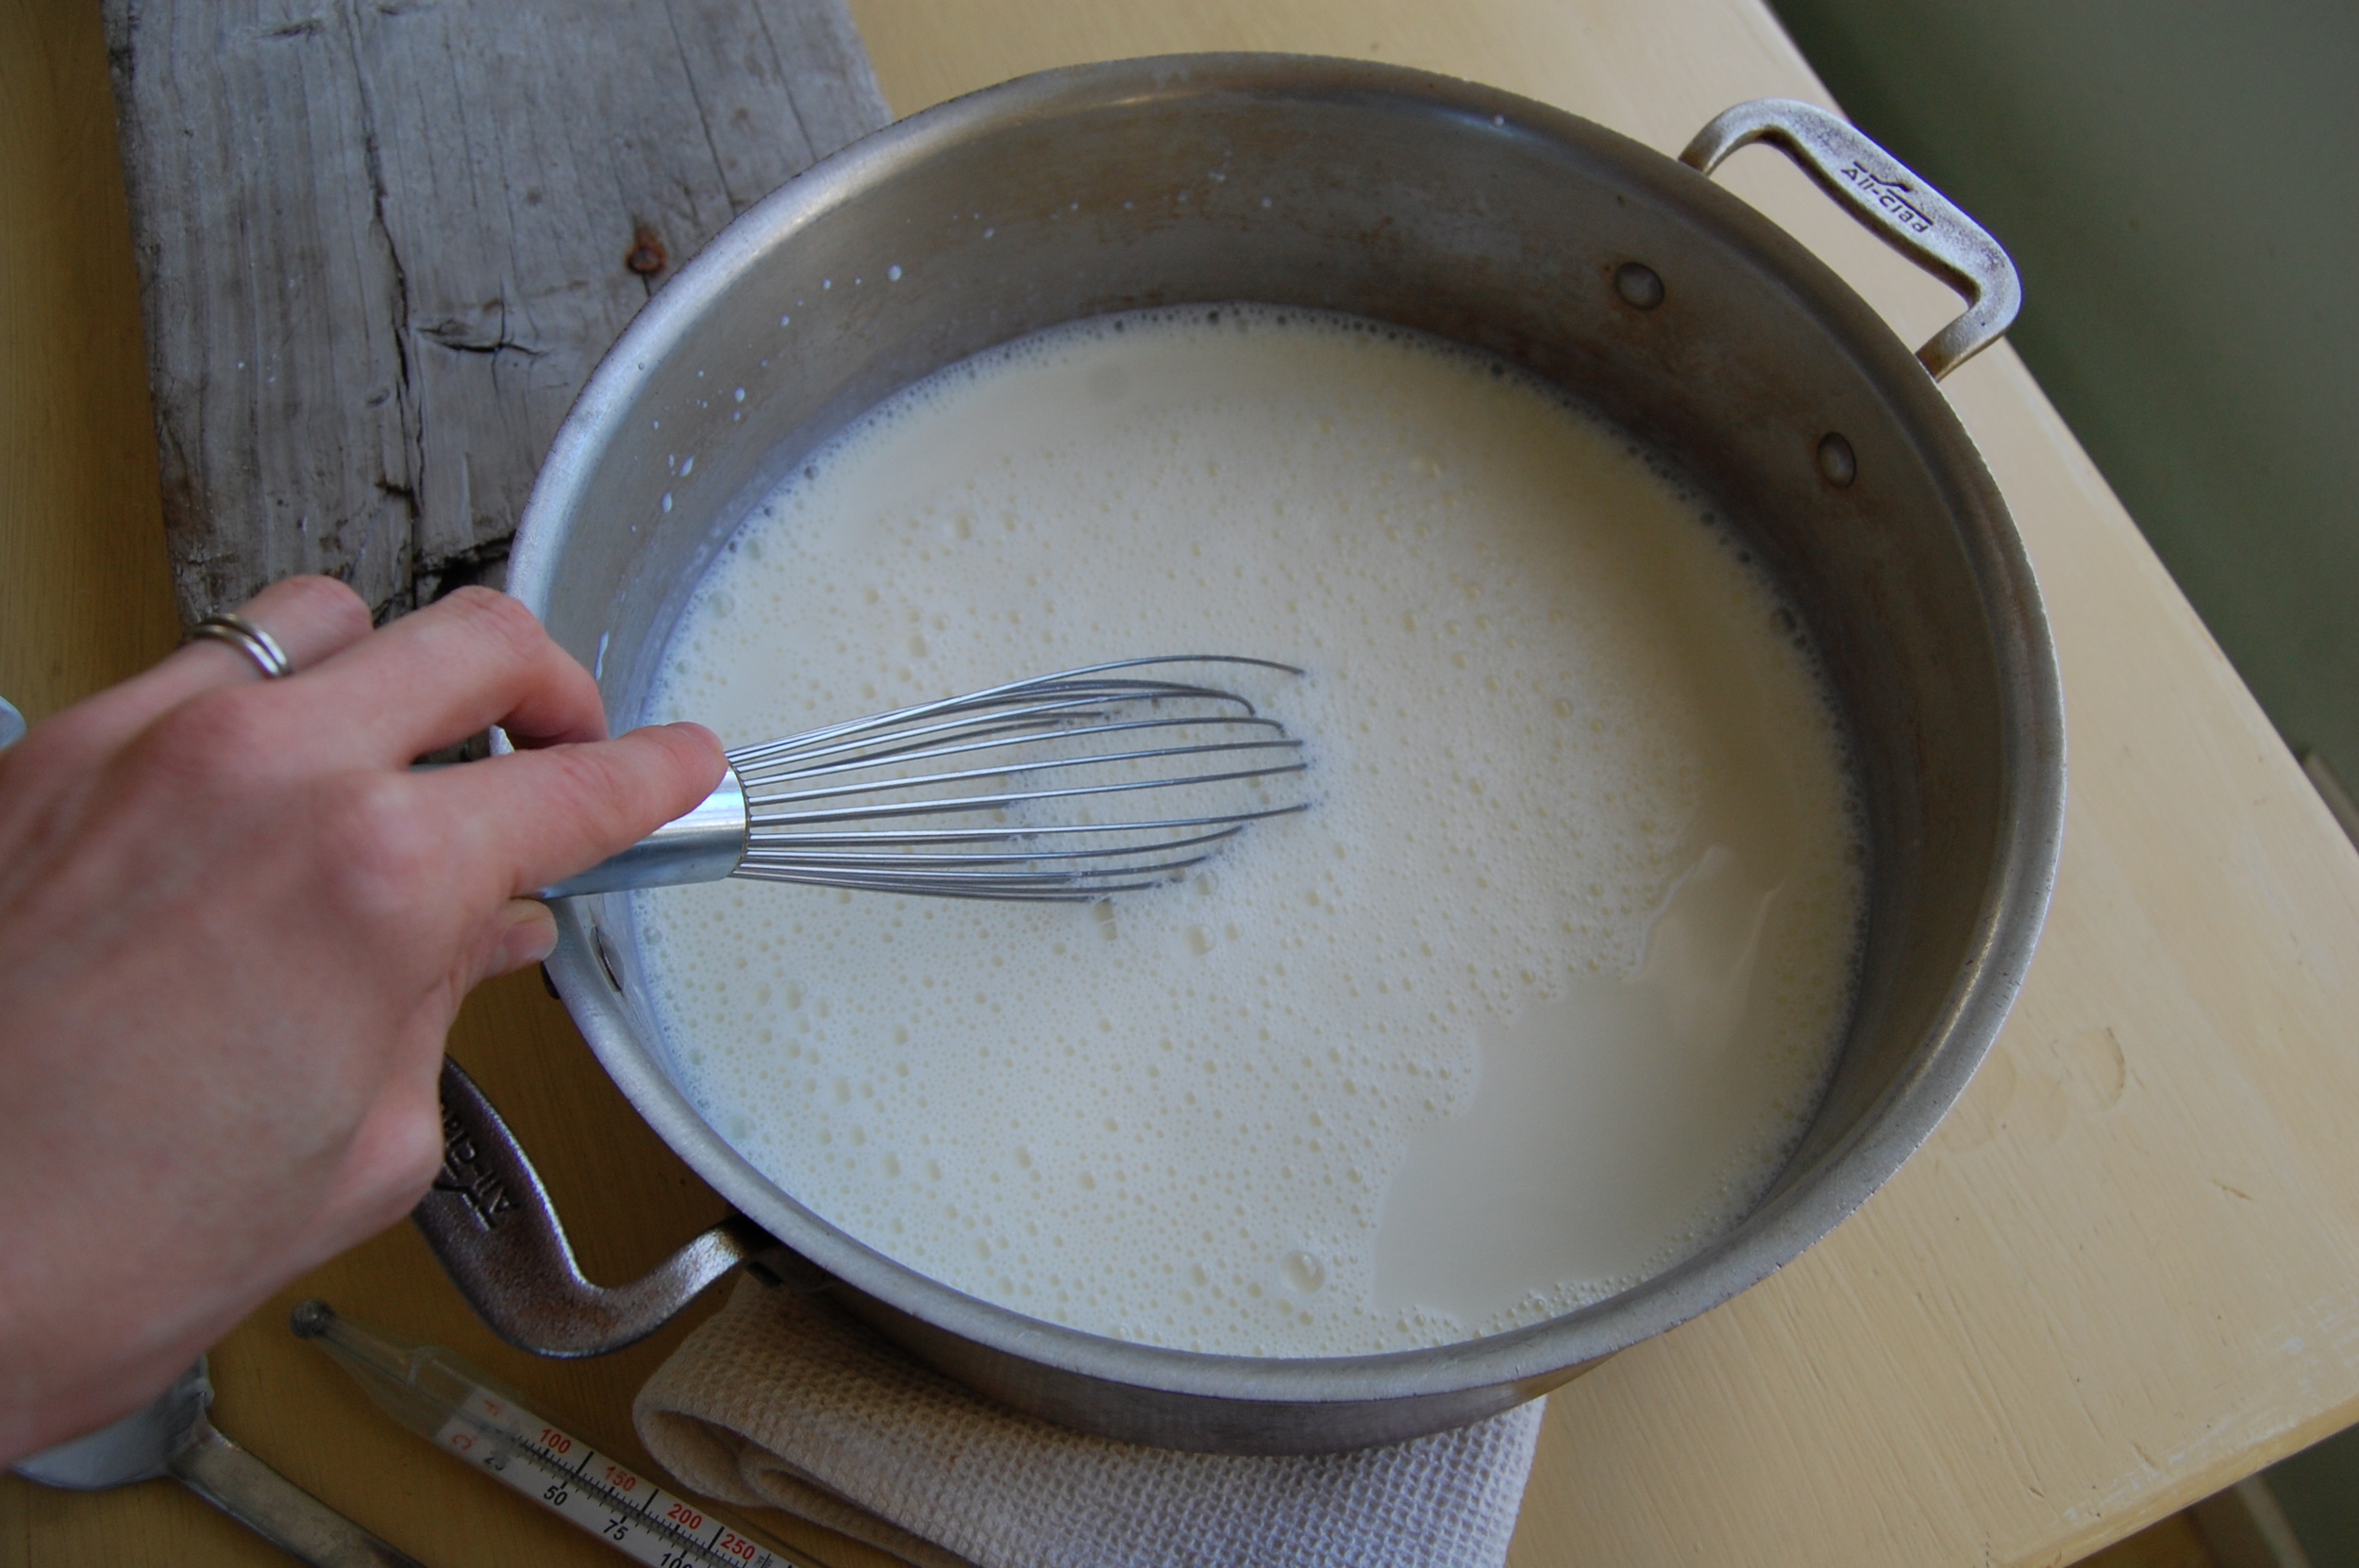
You can remove the 'skin' that forms while the milk cools, or just whisk it in.
STEP 4: Pour yogurt mixture into sterilized jars/containers and place into cooler.
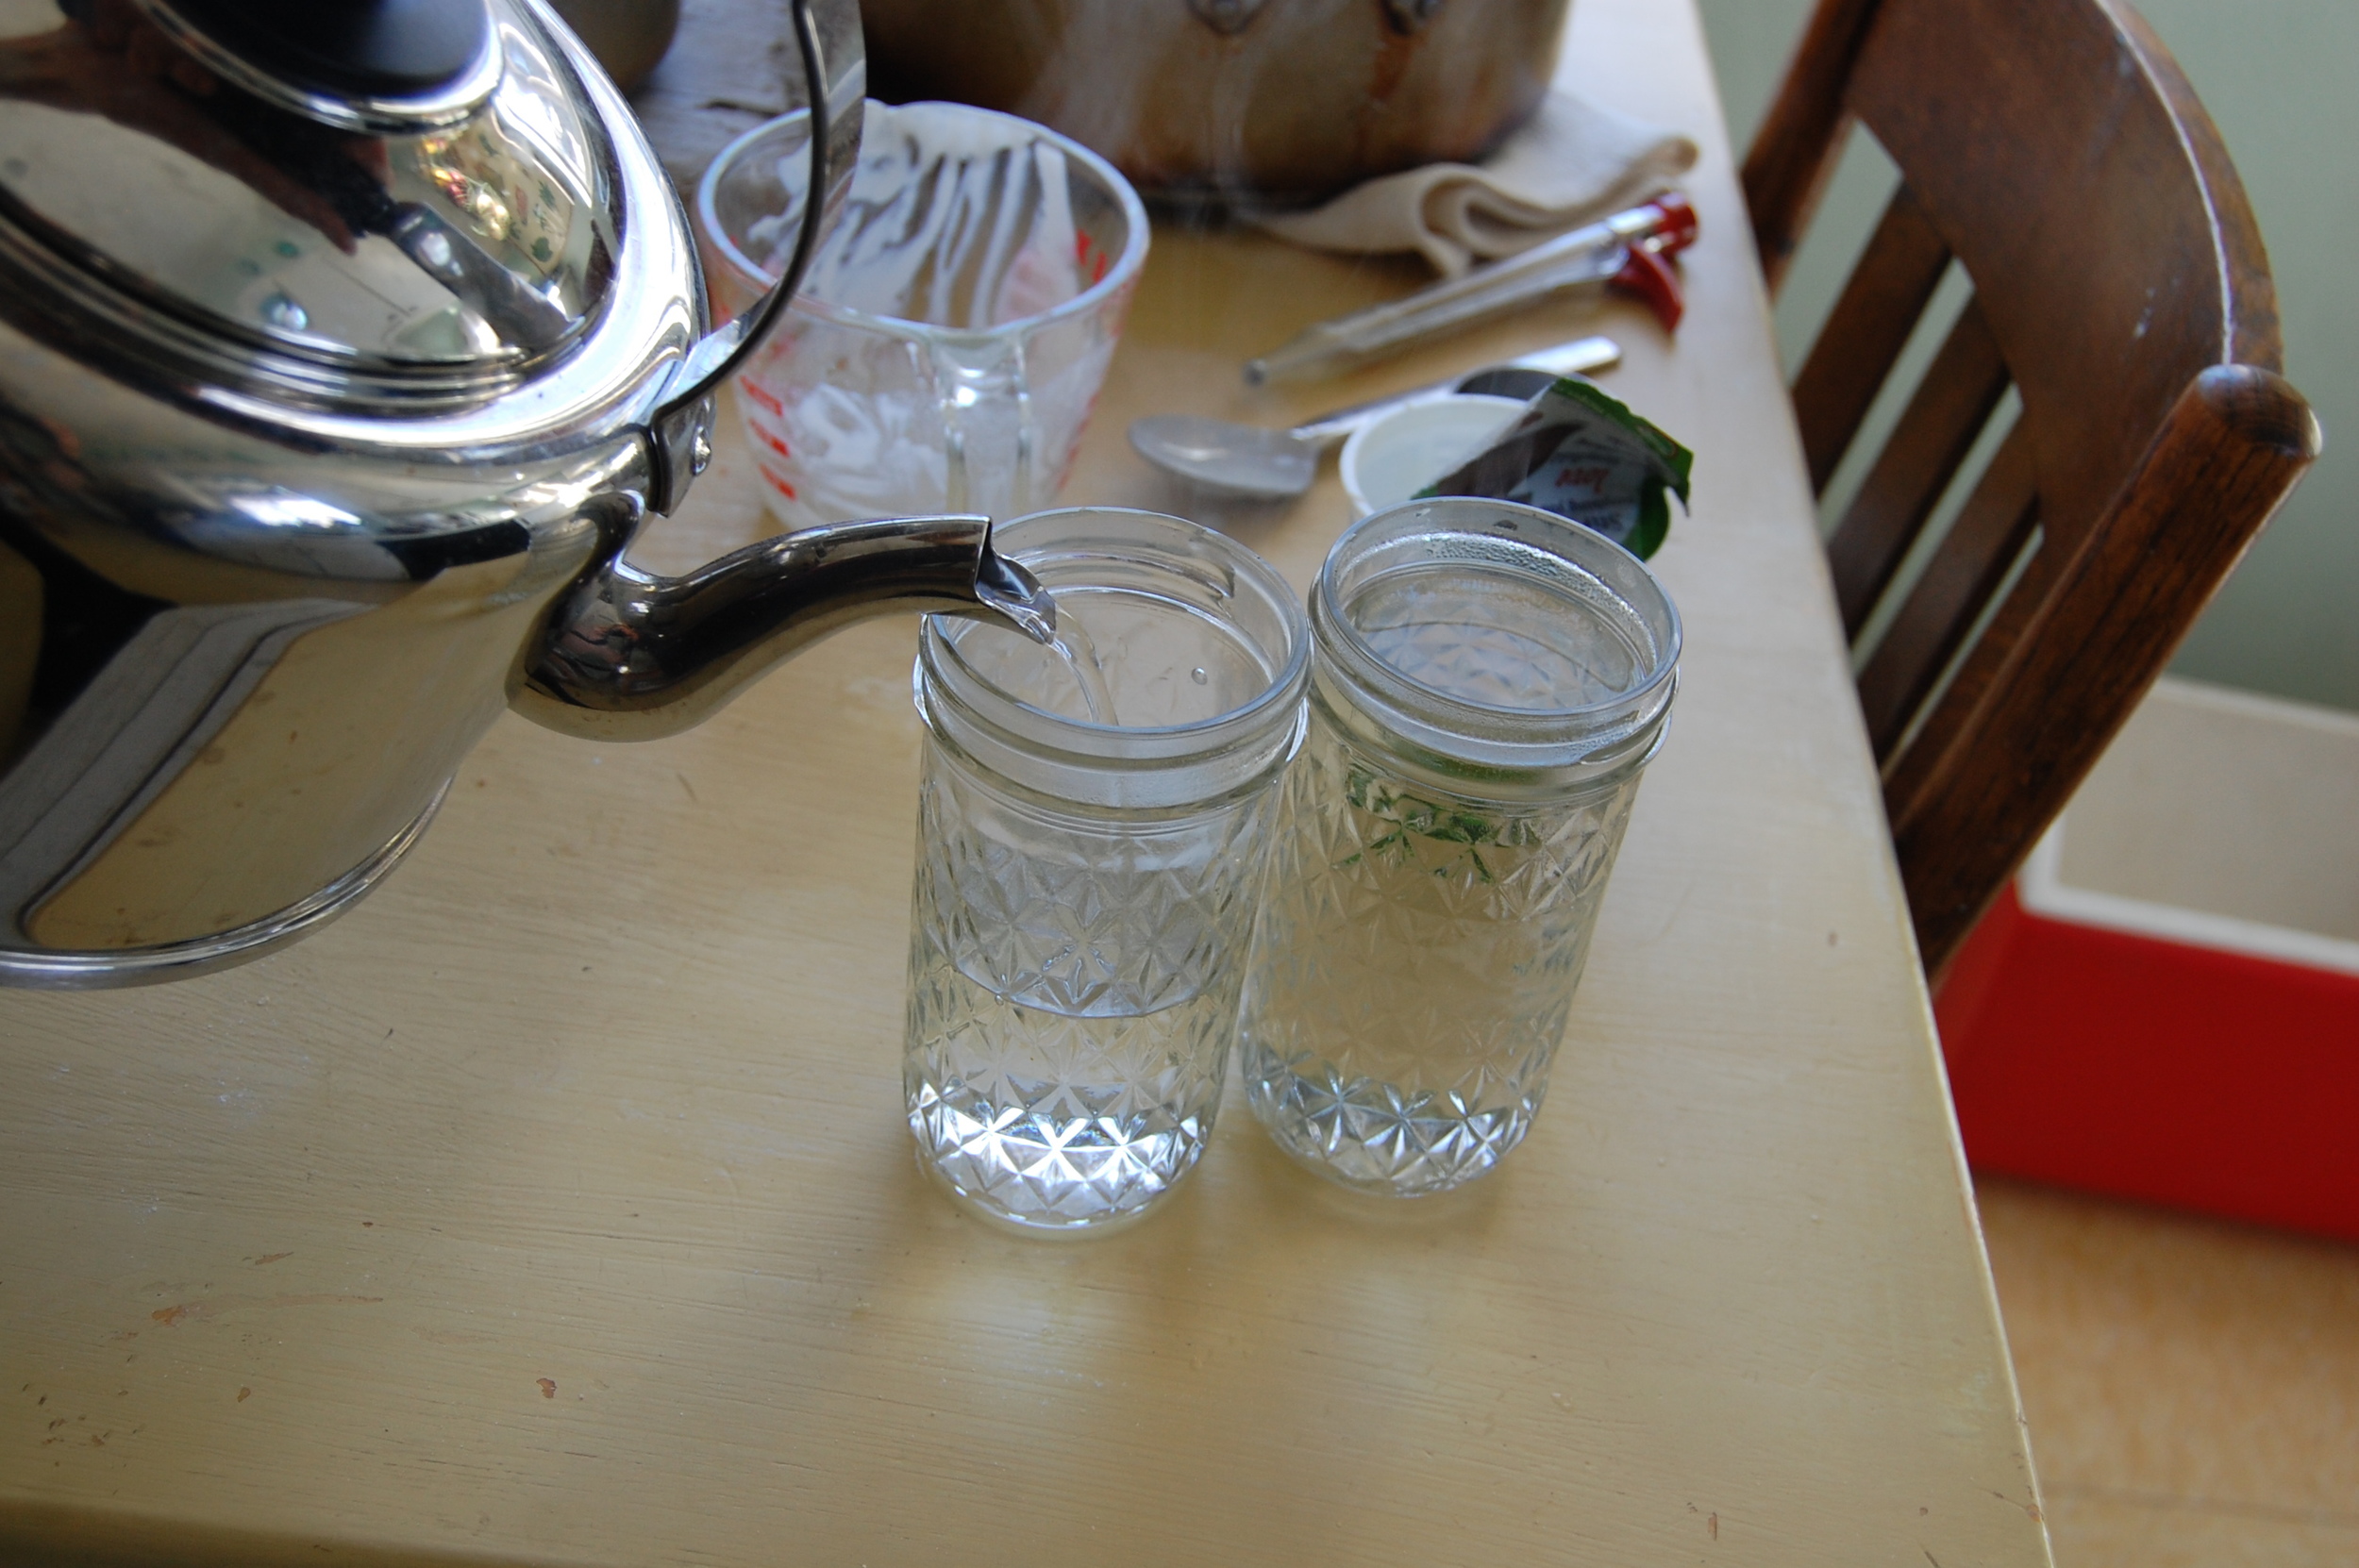
STEP 5: Add 3 jars of hot water to the cooler to keep the yogurt at the optimum temperature. Close lid of cooler.
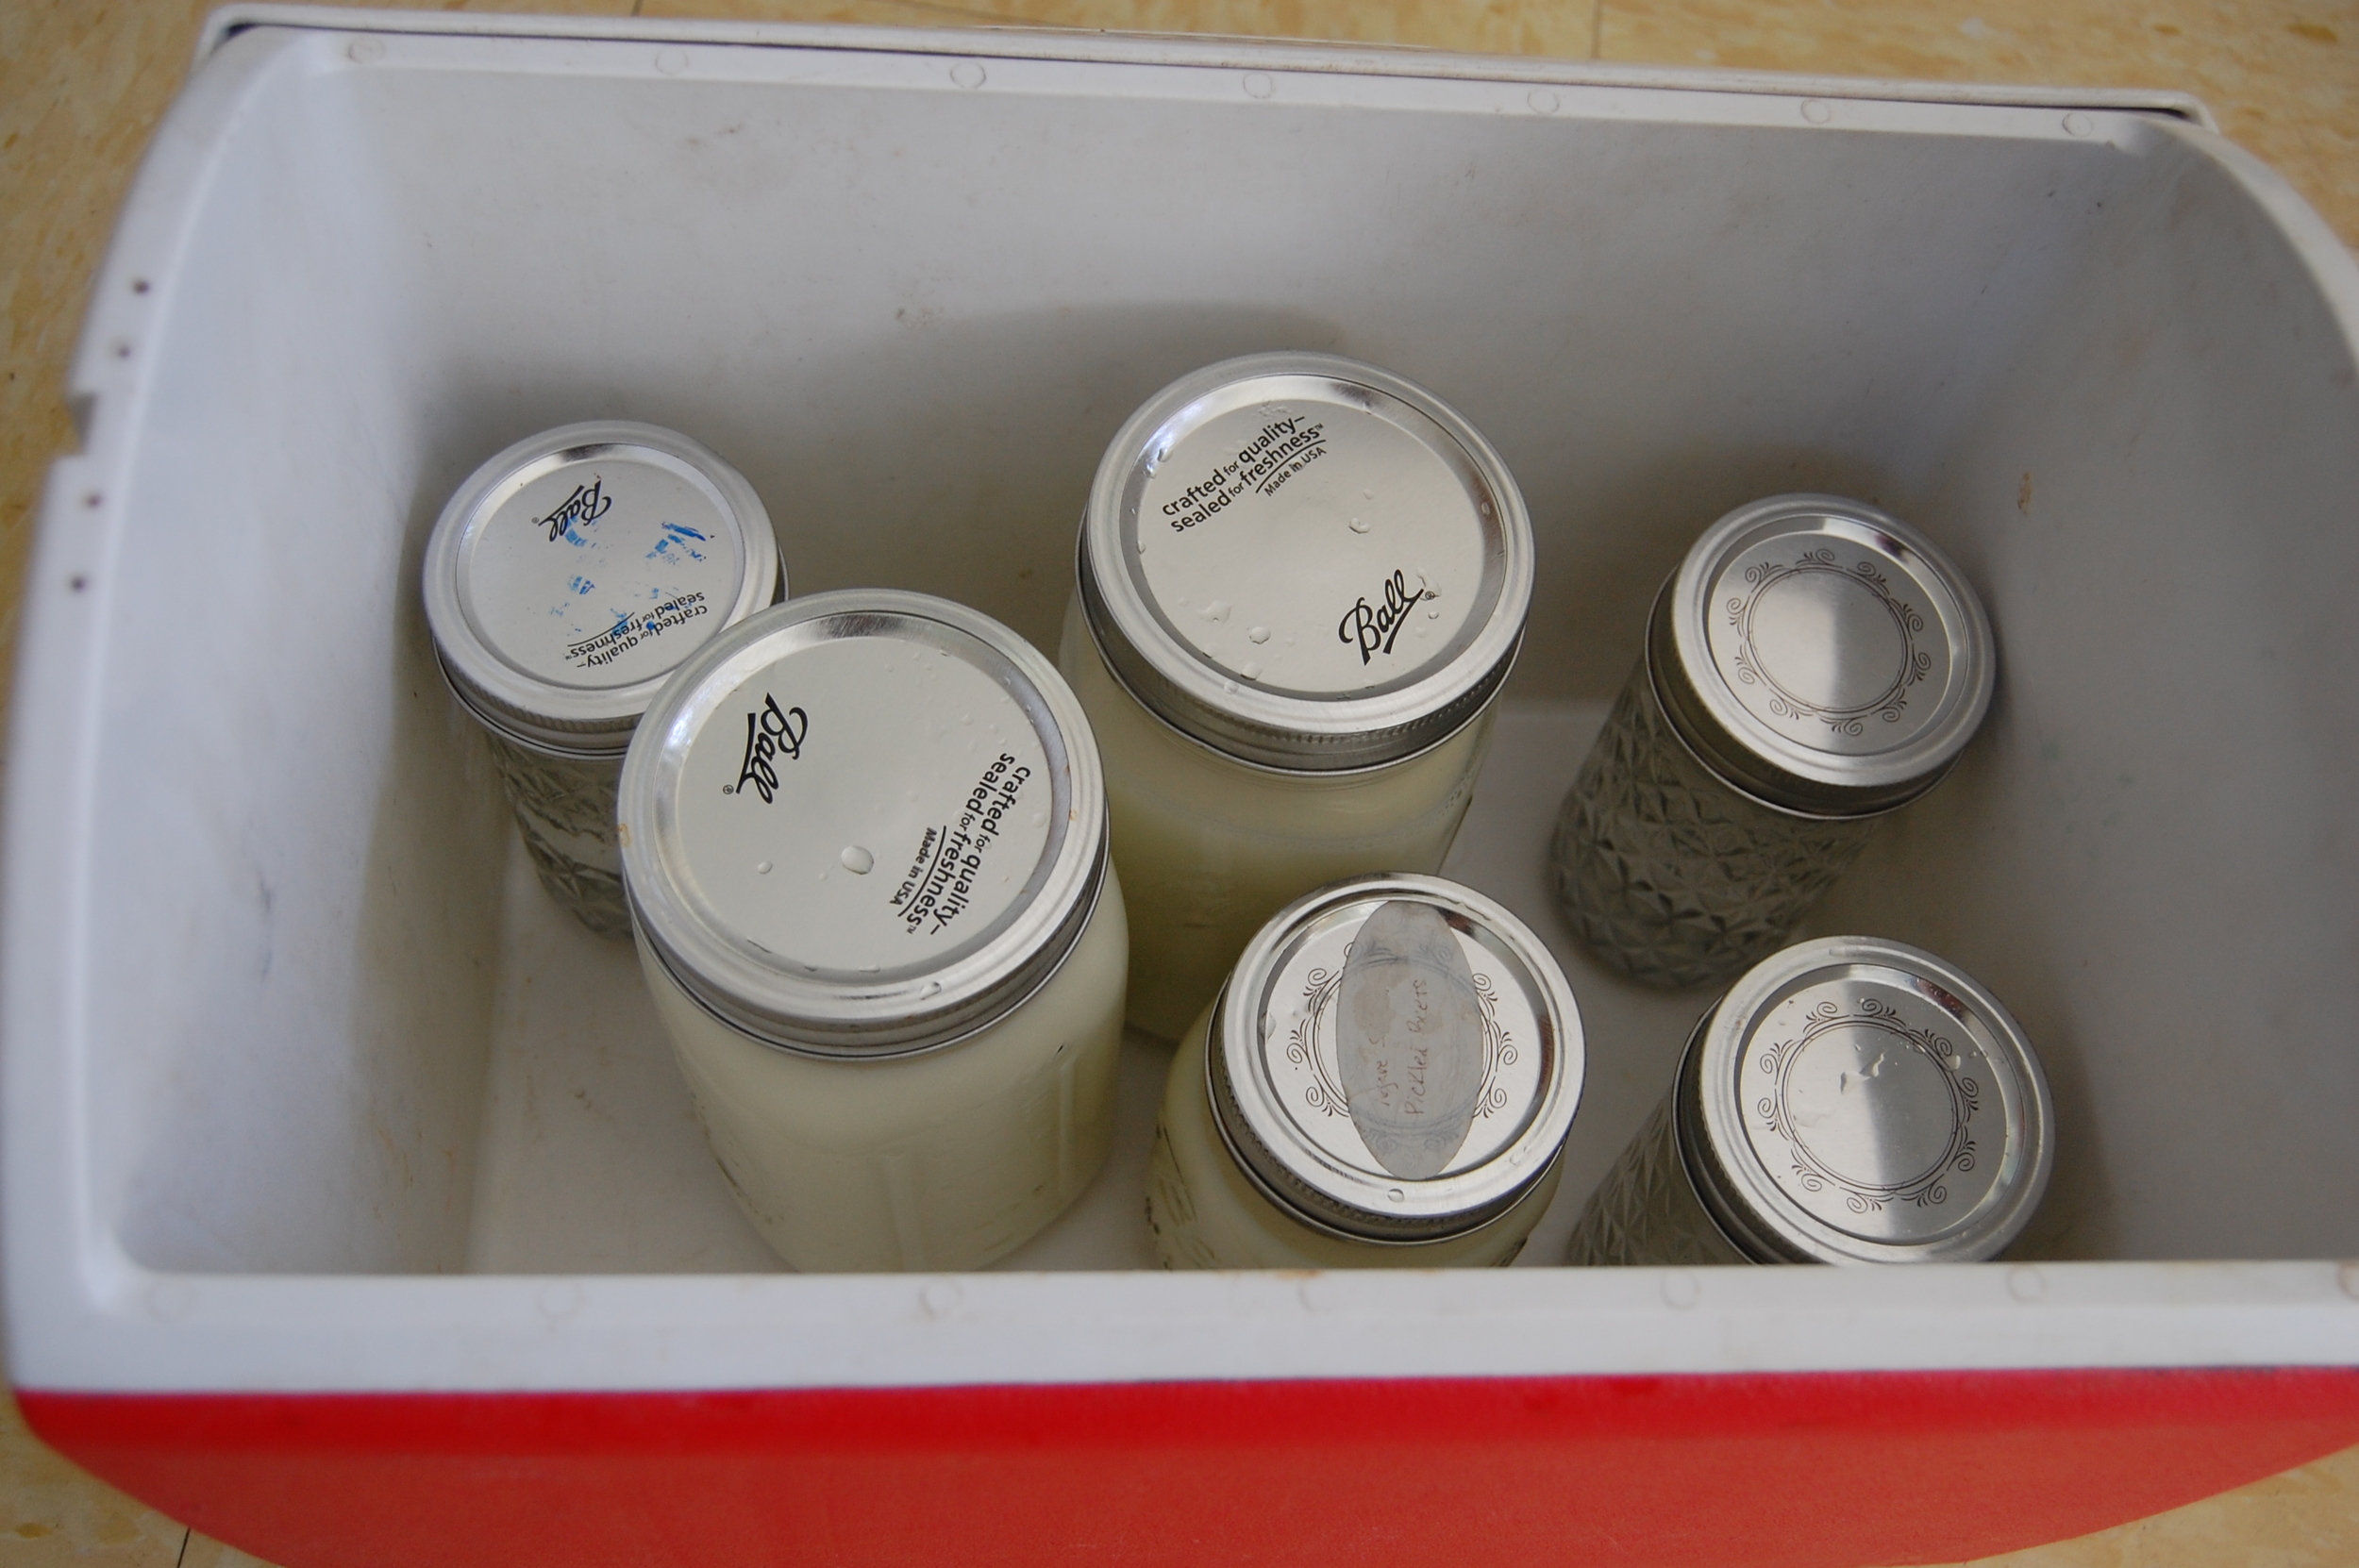

Remove your yogurt after approx. 6-10 hours. (I have left mine for up to 14 hours and it still was more tart but still great) Move to fridge and enjoy!!
SOME TIPS AND ADVICE:
- If you like thicker, greek-style yogurt - this is easily done! Get a strainer and set it over a bowl. Place a piece of cheesecloth if you have it - or coffee filter (I just use some cotton fabric) and pour your yogurt into it. Let it sit like this for as long as you like, depending on how thick you want it. You will get a thicker yogurt as the whey drains out of it. SAVE THE WHEY in your fridge for later! It is the beginning of MANY wonderful fermented foods like sauerkraut, as well as a useful tool to soak grains and beans prior to cooking.
- The process can still go on if you make some mistakes. I have let my milk boil over, and thought 'oh no! it's ruined!' I went ahead with it, and it was still good. The texture wasn't as smooth - but it was definitely edible. I've also let my milk cool way down to below the ideal temperature. No problem. I heated it up slightly until it was in the 'window' it needed to be, and then stirred in the starter.
- I often am impatient while I'm waiting for the milk to cool all the way down to 110. I just read a tip: Carefully place your pot of hot milk in the sink, and surround it with cold water to help it cool down faster. I'm going to try it!
- I've had batches turn out too runny. This has been because I didn't heat the milk until boiling. I had hoped to keep the beneficial enzymes from my raw milk in tact - but I've found that (unless you want to stir in added powders to thicken) you MUST boil the milk in order for it to thicken nicely. I still use my raw milk because I love the cream on top - but I will also use regular organic (pasteurized) milk as well.
- Some people will use a dehydrator to keep their milk at a consistent temperature while culturing. I have not found this necessary. You may end up playing with the amount of hot water you add to your cooler (depending on it's size, and the amount of yogurt you are making) but don't let this stress you out. In fact, Jamie Oliver has a recipe which calls for an even simpler method: Heat the milk till it boils, cool it until you can hold your finger in it, stir in the starter and leave on the stove with the lid on! It really IS a simple process that people have been doing for centuries! I find that my house is too cold during the winter months to keep it that warm. I may try this simpler process during the summer, though.
- The biggest problem I've had is forgetting to save some of my yogurt to start the next batch! We eat it all up too quickly. I usually end up purchasing another single plain yogurt to start my next batch... but be smarter than me, and save a cup of each batch to start the next. Just remember the ratio is approx. 1/2 cup of yogurt starter for 1/2 gallon of milk. Simple!
Here's an interesting fact. For anyone who has a seriously deficient gut - yogurt won't be the best thing to begin with. Emma and Jeremiah had a harder time digesting yogurt at first - but they could tolerate drinking kefir just fine. Here's the reason why:
“Yogurt contains transient beneficial bacteria that keep the digestive system clean and provide food for the friendly bacteria that reside there. But kefir can actually colonize the intestinal tract, a feat that yogurt cannot match.” "Because the curd size of kefir is smaller than yogurt, it is also easier to digest, which makes it a particularly excellent, nutritious food for babies, the elderly and people experiencing chronic fatigue and digestive disorders." quote sourced here
So... if your intestinal tract does not already have enough friendly bacteria - yogurt isn't probably the best place to start. We have seen the proof of this with our girls. It took awhile for Emma (drinking lots of kefir, first - which gave her no stomach aches) before she could start eating the yogurt without any stomach aches. I will post and upload a kefir tutorial soon, as well!
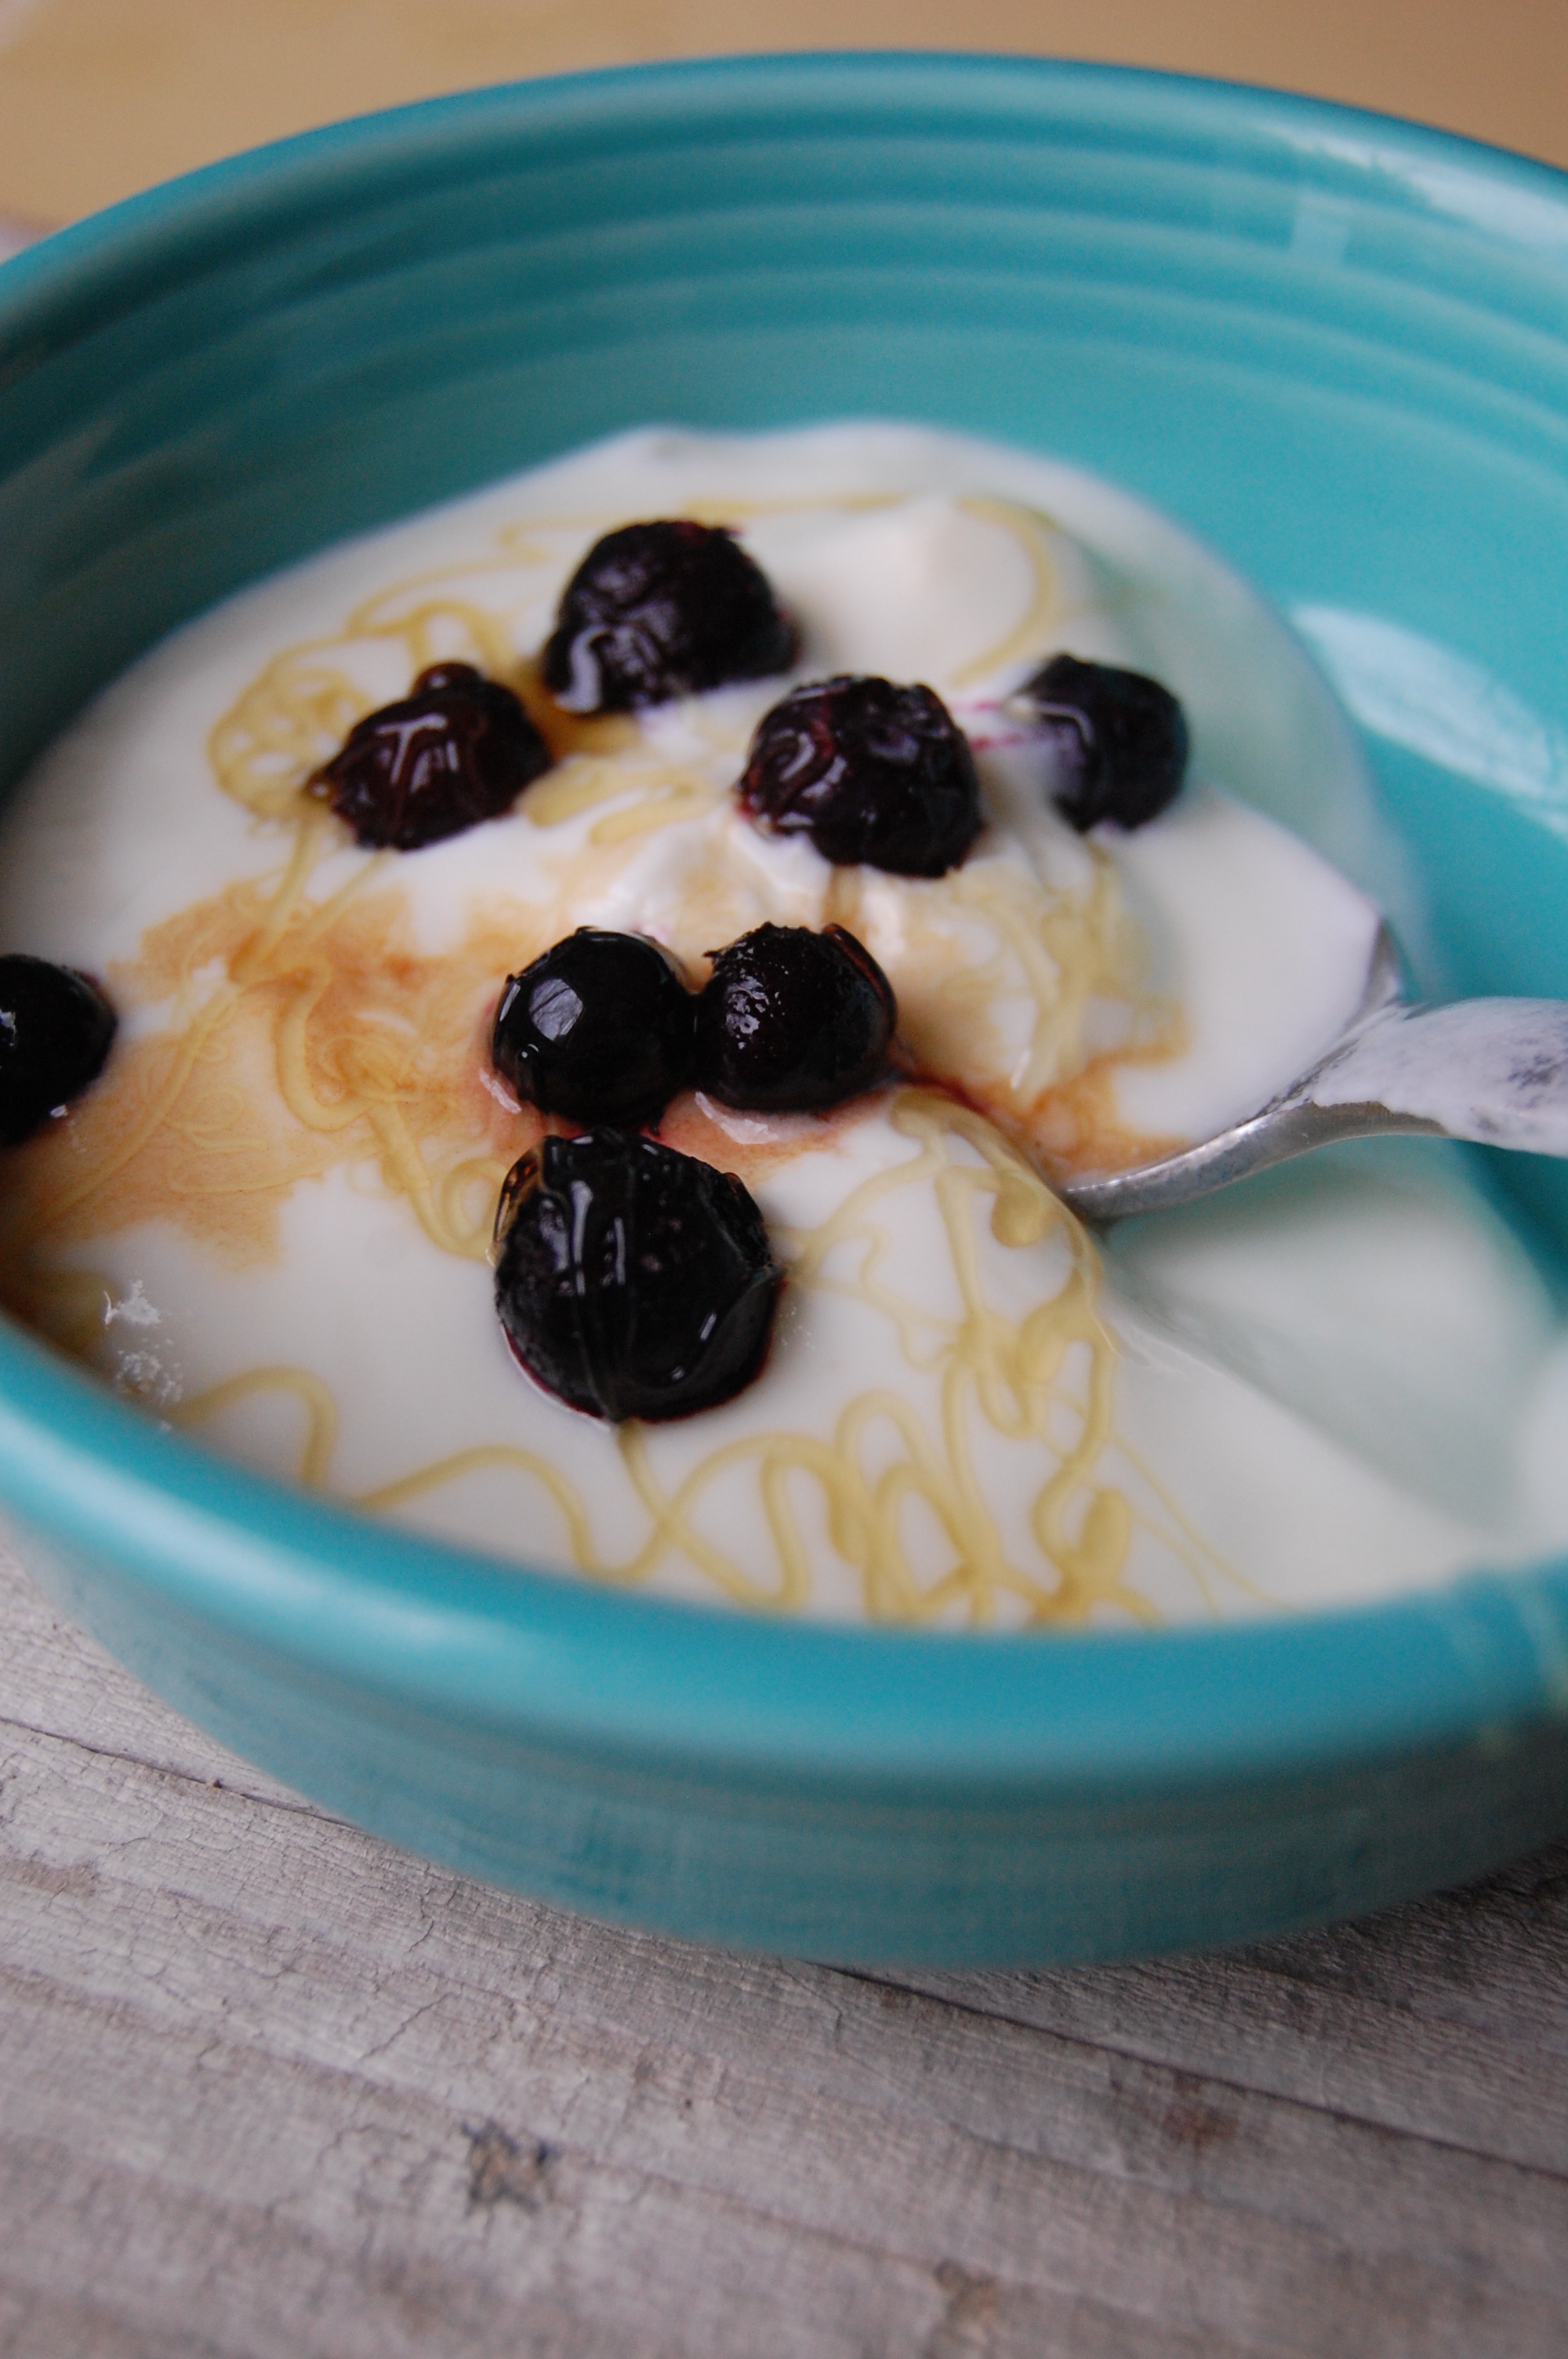
Hope you give this recipe a try!
-Sarah