Our 'village oven' - and why we built it
Most of the big projects that I take on - are inspired by food.
Our latest excitement on the homestead is no different... it began with dreams of a fire being built in the backyard - preparing an oven to cook our food out-of-doors. I'm still kind of amazed that it's built.
This oven 'took a village' to build.
Our good friend Will has inspired me in so many foodie-related ways. He taught me how to bake my beloved sourdough (learn how here), from his own magical experience working at a bakery in Greece. Our oven idea was sparked by him talking of his desire to build an outdoor bread oven. We had even talked of him building one in our backyard about a year ago. When his plans changed and he moved out of the area - we were very sad to see him go - and also determined that we still wanted to build one!
So I went on the hunt for plans.
I had watched too many wonderful videos of my beloved Gennaro and Antonio sliding fabulous meals into ovens all over Italy - eating and prepping food ... OUTSIDE.

You can find the 'Two Greedy Italains' episodes on youtube - we continue to watch them again and again for inspiration!
Truly - to prepare an entire meal outdoors, cook it via fire, and eat outside sounded like my idea of heaven.
Then, I ran across a new design that sparked an idea: build an outdoor oven made out of an old 55 gallon drum - (on the website I found, they called it a barrel oven). The reason I was drawn to this idea was because it was made with materials that are very simple to find in many places around the world. Since we desire to try things here at our homestead which could be replicated in Haiti (where my cousin lives and works) - I thought this would be perfect. It seemed you could build one as simply or as complex as you wanted.

A barrel oven pictured in the book, finished with cob plaster.
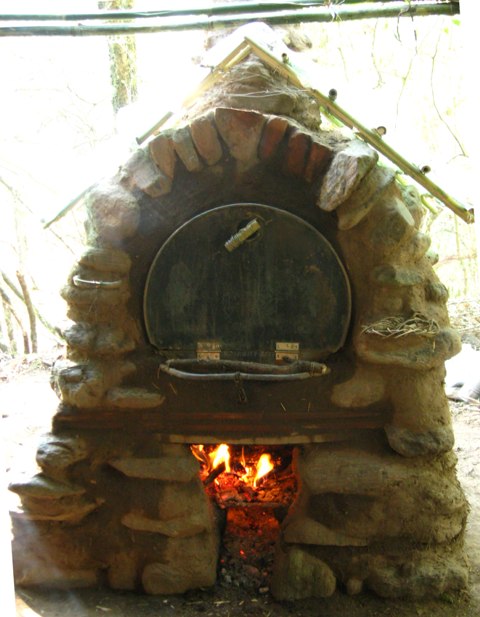
One of the first barrel ovens made - in Argentina - built with stone and earthen mortar.
I'd also recently made a new friend who's husband was a welder. When I commented "Oh, I'd love to learn how to weld" - her remark stuck with me - "Scott is a great teacher".
When I read the options on building this barrel oven - you could either 1. Order the pre-welded oven kit, or 2. Weld up the parts yourself... I immediately thought of Scott.
It felt a bit risky when I sent over the email link asking if (this man I'd never met) would be willing to share his skills with us. I wanted to learn how to... you know... just whip together a functioning oven out of an old barrel.
What I didn't realize was, in that step of reaching out, I ended up making some new and very dear friends.
I ordered the small, 100 page book online and started reading and dreaming:

Max & Eva Edelson wrote this simple book which has basic plans and gives an outline for how to build a barrel oven. CLICK HERE to order yours.
I invited my new welder friend Scott over and showed him the design. Within a few minutes, he had called up a friend and asked him to set aside a barrel they had. I was giddy. We were already on our way.
Like with many things that I take on - I am the eternal optimist. "We can TOTALLY do this!" I say... and, truly - we can. It just usually involves quite a bit more work than I expect at the start.
Scott gave us a quote on the cost of the welding materials, and generously offered his time - to teach us and help us complete the oven. Once we'd saved up enough for the materials (around $200) - we were ready to begin.
The girls and I got out the sledge hammer and knocked down the old fire 'ring' that once sat in our backyard. We needed to get rid of it so we could pour our new cement pad and get ready to build our oven!
I soon found out that I had NO IDEA what I was talking about when I made that comment about wanting to learn how to weld. I had this idea that you just used a little torch-like thing to heat metal and bend it into the shape you wanted, or melt pieces together - and voila! Magic. When the girls and I walked into Scott's shop and saw all of these humongous metal saws, tanks full of argon gas, and cranes on the ceiling for lifting - I realized what a HUGE gift it was to be there. I love giving my girls hands-on experiences like this to learn, but I was enamored and amazed myself at the whole process.
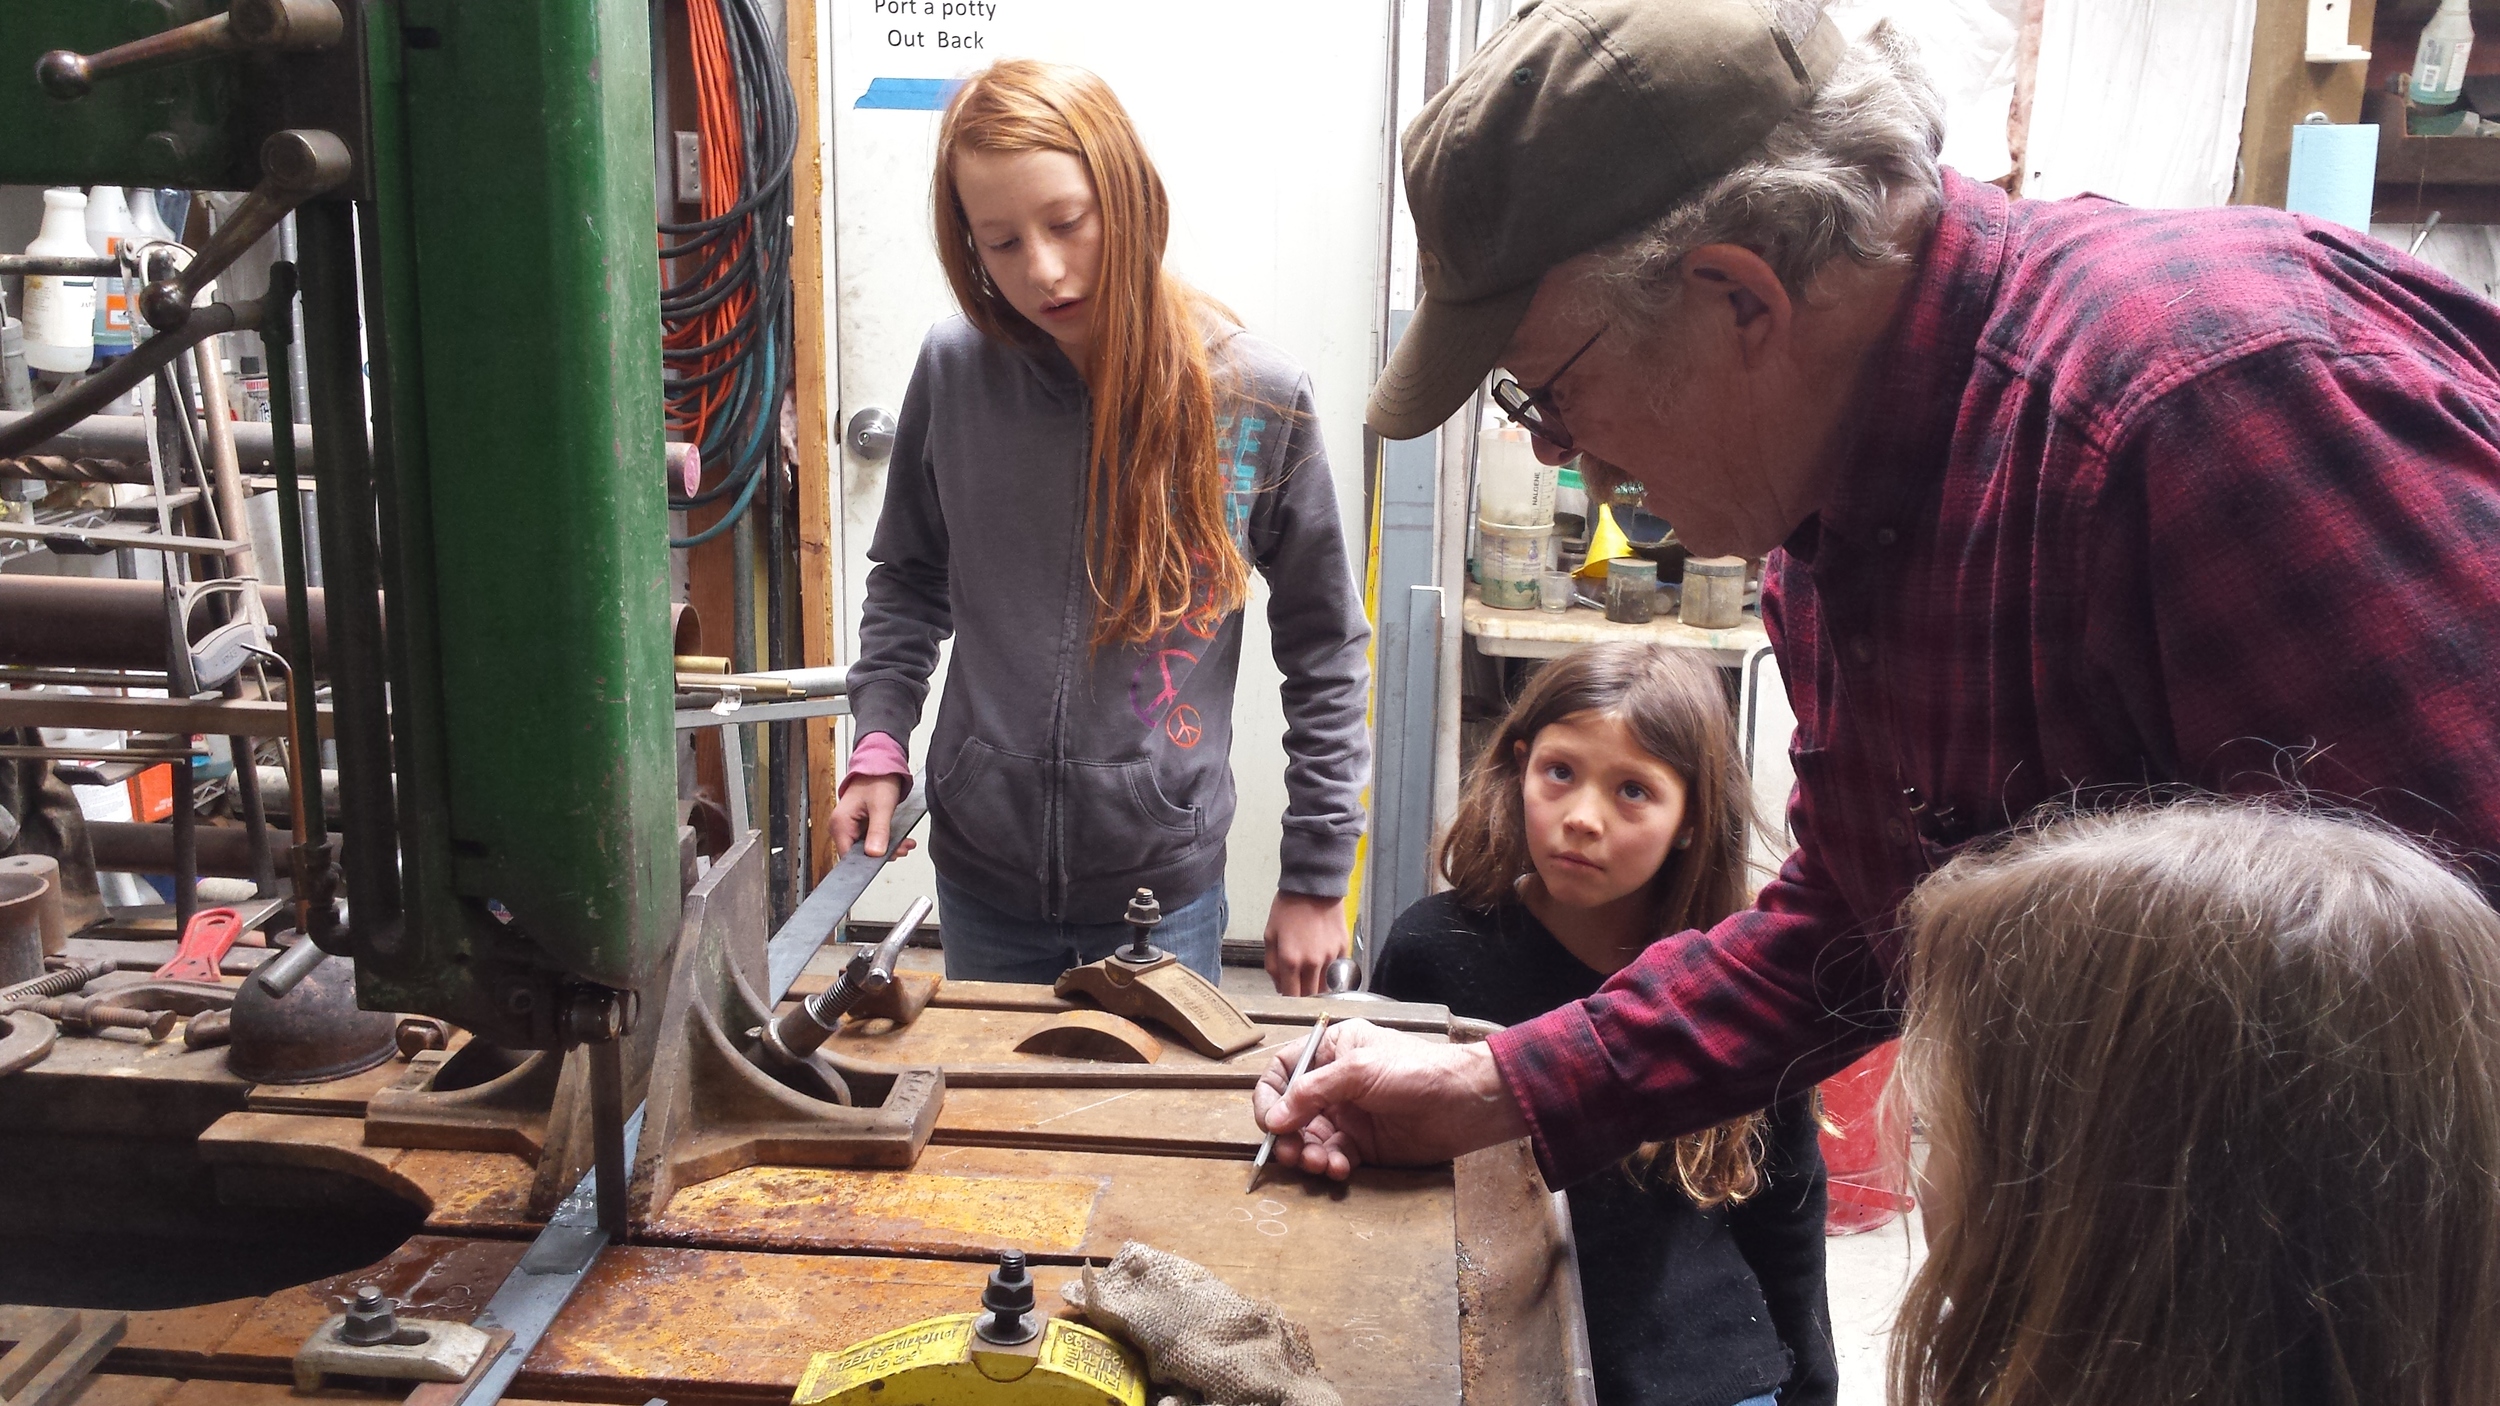
The girls learning about measuring and cutting steel.

Fun times in Scott's shop
We began with the ash grate. Two pieces of angle iron and a bunch of cut pieces of rebar - welded together. It was a good place to start. The girls had a blast learning how to cut with Scott's metal saw, and he let us take turns wearing the hoods and giving the torch a try. It was really exciting to have a piece completed and we could begin laying our brick at home.

Our first welded piece brought home - ready to lay brick!
Since Will was our inspiration for the oven to begin with, we invited him up to help us begin the brick work and early construction. Over that same weekend, we learned that Will was moving back to our area! We started on Easter weekend, knowing that we were building an oven that we would be able to use together.
Another special piece to this oven was that we didn't purchase any brick. We had a pile that we had collected from other projects, and our neighbors generously gave us a very large stack of new brick that they had in their backyard. My hubby built the wood frame to set the brick arch over - and it had already begun to look 'oven-ish' after all the brick work was completed. We were thrilled.

First day of brick work.

Excited to be building the arch!
We did make a mistake on the design. We forgot to set the angle iron bars into the brick work for the barrel to rest on! Thankfully, there is always a way to remedy these slip-ups. Scott helped us build a support bar and it was fine.
At this stage, things seemed to be moving quickly! But the majority of the welding work was still ahead. Max and Eva Edelson - the designers of this barrel design, provide a pre-welded oven kit. If we had purchased it ahead of time, we could have set the oven at this point and moved along. Doing it ourselves took much more time, but it was worth it to learn every step.
Spending the next few weeks making trips to Scott's welding shop was so fun. The girls and I looked forward to what we would do next.
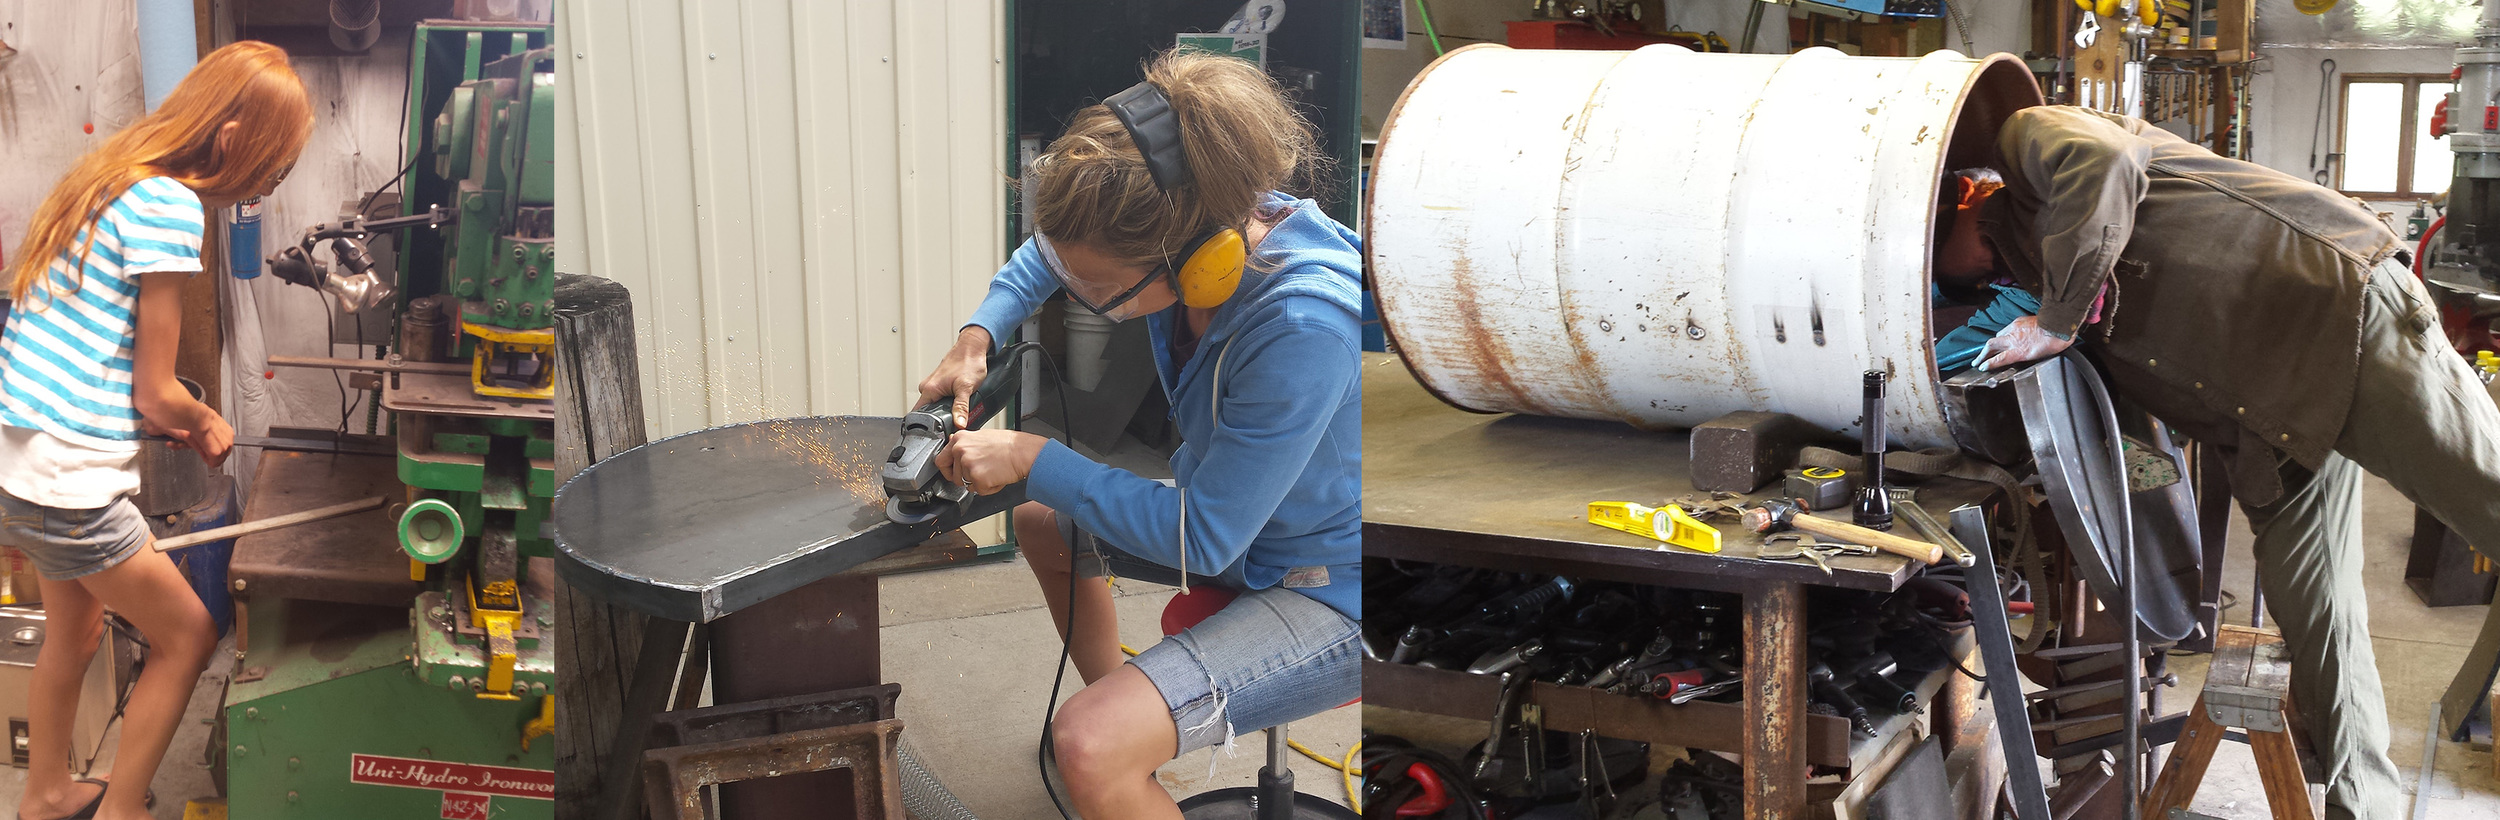
Emma cutting metal, Sarah grinding the oven door, Scott welding in the oven racks!
Once the barrel oven was complete, Scott painted it for us, and installed the beautiful hand-turned wood handles he made on his lathe. It turned out beautiful.
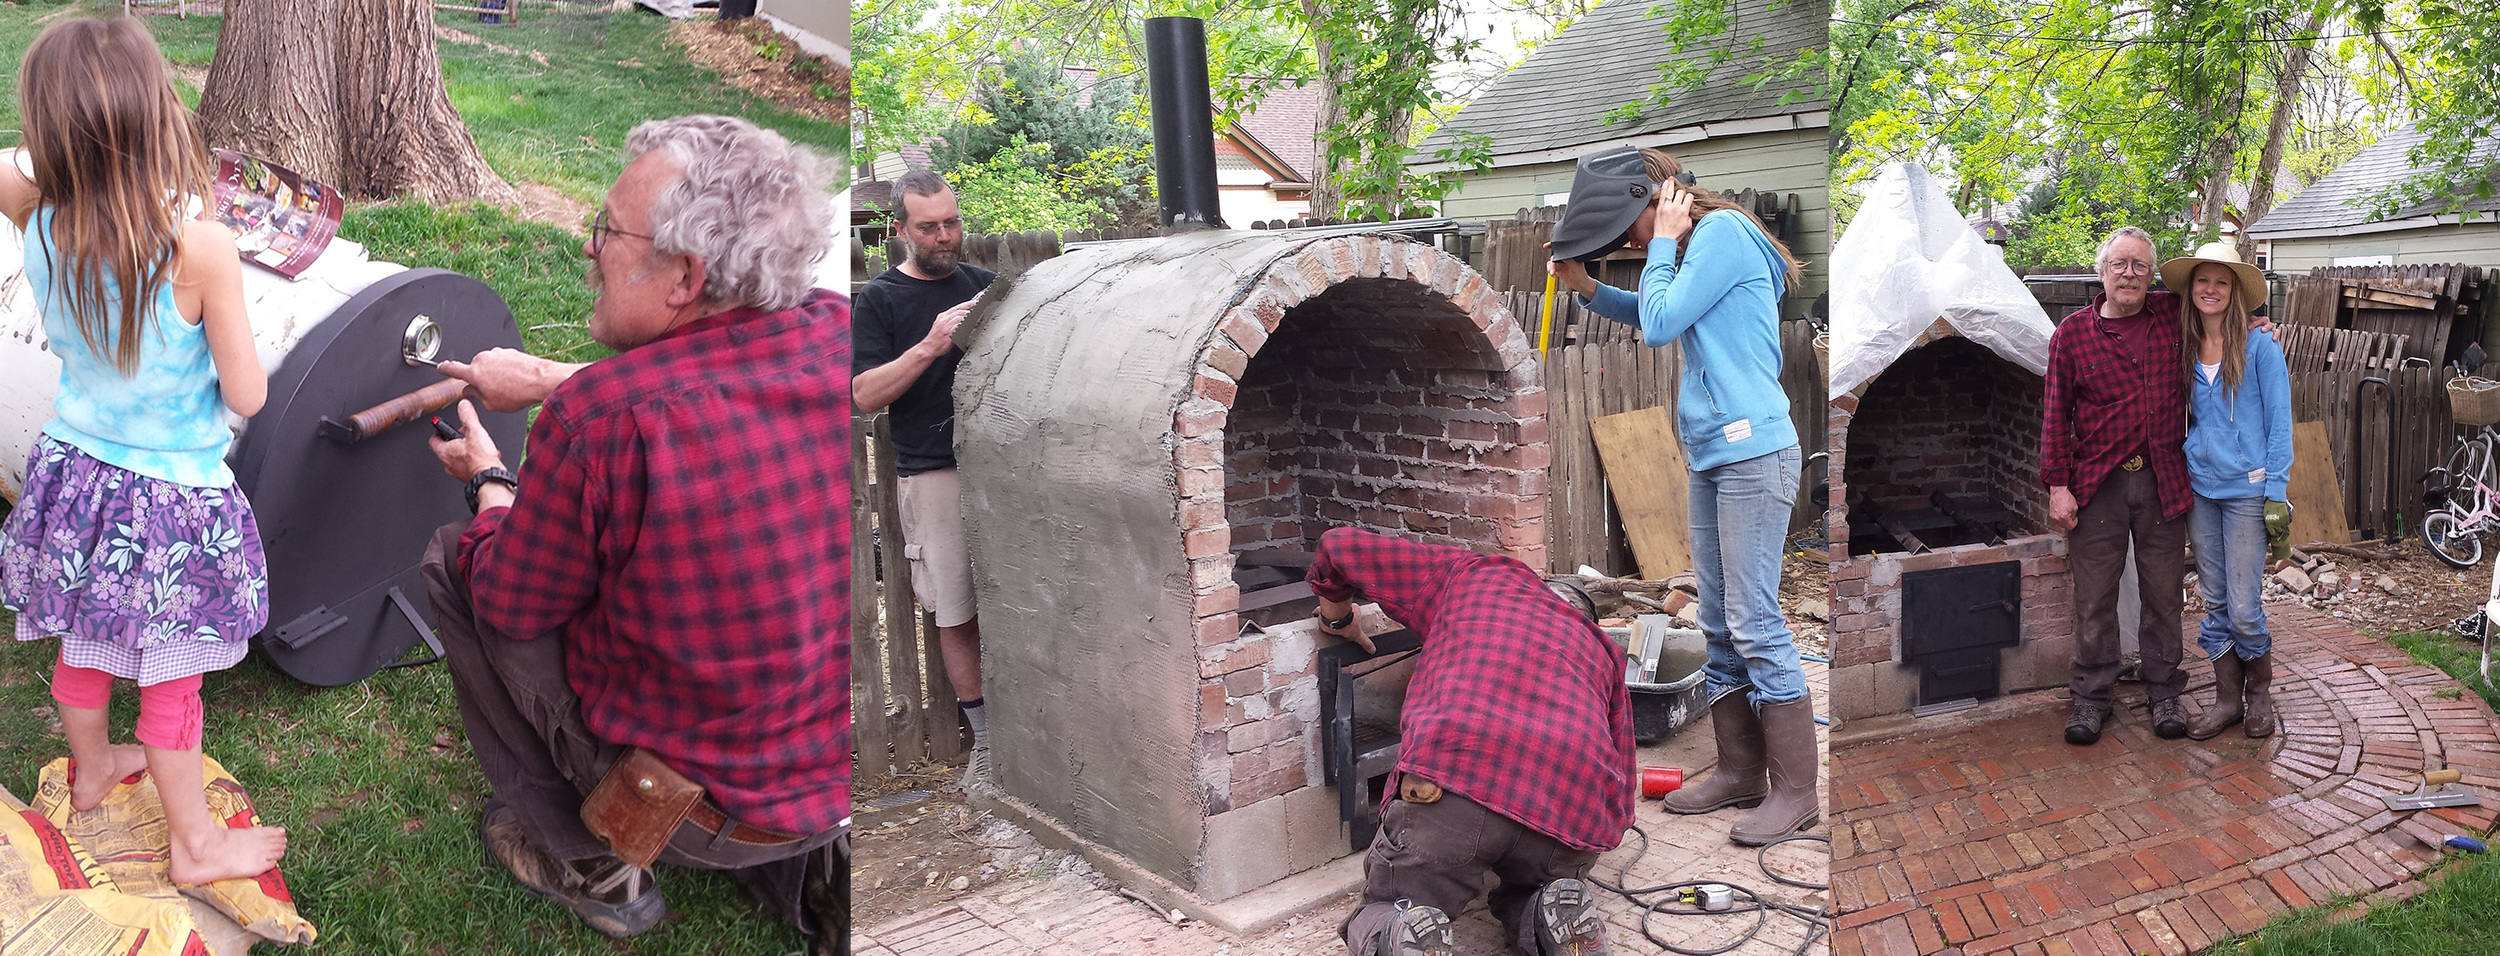
Scott bringing the barrel over to set in place, welding the firebox door in, first top coat going on the brick. Grateful to have met Scott and become friends through this project!
Again - now that the barrel was home, I felt that we were SO close! We had decided to do one layer of fiberglass insulation between the first cement coat and the outer coat. We decided on using a simple cement sand topping for the top coat, since we didn't plan to build a roof over our oven, and wanted it to hold up to the weather.
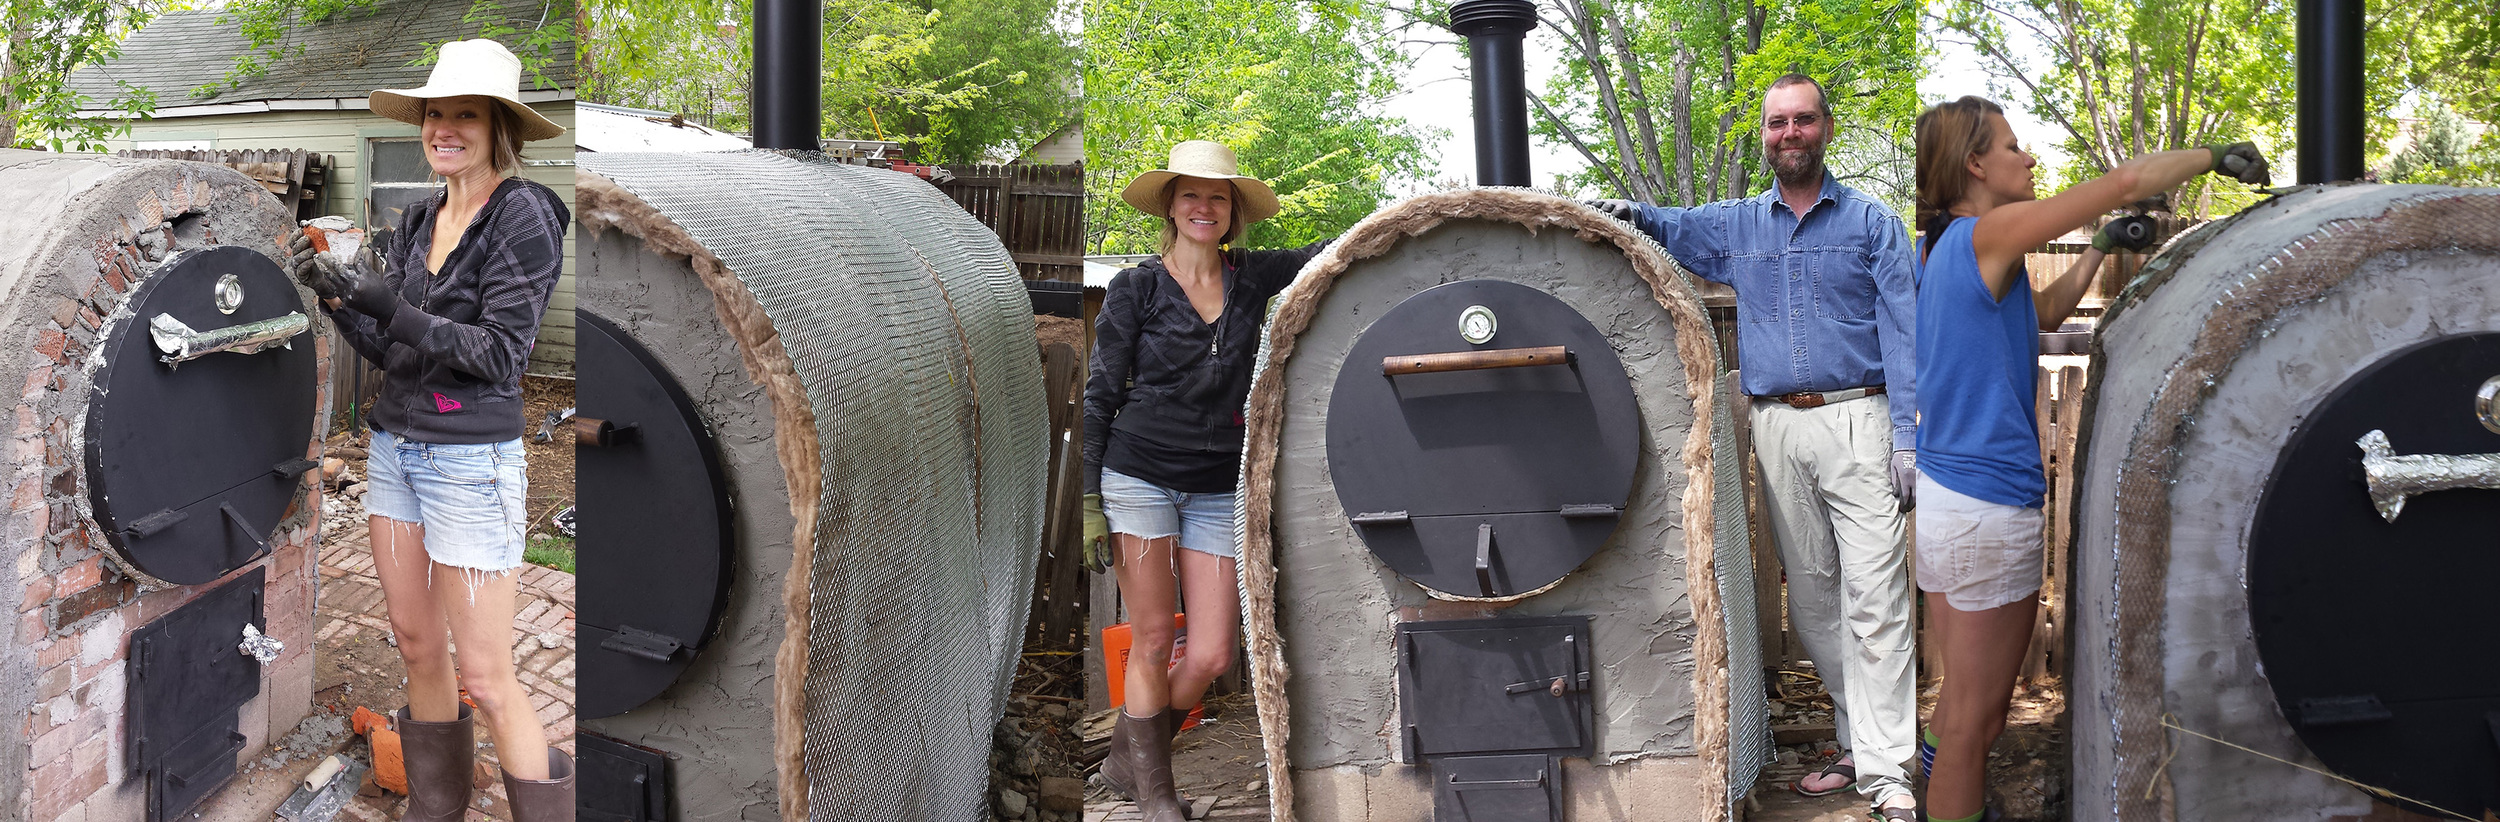
Placing the final brick to seal the oven, adding an insulation layer with more lath, last top coat going on.
It seemed like we had to KEEP going back for more cement! We went on a short road trip and Will put the finishing touches on the last coat. He added some chopped straw to give it an earthy look, similar to cob plaster. He made that last coat super smooth, too. We love how it turned out!
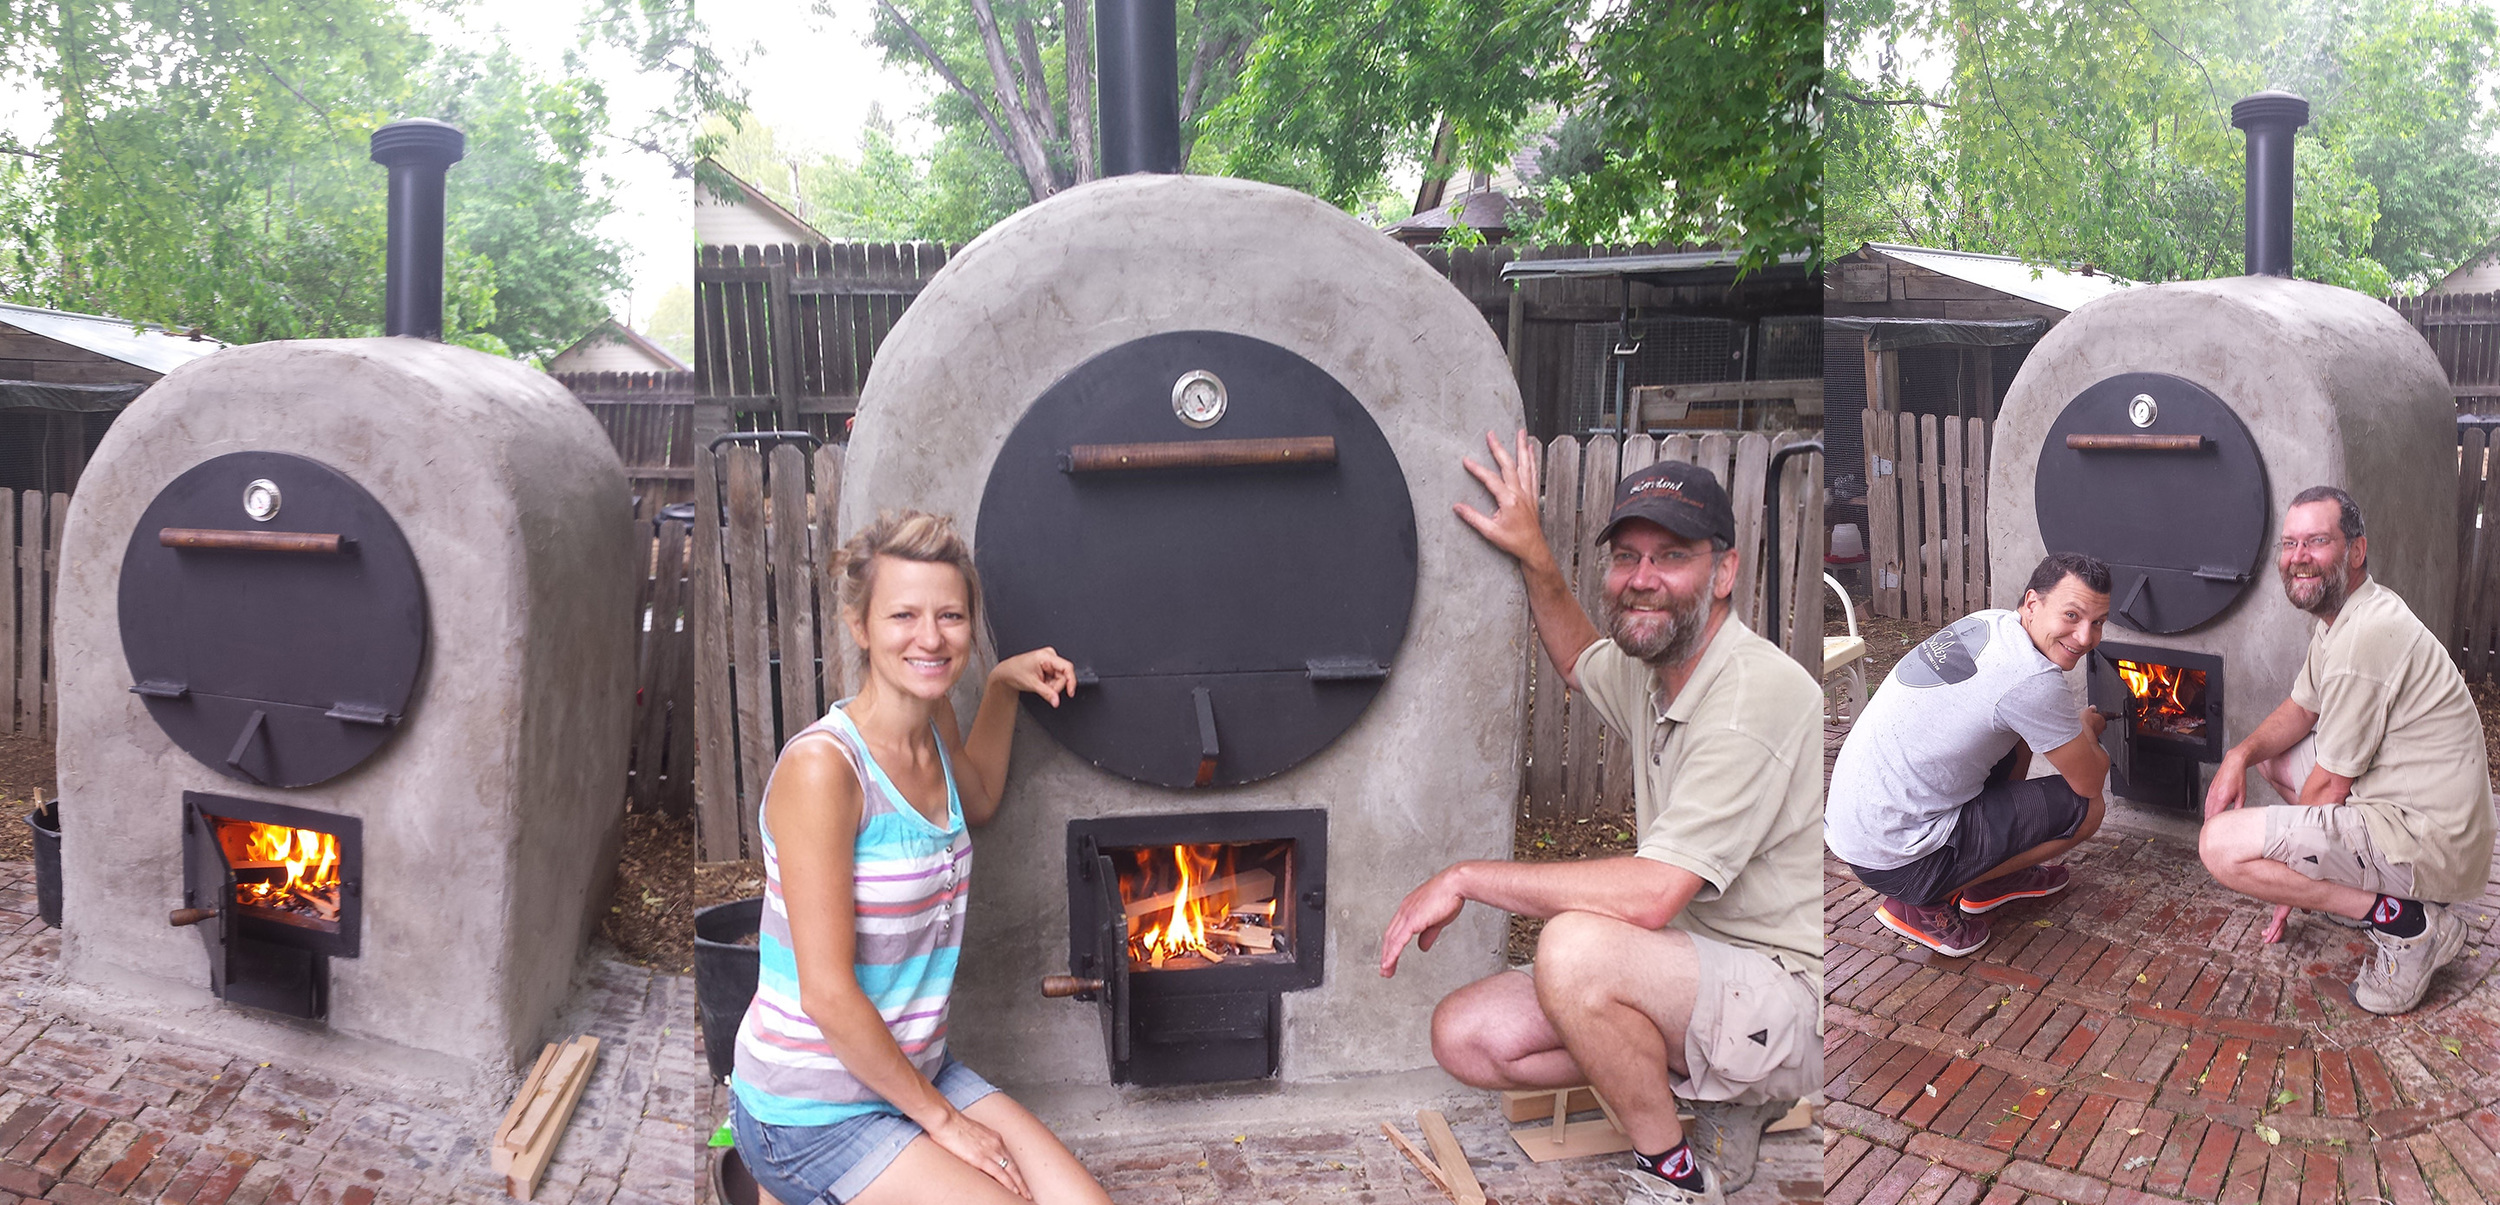
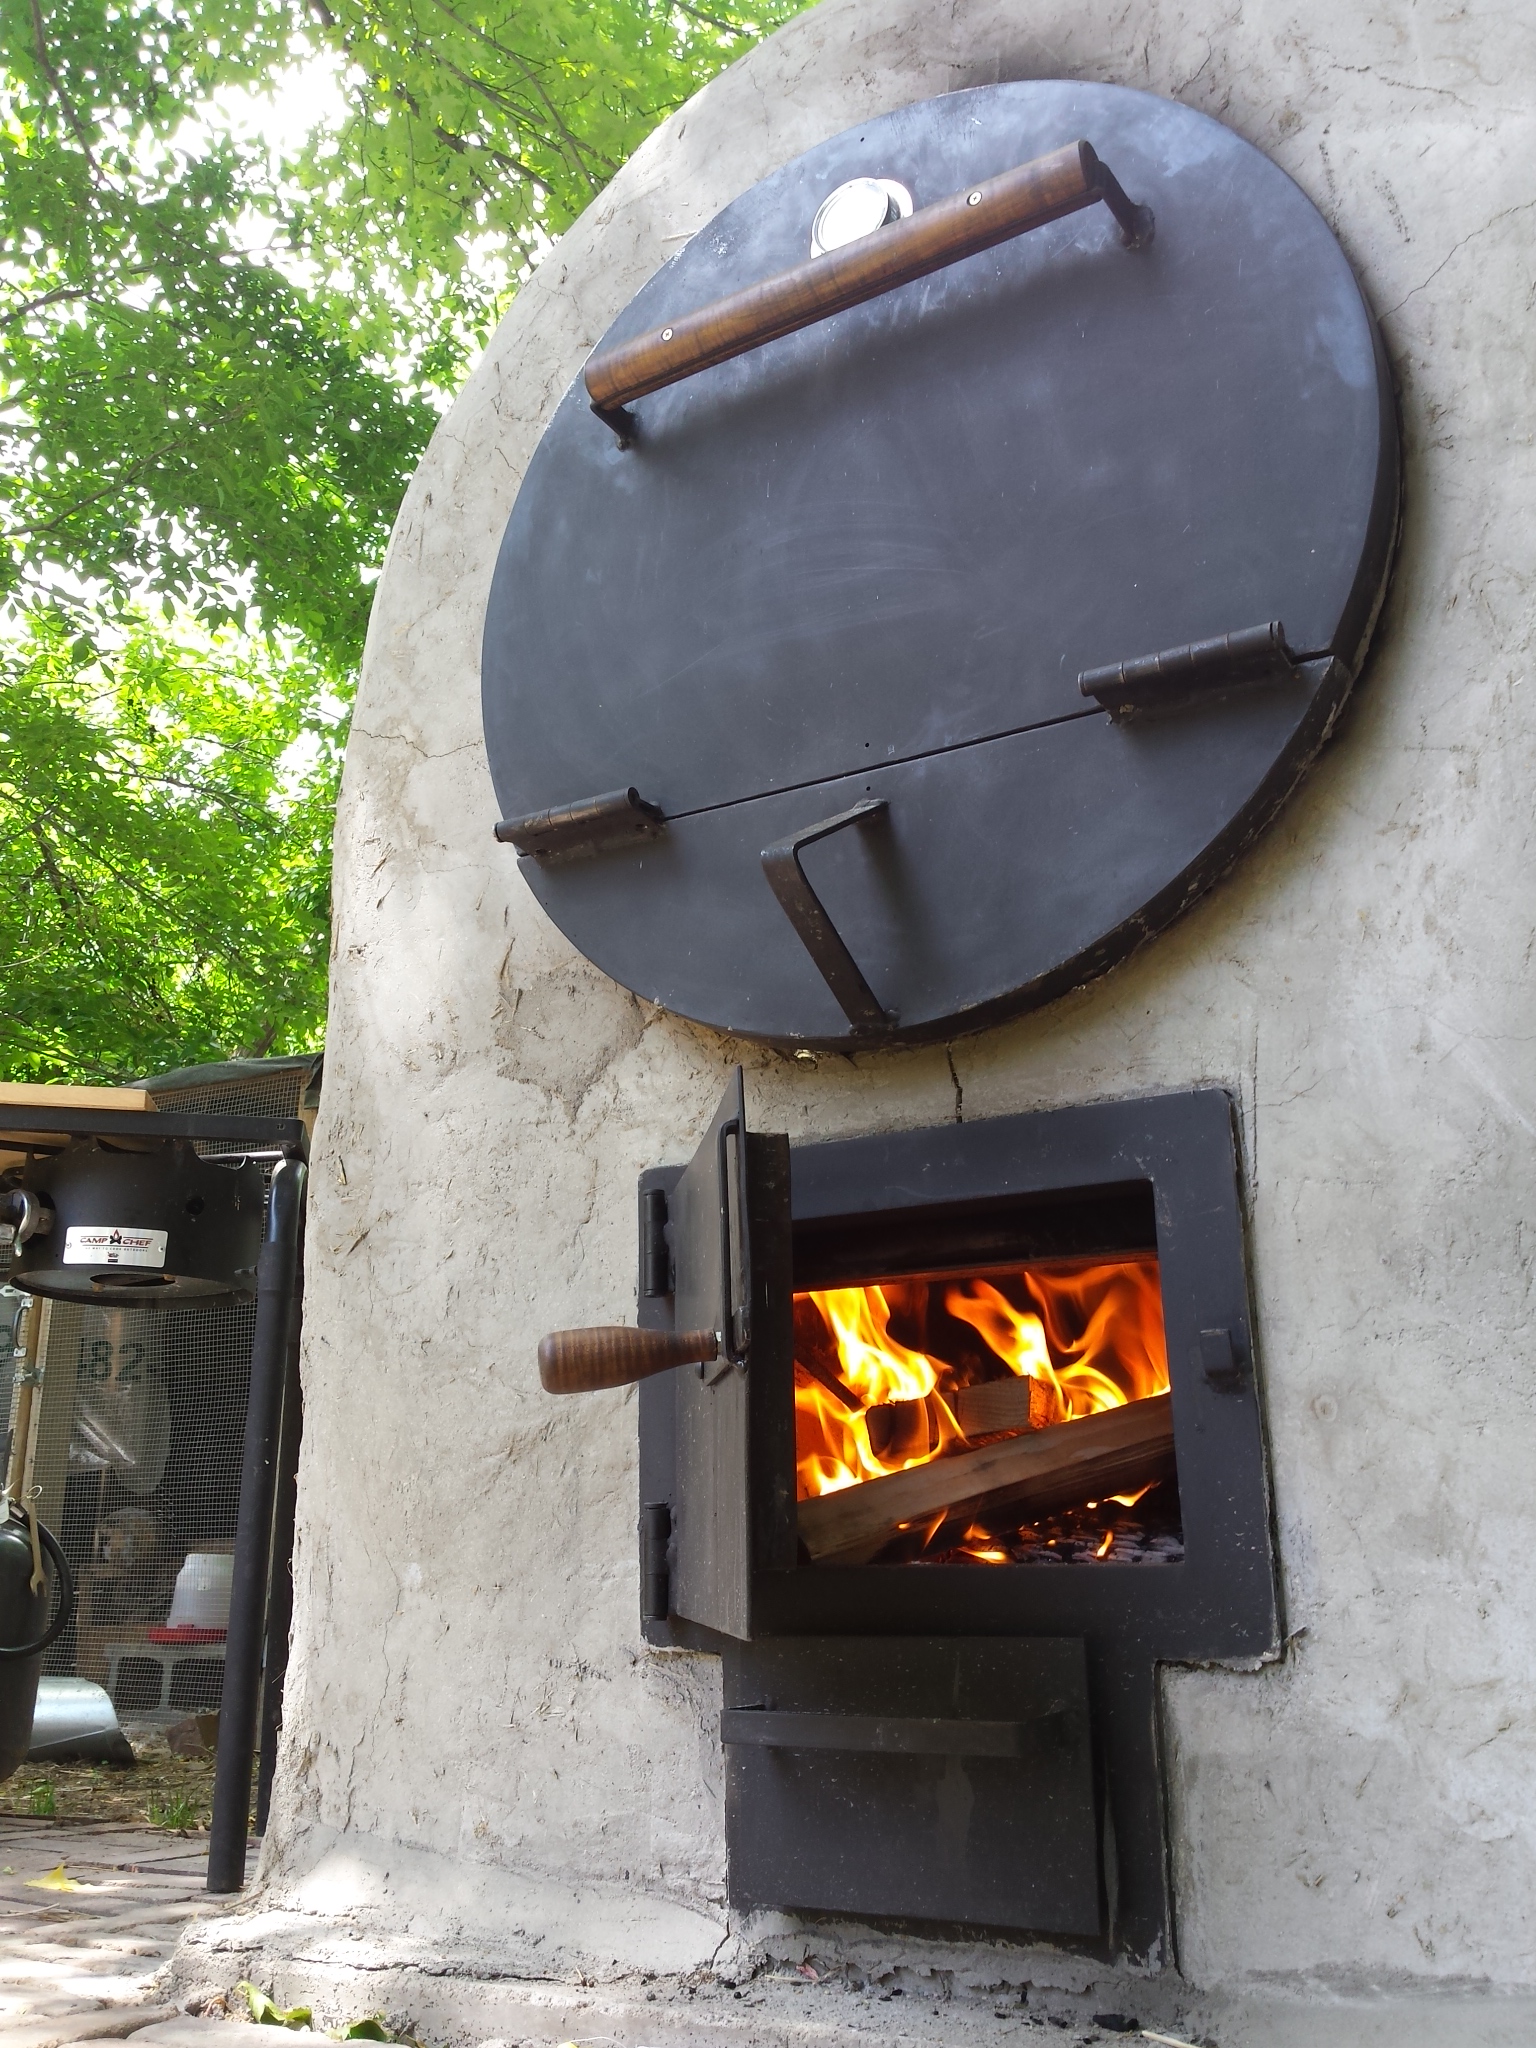
Finished oven. This was our very first fire to cure the brick. BEYOND excited! The entire process took 1 month and 10 days to complete.
That first day lighting the fire to cure the brick was a thrill. We kept it going low and slow, but in a few hours it was at 450 and I couldn't handle not cooking anything. I had a pot of beans soaking to cook that night, so I rinsed them, added garlic, onion, herbs and wine to the pot along with some tomatoes and threw them in. I called my neighbor to come have a glass of wine. "I'm cooking in the oven! Can you come over?" We drank wine and ate beans. It was fabulous.
The next evening, we had our first pizza party scheduled to celebrate with some family and the friends who had helped us build the oven. Before I could cook pizza, I needed to grind the inside of the oven to get it clean. (We don't know what substance was previously in the barrel, so this step was important. Also, it would have been much smarter to have done this before we began! Oh well!) I had hoped to pass this grinding job on to my husband or Will - but I was on my own and the party was rapidly approaching. I looked for some eye protective gear - but only could find swim goggles. I found a paper mask and went for it. I climbed inside of the still-warm oven (we had used it the night before so it was around 100 degrees still inside). I ground away until my arms wobbled, and when I felt grit on my teeth, I realized that the mask wasn't really working... my girls got a fright when they came out back and saw me!
I called my husband and found the respirator and some ski goggles. It worked much better. The oven was now clean inside and ready for pizza!
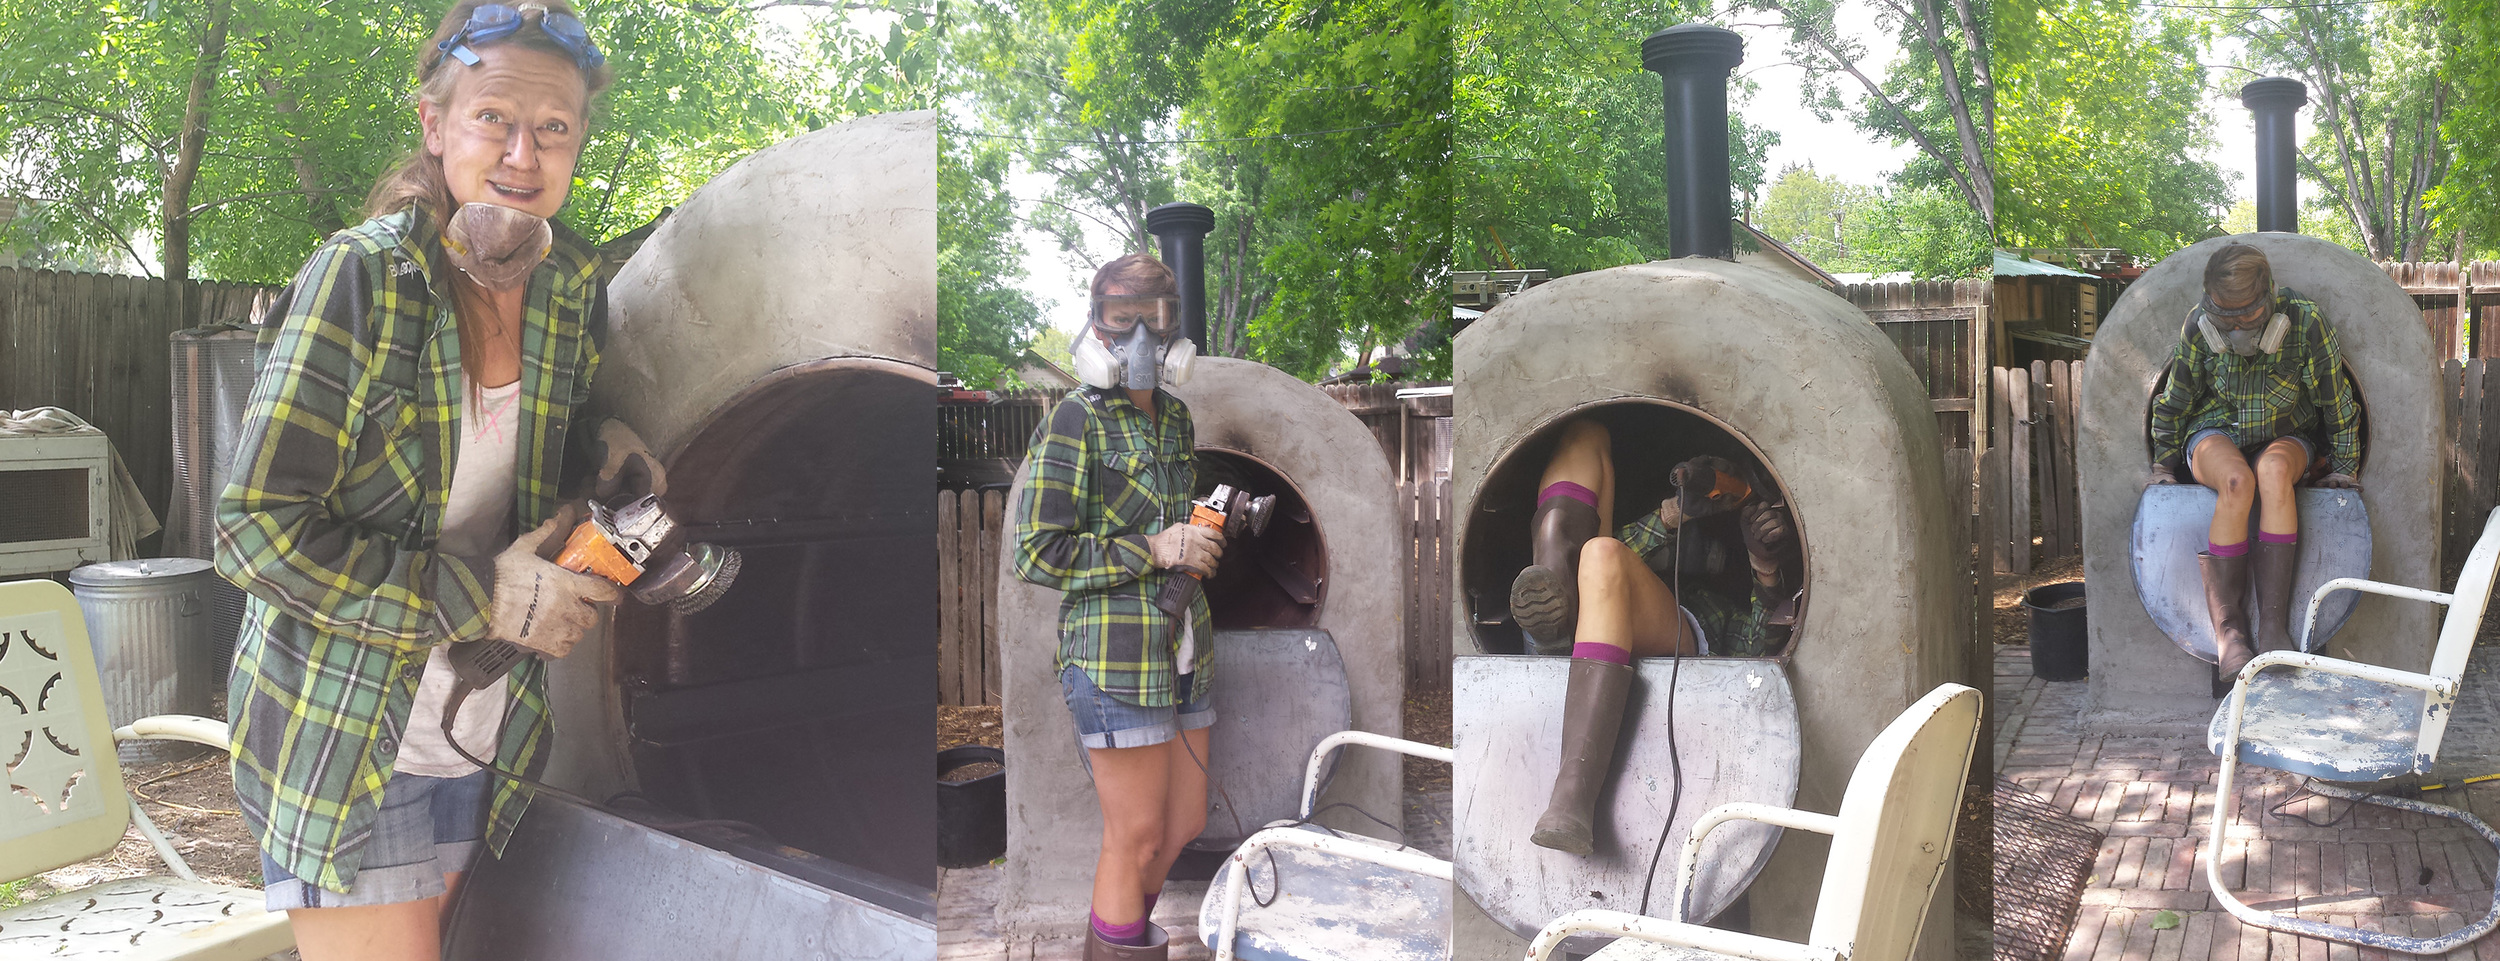
SCARY Sarah with who-knows-what kind of oven junk all over the place! Grinding the inside of oven clean.
My husband raised a glass to pause and thank everyone at the party who had helped make 'his wife's dream a reality'. Will and I kept looking at each other while we were slapping together pizzas - both of us, totally in our element - hardly believing that we had a WORKING wood-fired oven! Truly, even with all of my optimism, I couldn't have completed this project without my VILLAGE:
The brilliant and inventive Max & Eva Edelson (thank you for writing your book!), the talented and generous Scott (thank you for teaching us girls, and for your patience with things being moved around in your shop!), the hard working and creative Will (thank you for putting heart and soul into this oven), the generous and willing McDonald family (thank you for all of the brick you donated, sharing wine and always looking for ways to help!), and my wonderful Jeremiah (thank you for letting me dream BIG and for supporting everything I want to do).

Some shots of our very first pizza party and oven test-run: It was a blast!

Since that first party, we've baked several loaves of bread at a time, roasted chickens, roasts, flatbread, grilled meat and veggies on a grill pan, boiled chicken stock - many of these things at the same time. One of the benefits of this oven is it's heat rentention. Here's a quote from the designer's website:
"...the heat generated by the wood burned cooks both by directly transferring heat into the cooking chamber as well as by retaining heat in the oven’s mass and slowly returning that heat to the inside of the oven. For these reasons, this oven is much more practical to use and requires much less wood to do the same amount of baking as in the retained-heat mass ovens and traditional domed earthen ovens. It allows for quite a bit more spontaneity too since you can be baking just 15 minutes after lighting your fire."
We have been amazed at how this large oven holds heat. Once up to 400 - 500 degrees - the oven will stay around this temp for several hours, even after the fire has gone out. I hope to learn to use the heat in the oven more and more wisely. On our baking day, I will plan on having several meals to bake in it - eventually inviting neighbors to bring their own dishes, (pots of beans, whole chickens to roast, etc) - over to bake.
The oven is slowly developing character... smoke stains, hairline cracks. This only makes me love it more. I love that this durable, workhorse of an oven will be with us for many years to come.
Will and I plan to start a local bread business selling sourdough loaves to the neighborhood very soon. We also foresee farm-to-table meals cooked out of the oven and much more. If you live in the local Loveland/Ft. Collins, Colorado area, you can visit www.plentyfarms.com to stay updated on these new happenings!
Thanks for sharing our journey!
